I got a dead 24″ LCD from my sister. She first brought it to a computer store and was told that it woulf cost so much that she could by new one. Naturally, she purchased a new one.
くたばった24インチ液晶モニターを妹からもらった。コンピューター屋さんに持って行ったら、新しいのを買うほうが安いとのこと。まあ、当然新しいほうを選ぶわな。
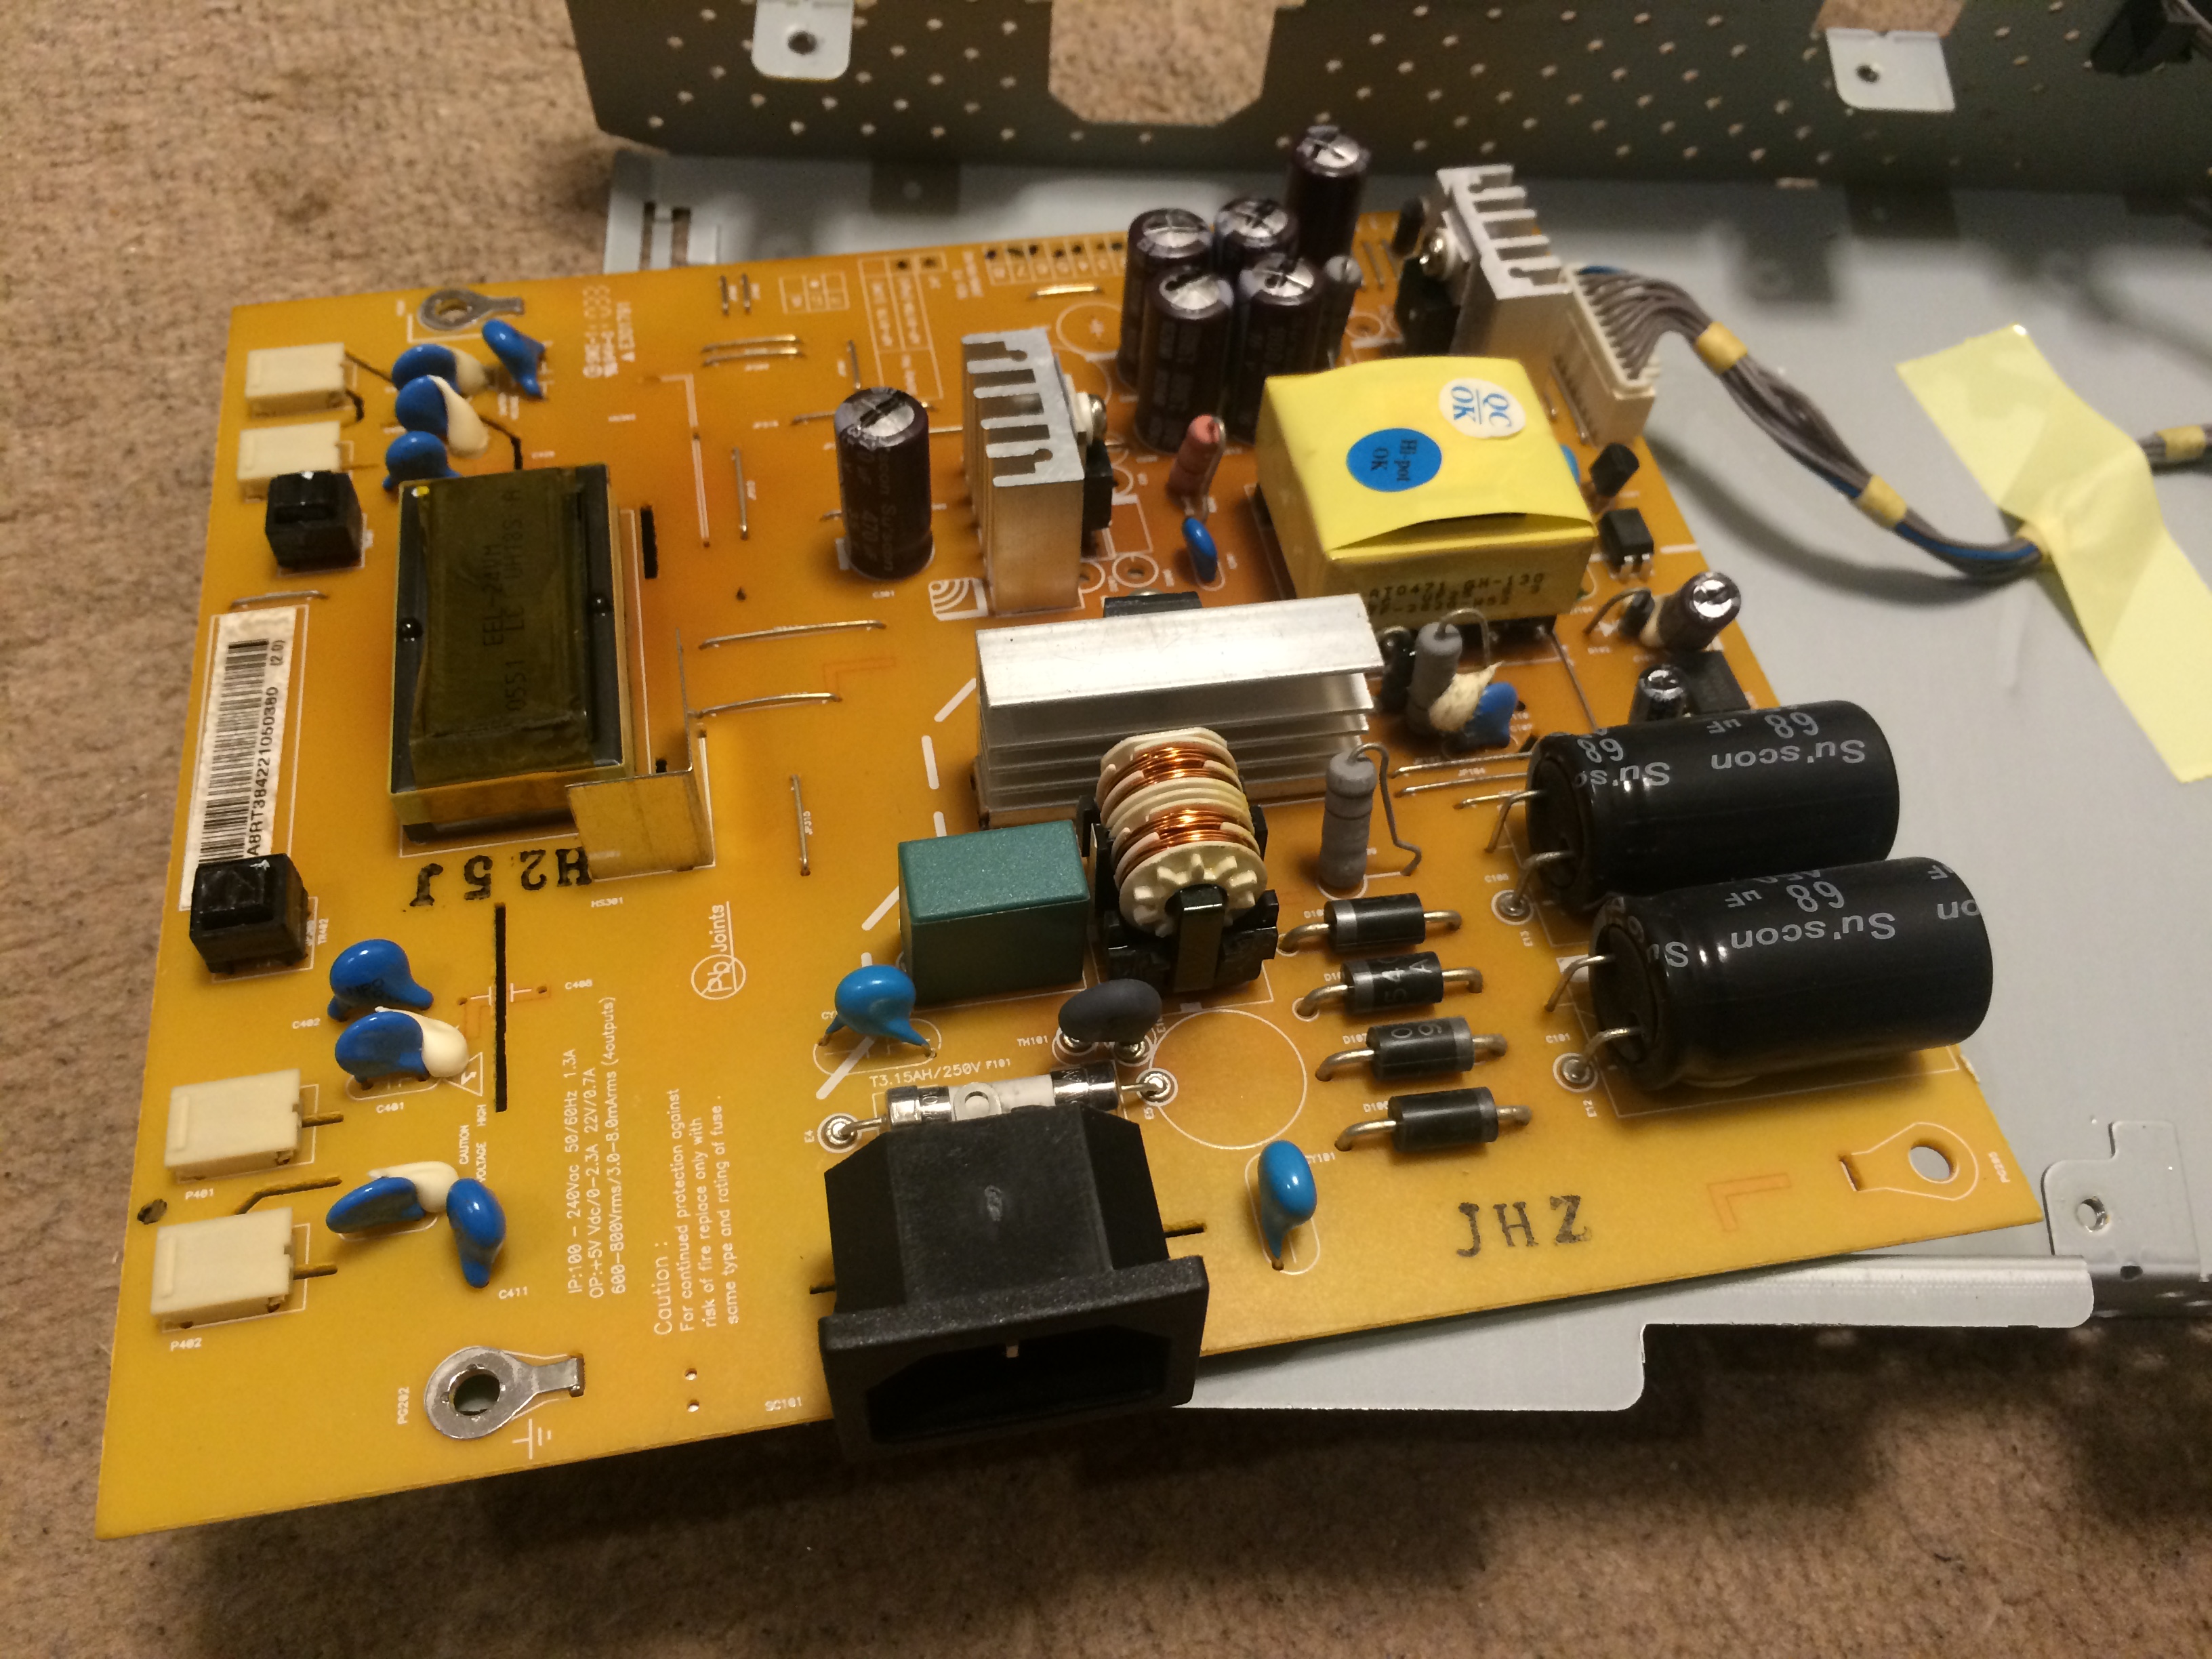
I asked her to give it to me, because I knew the problem was most probably in the power circuit, and in that case rotten capacitors would be the main cause, thus easily repairable.
おそらくは電源回路の問題だろうし、その場合たいてはコンデンサーが腐ってることが多いのは想像ついていたので、もらって帰った。
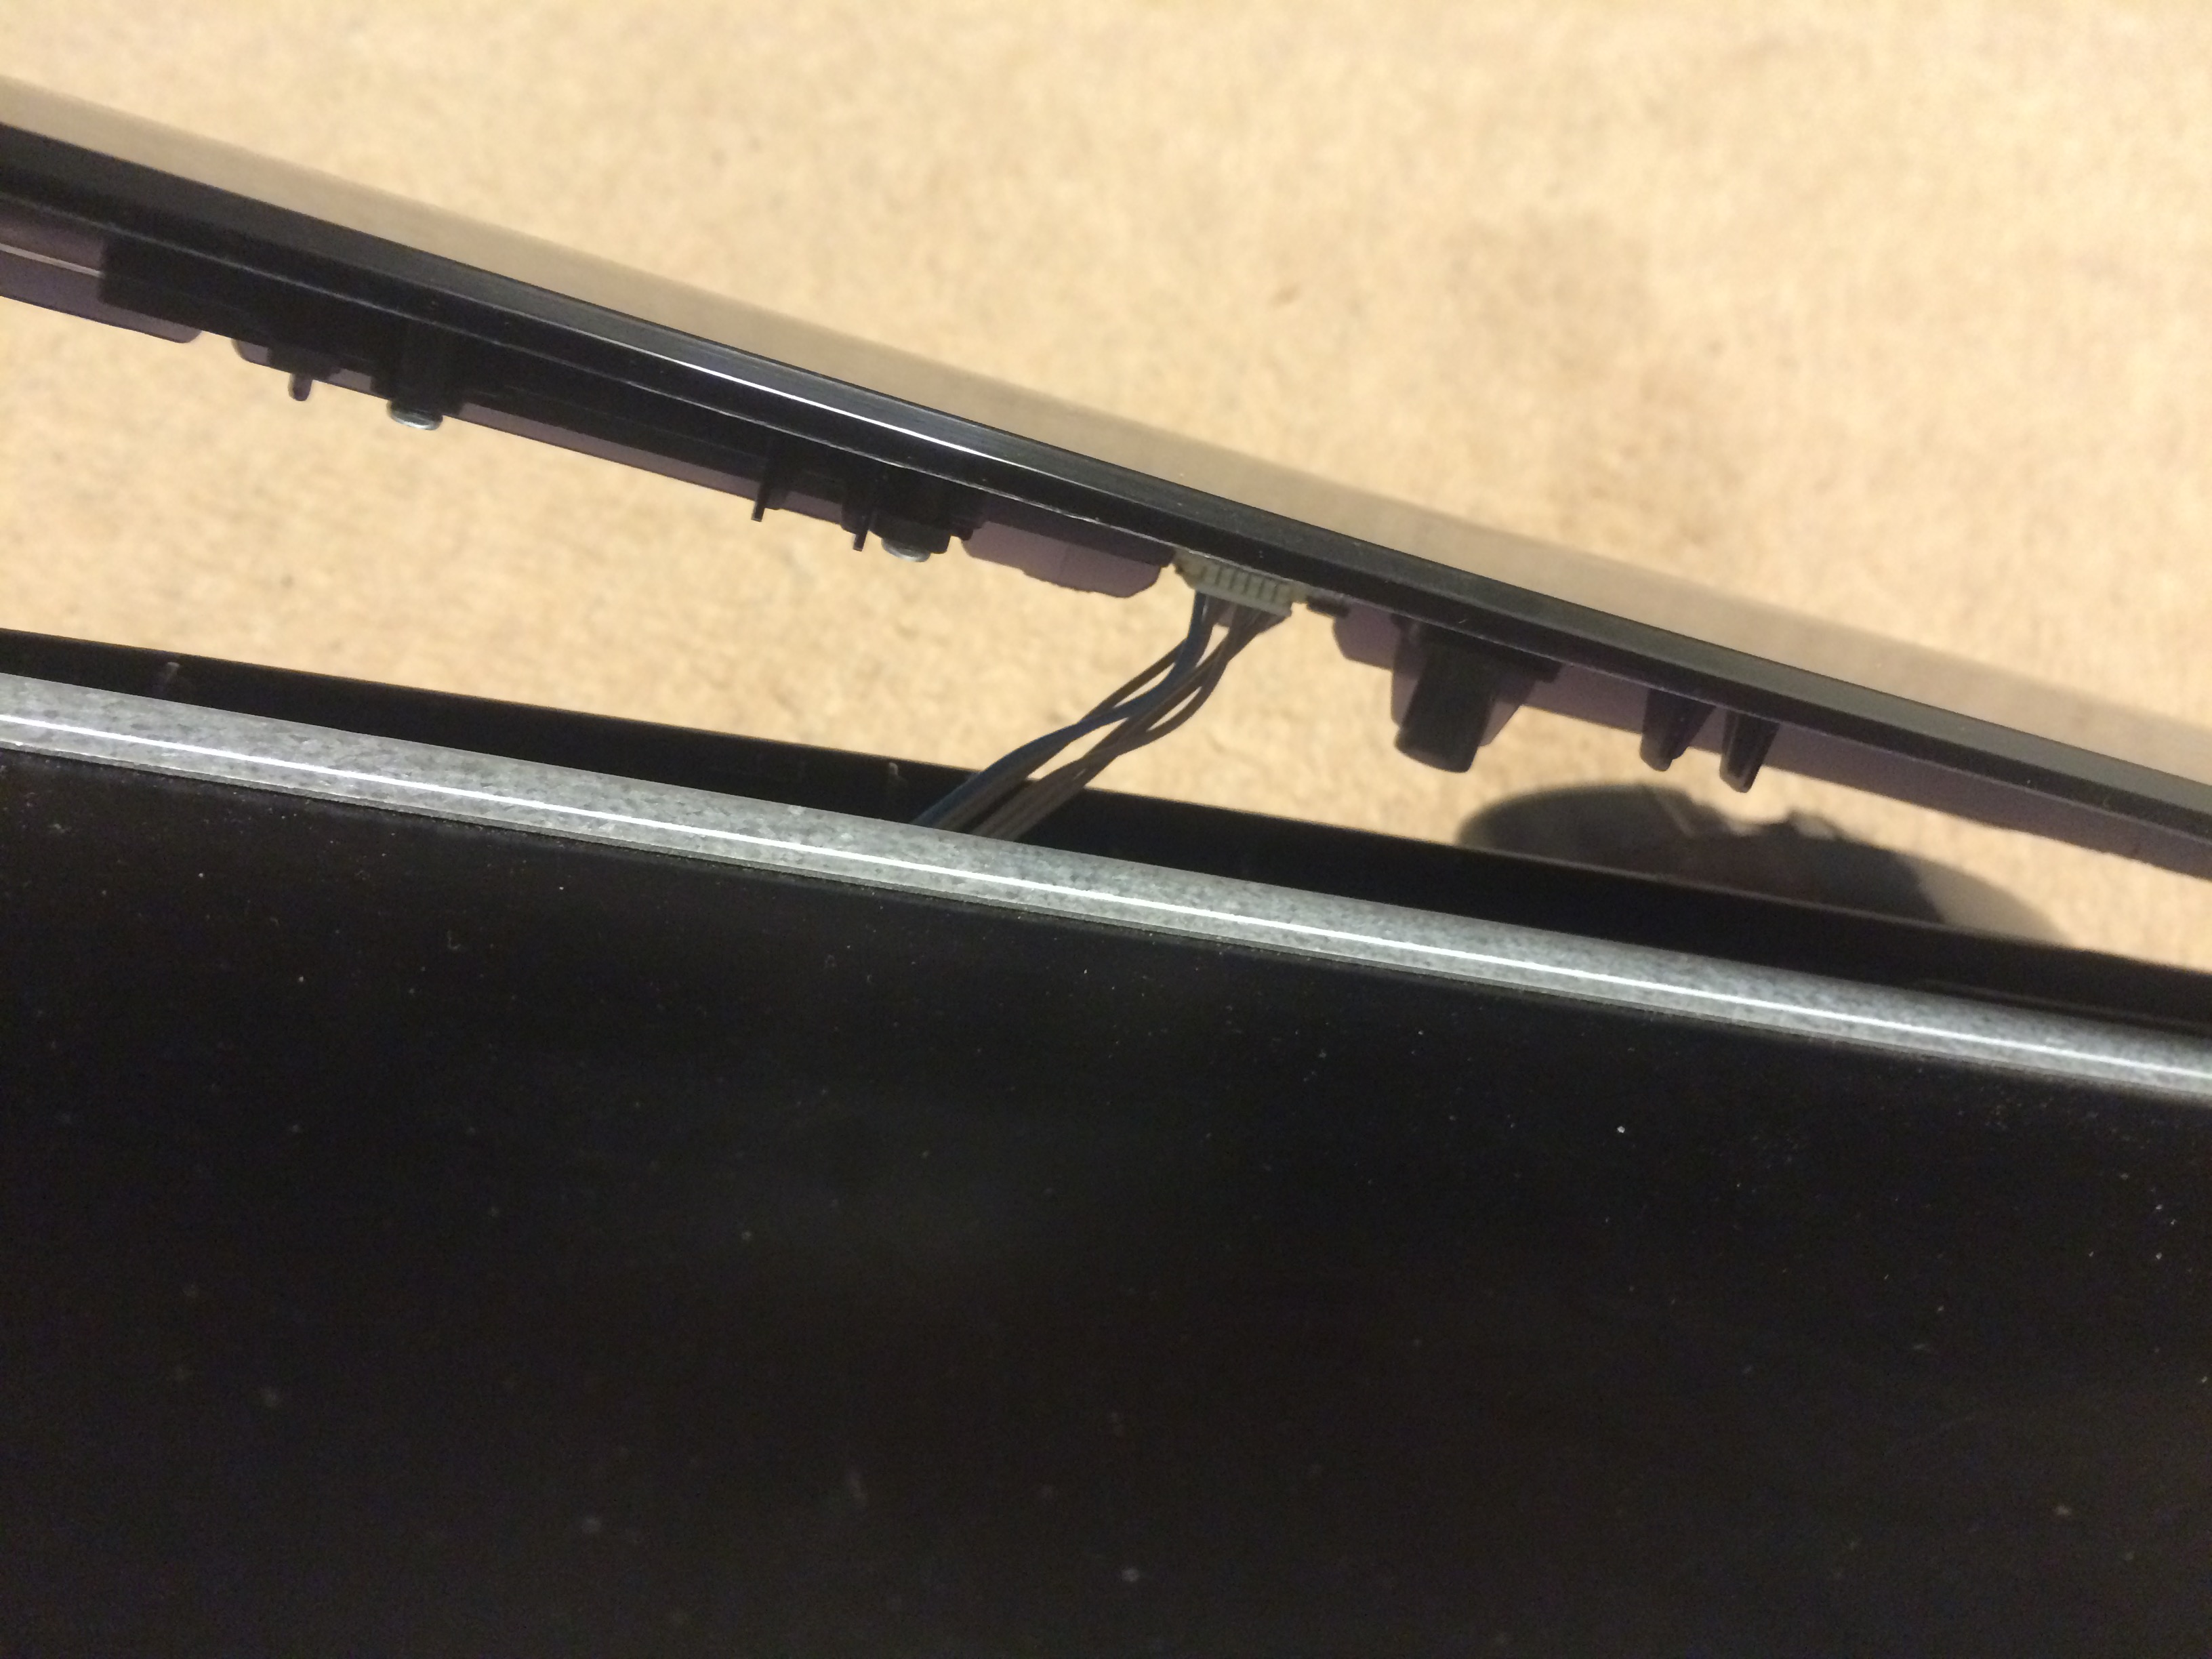
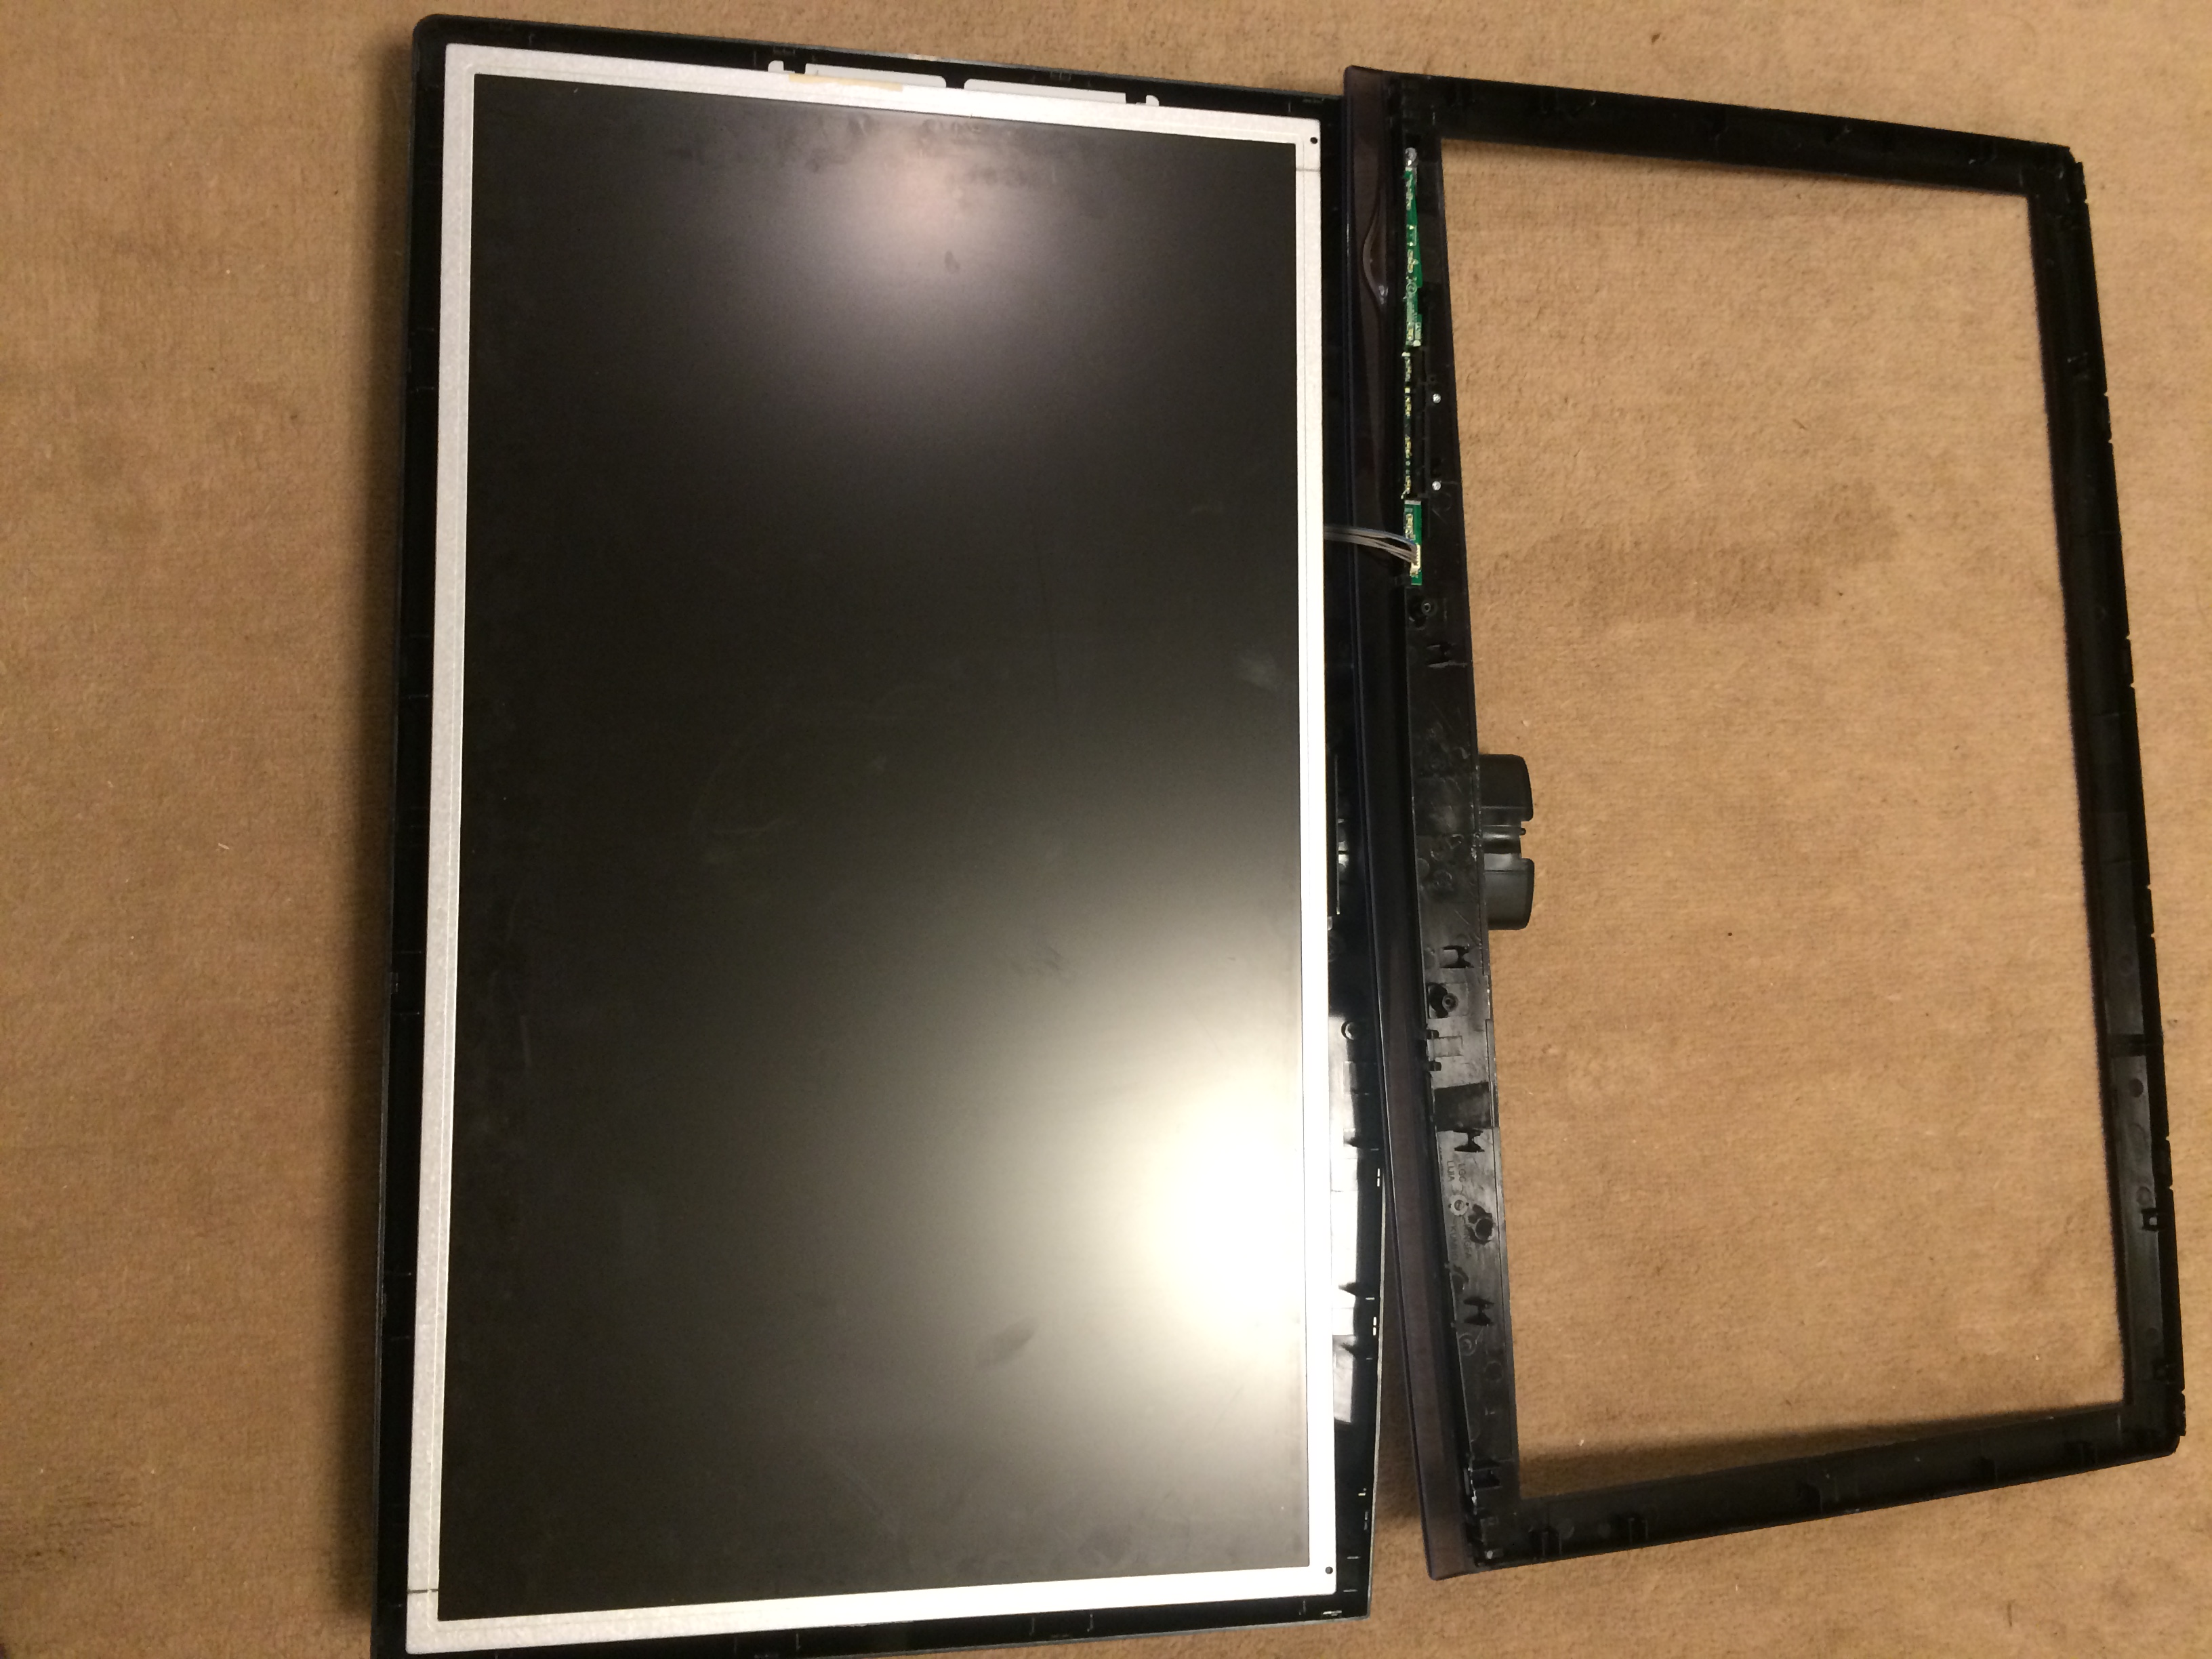
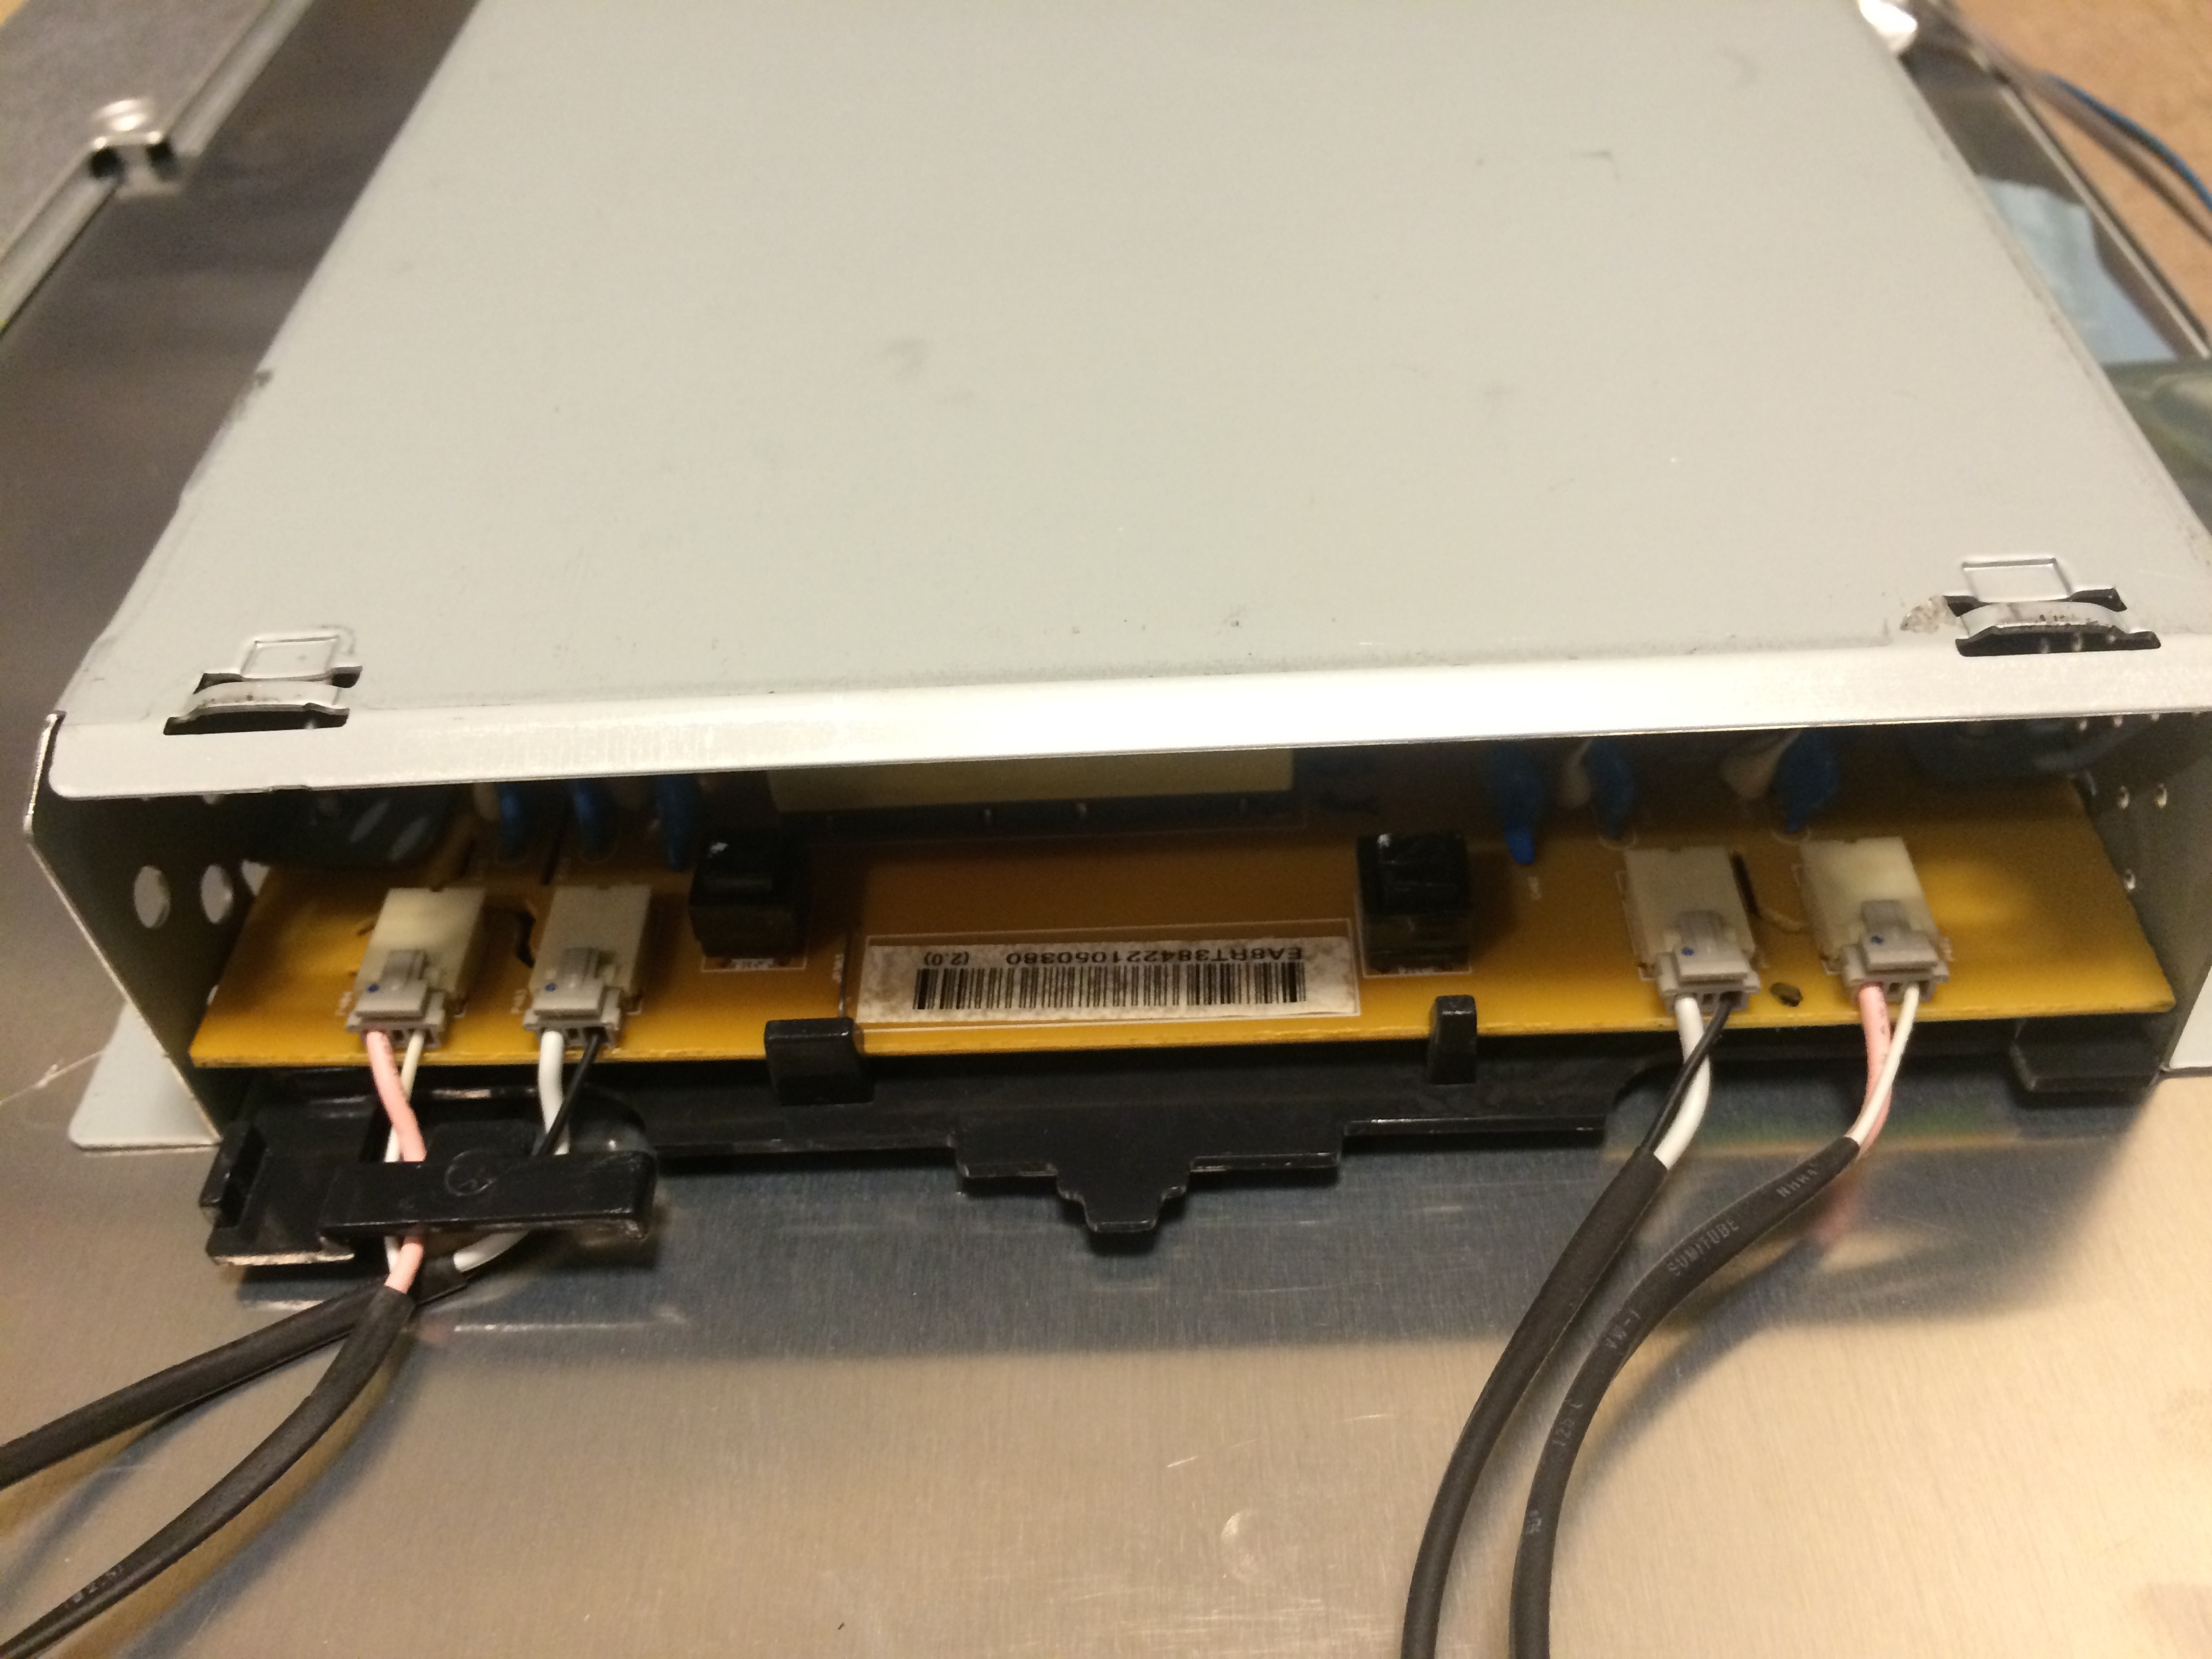
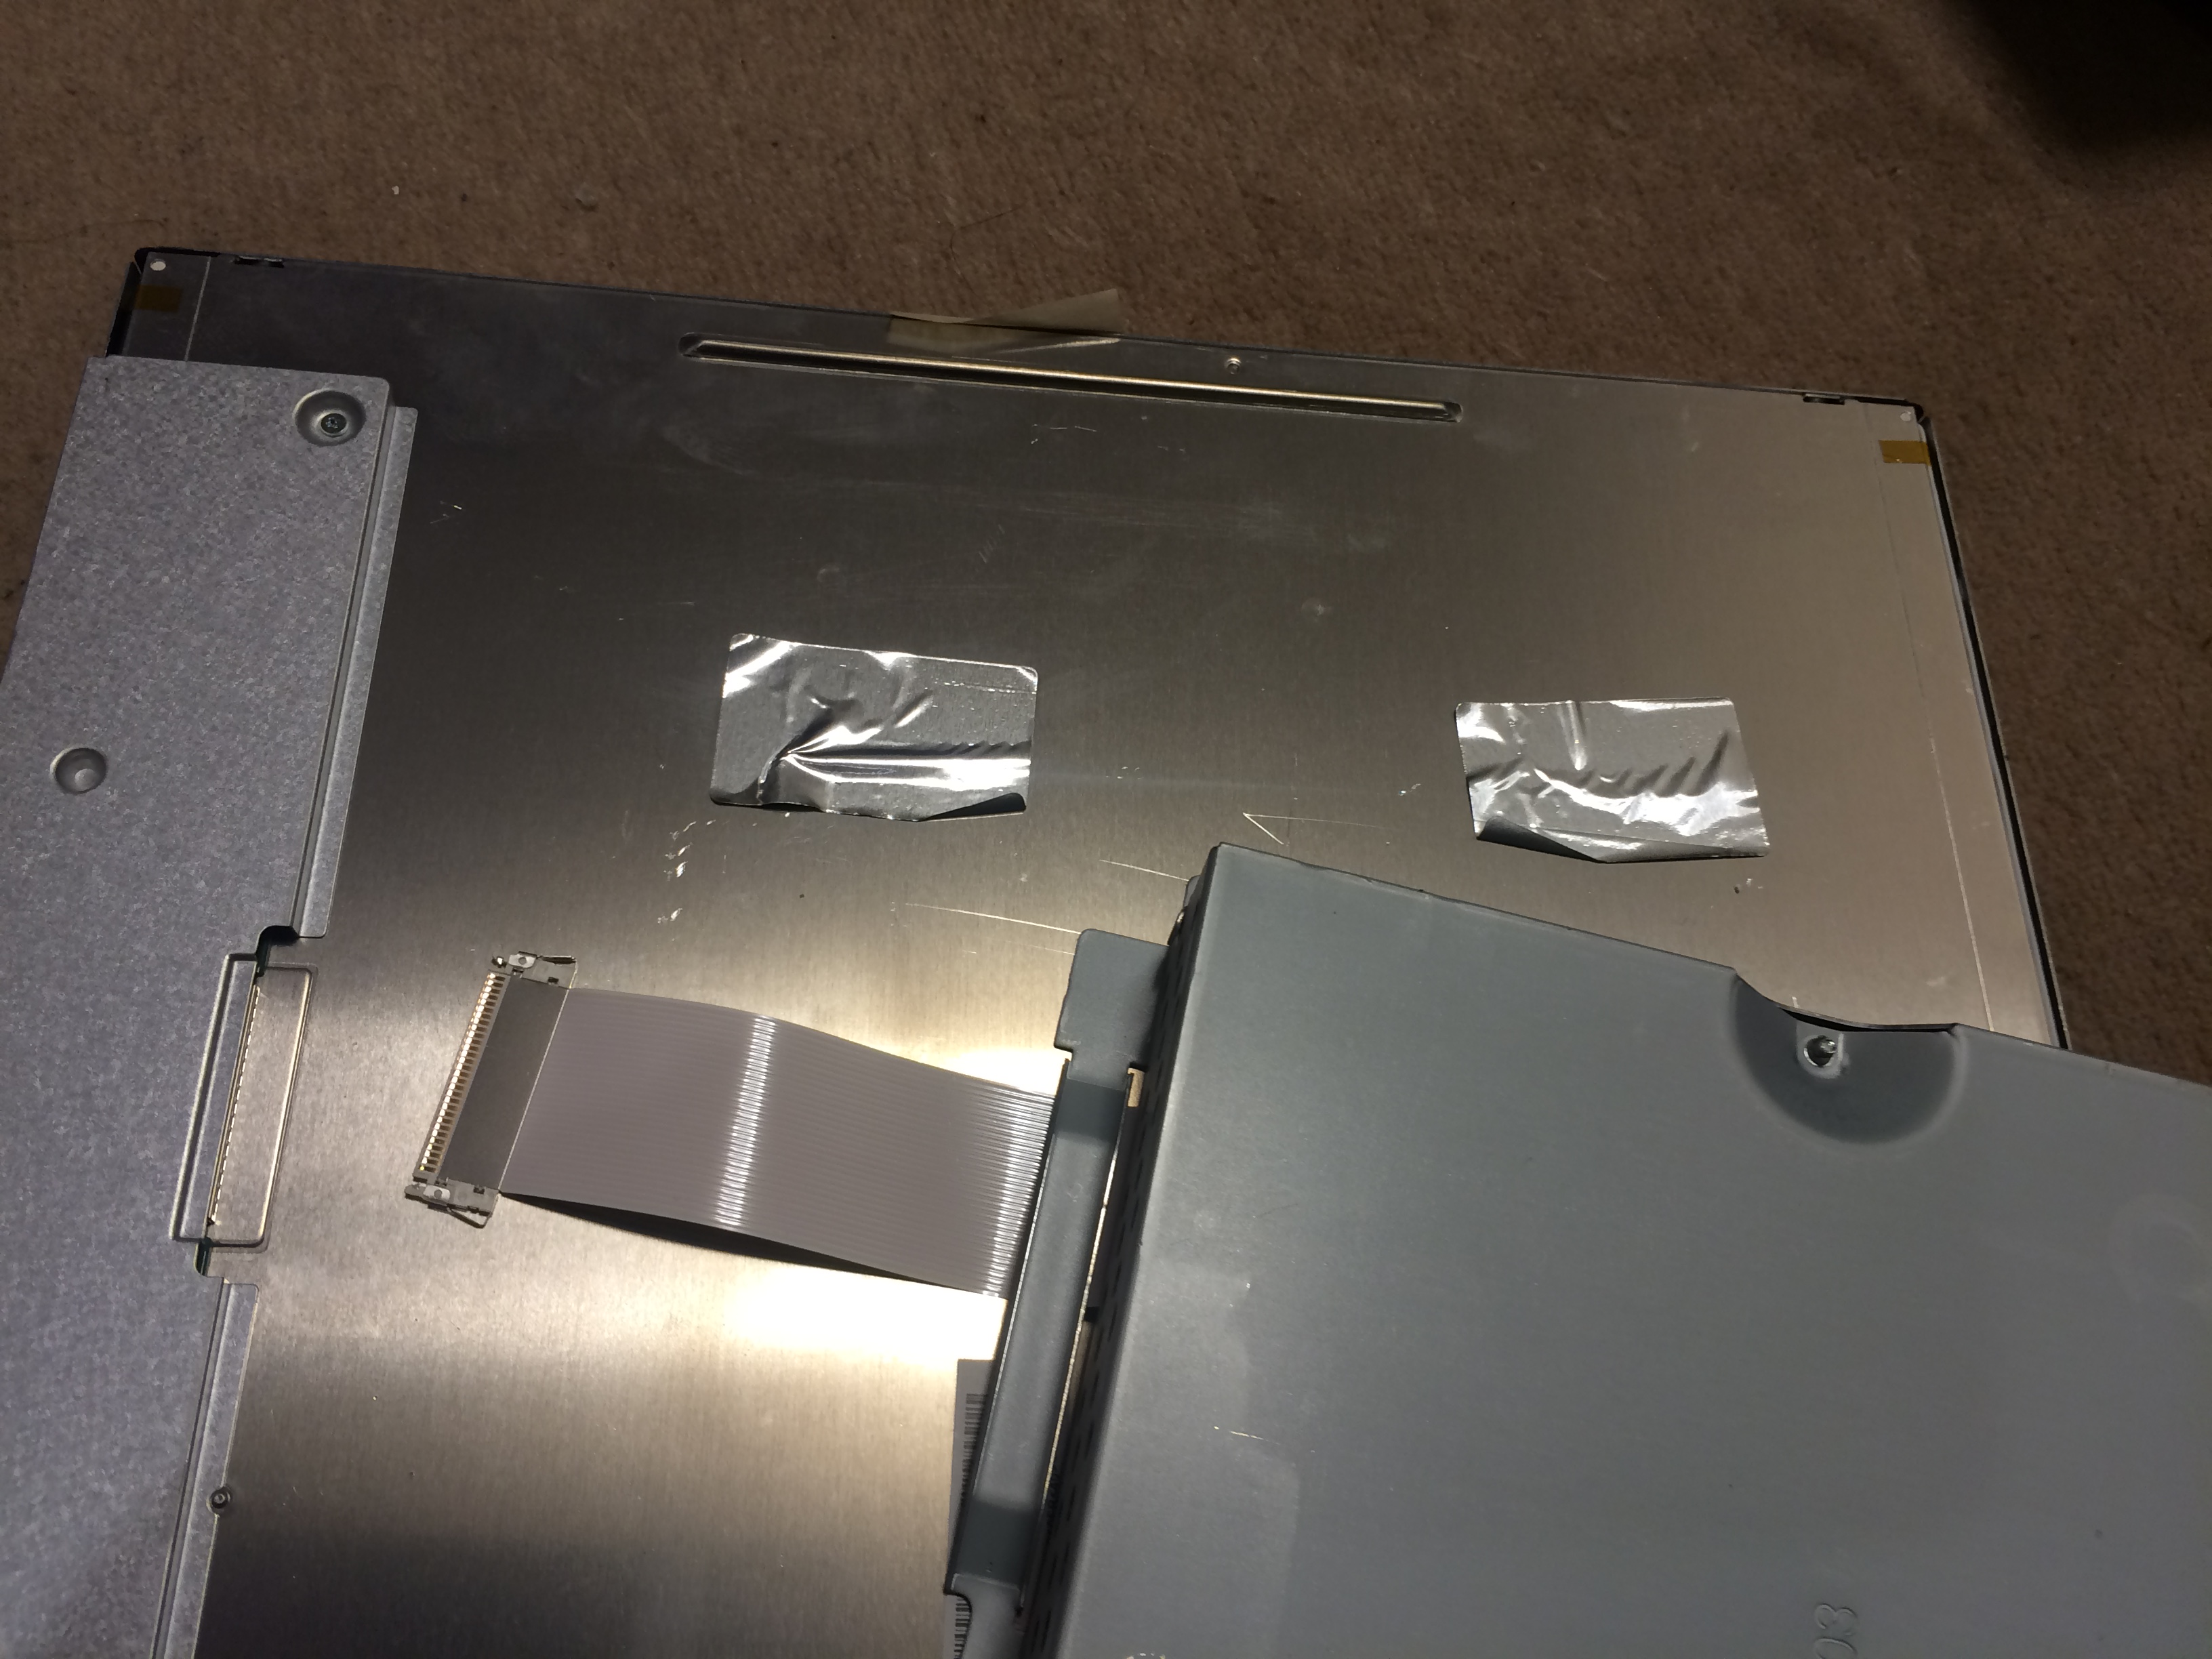
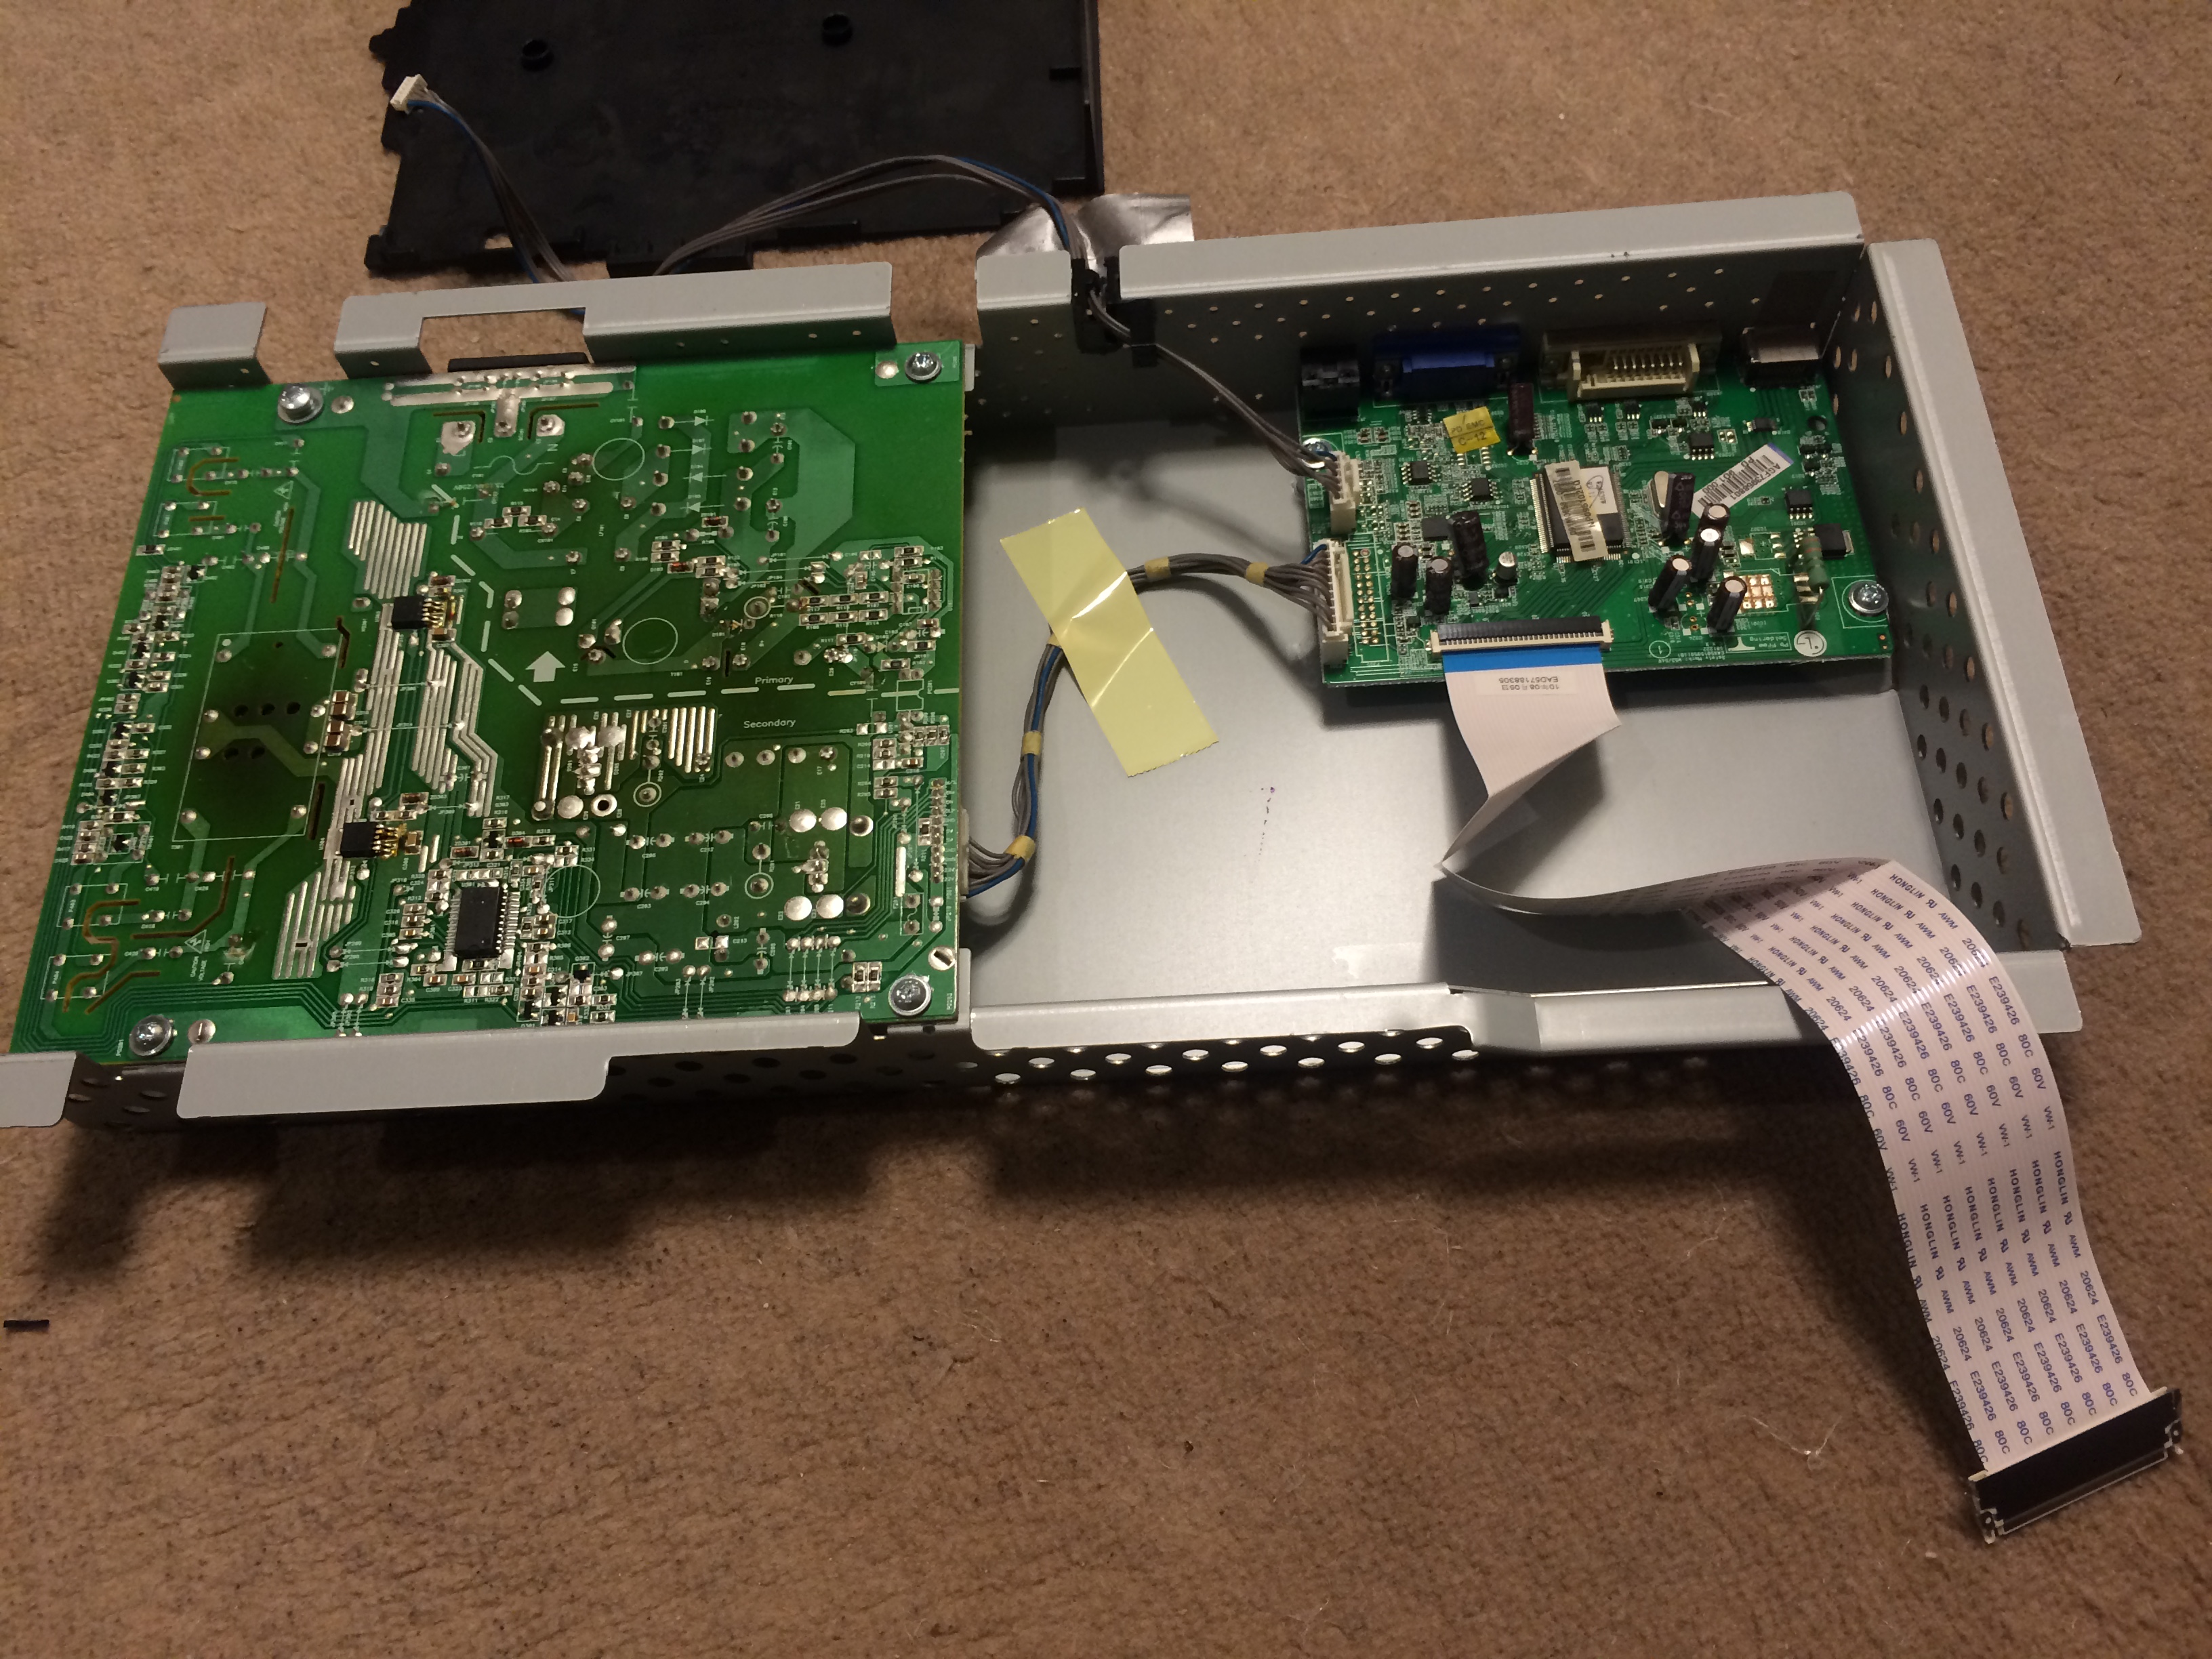
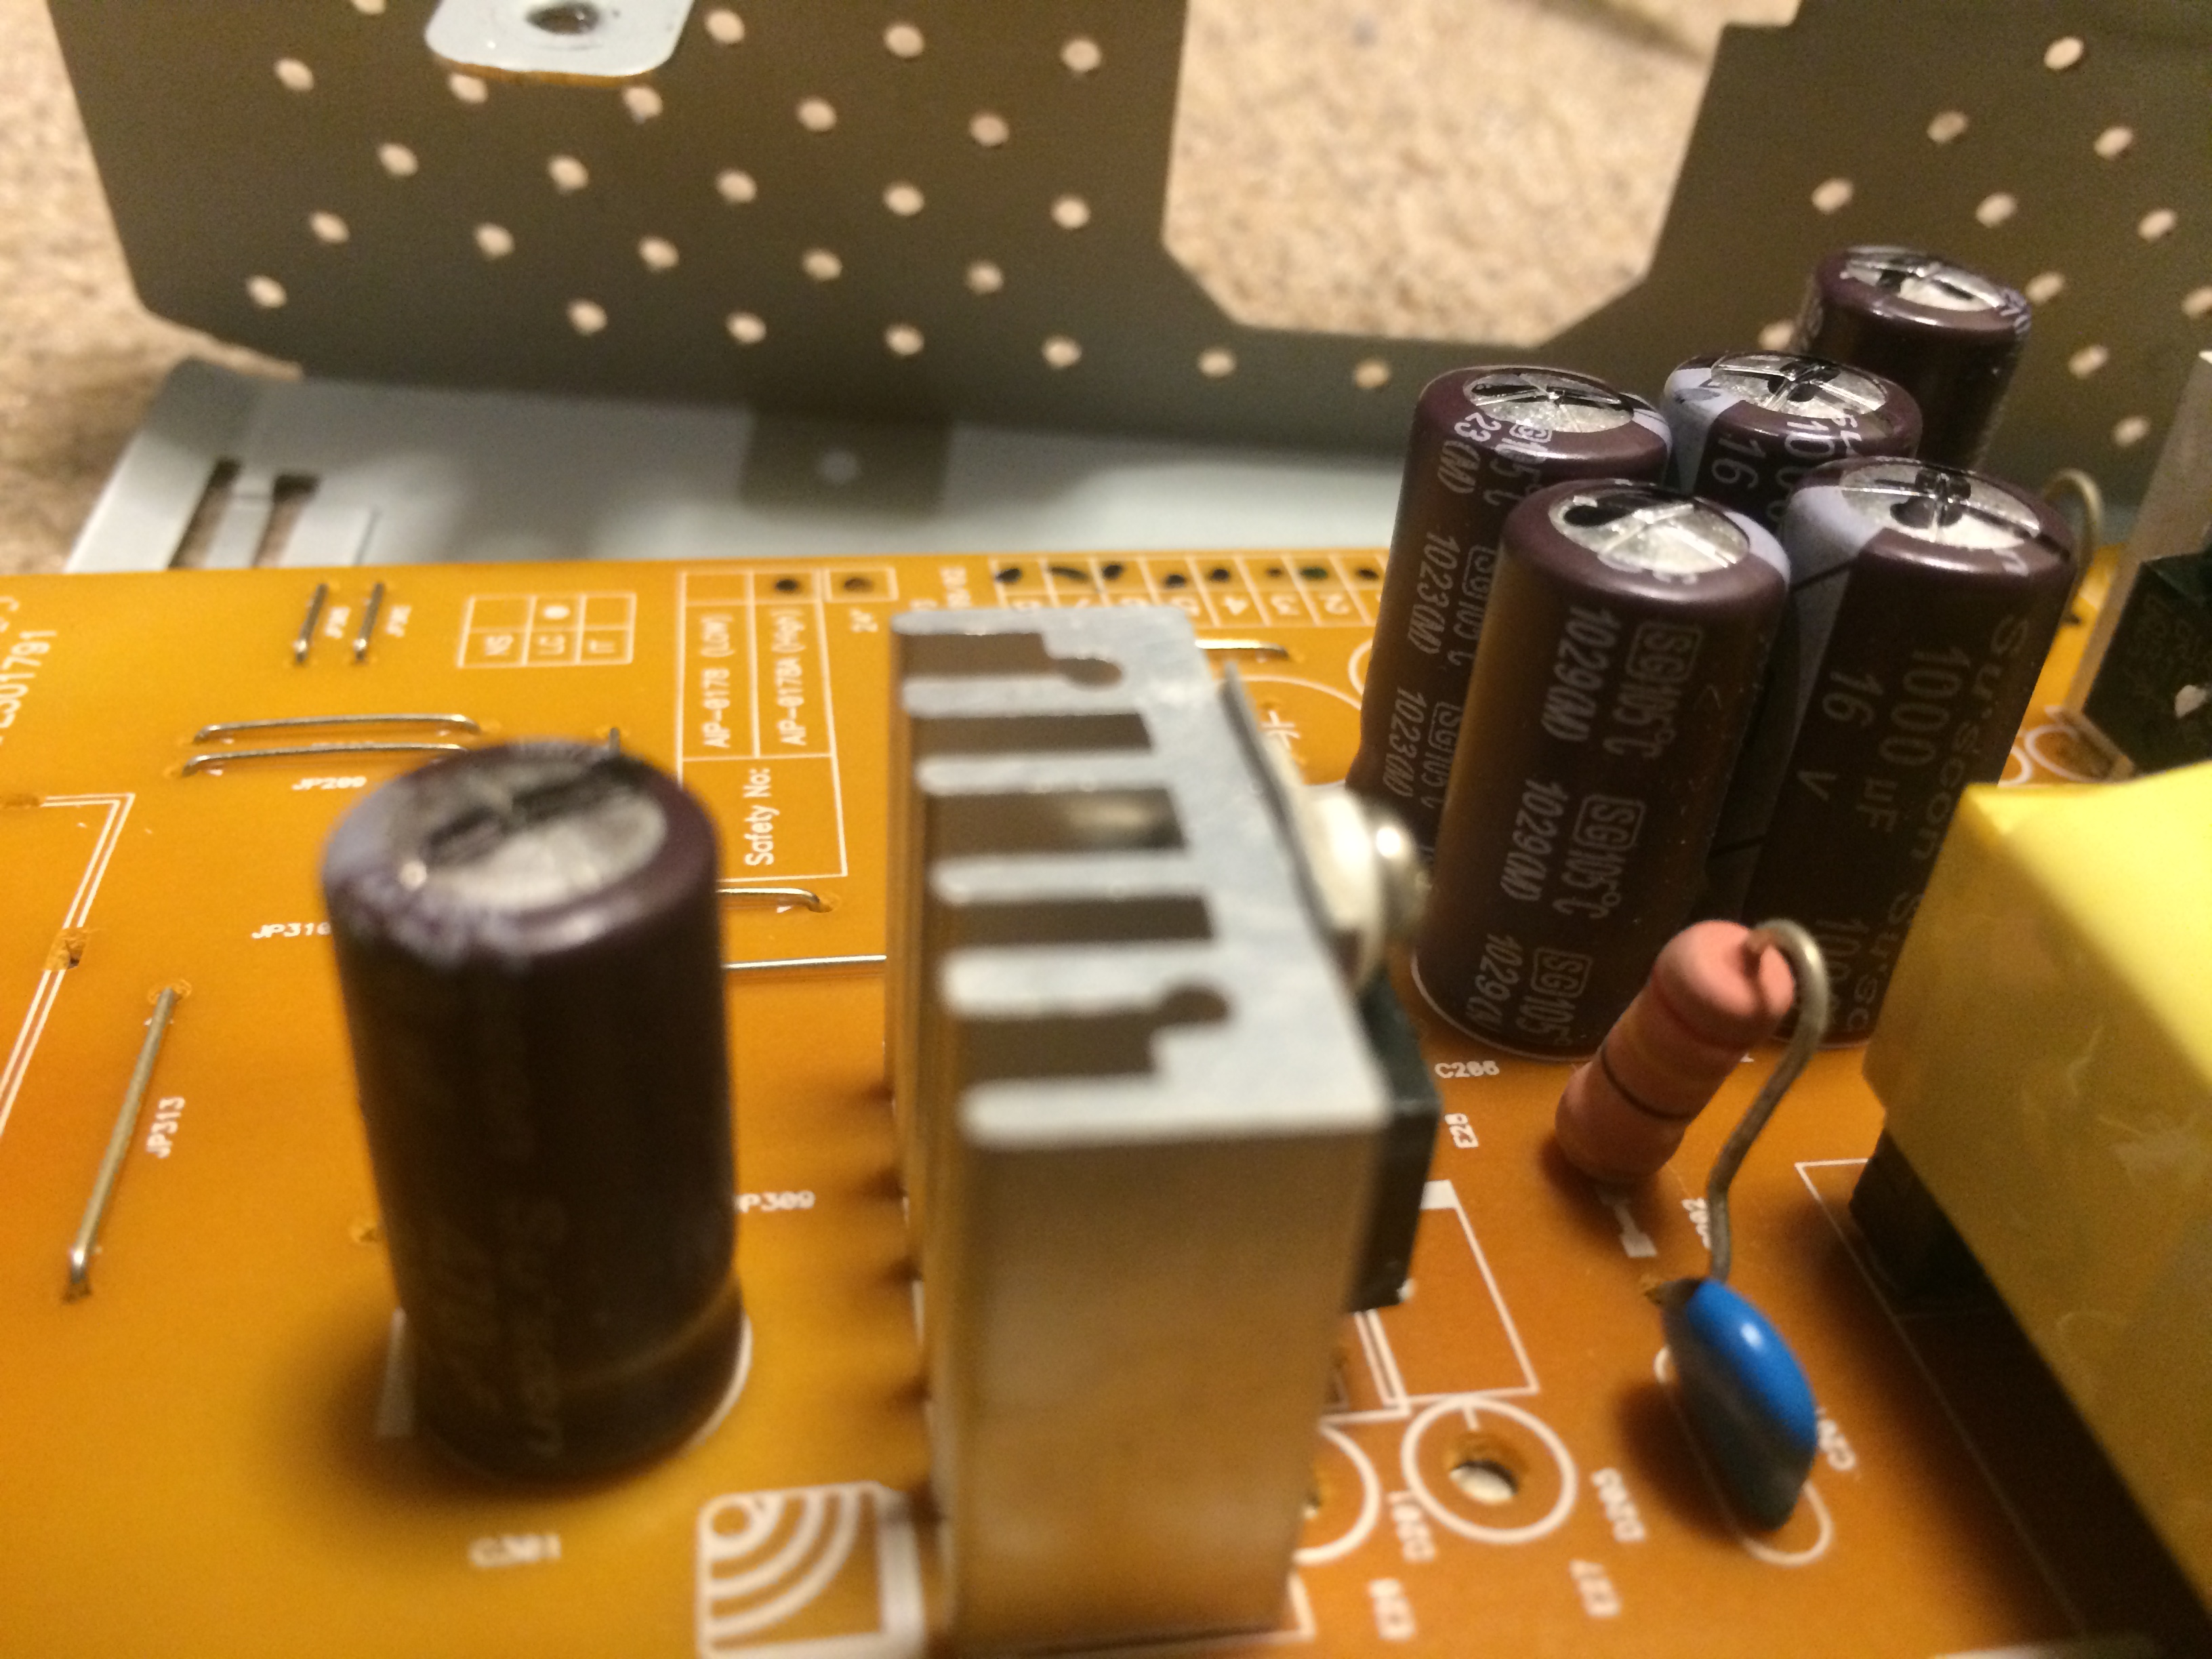
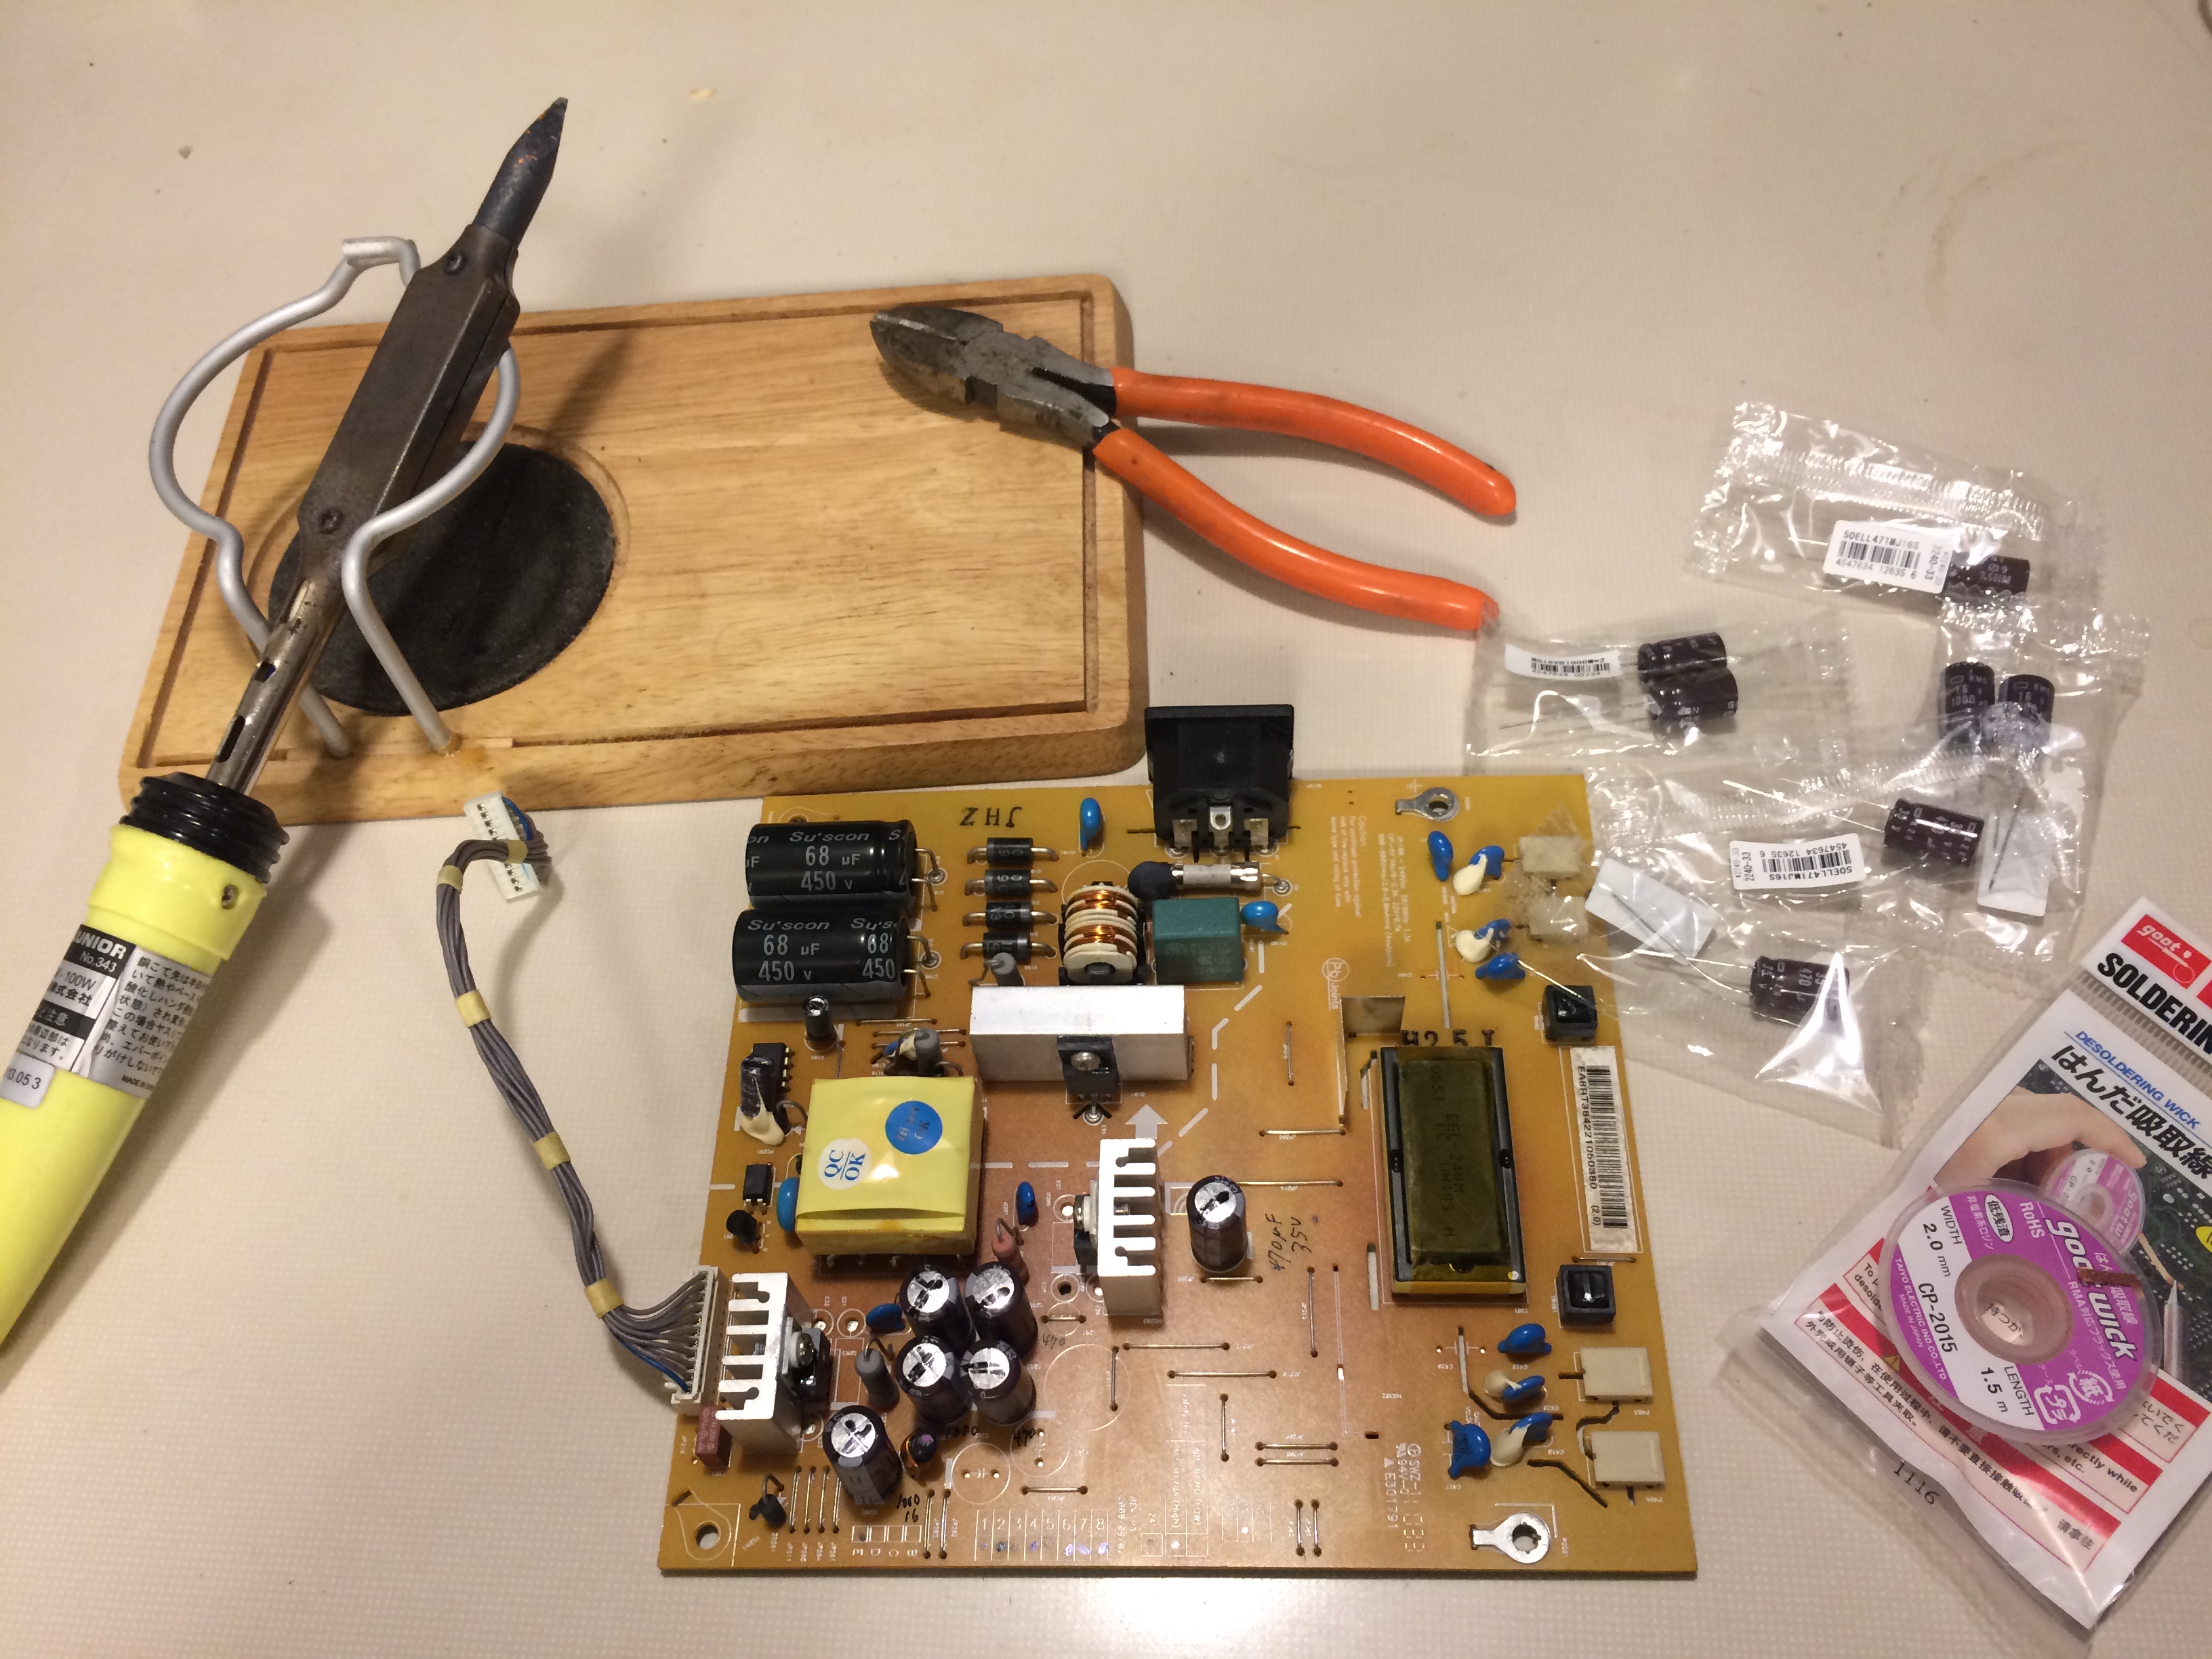
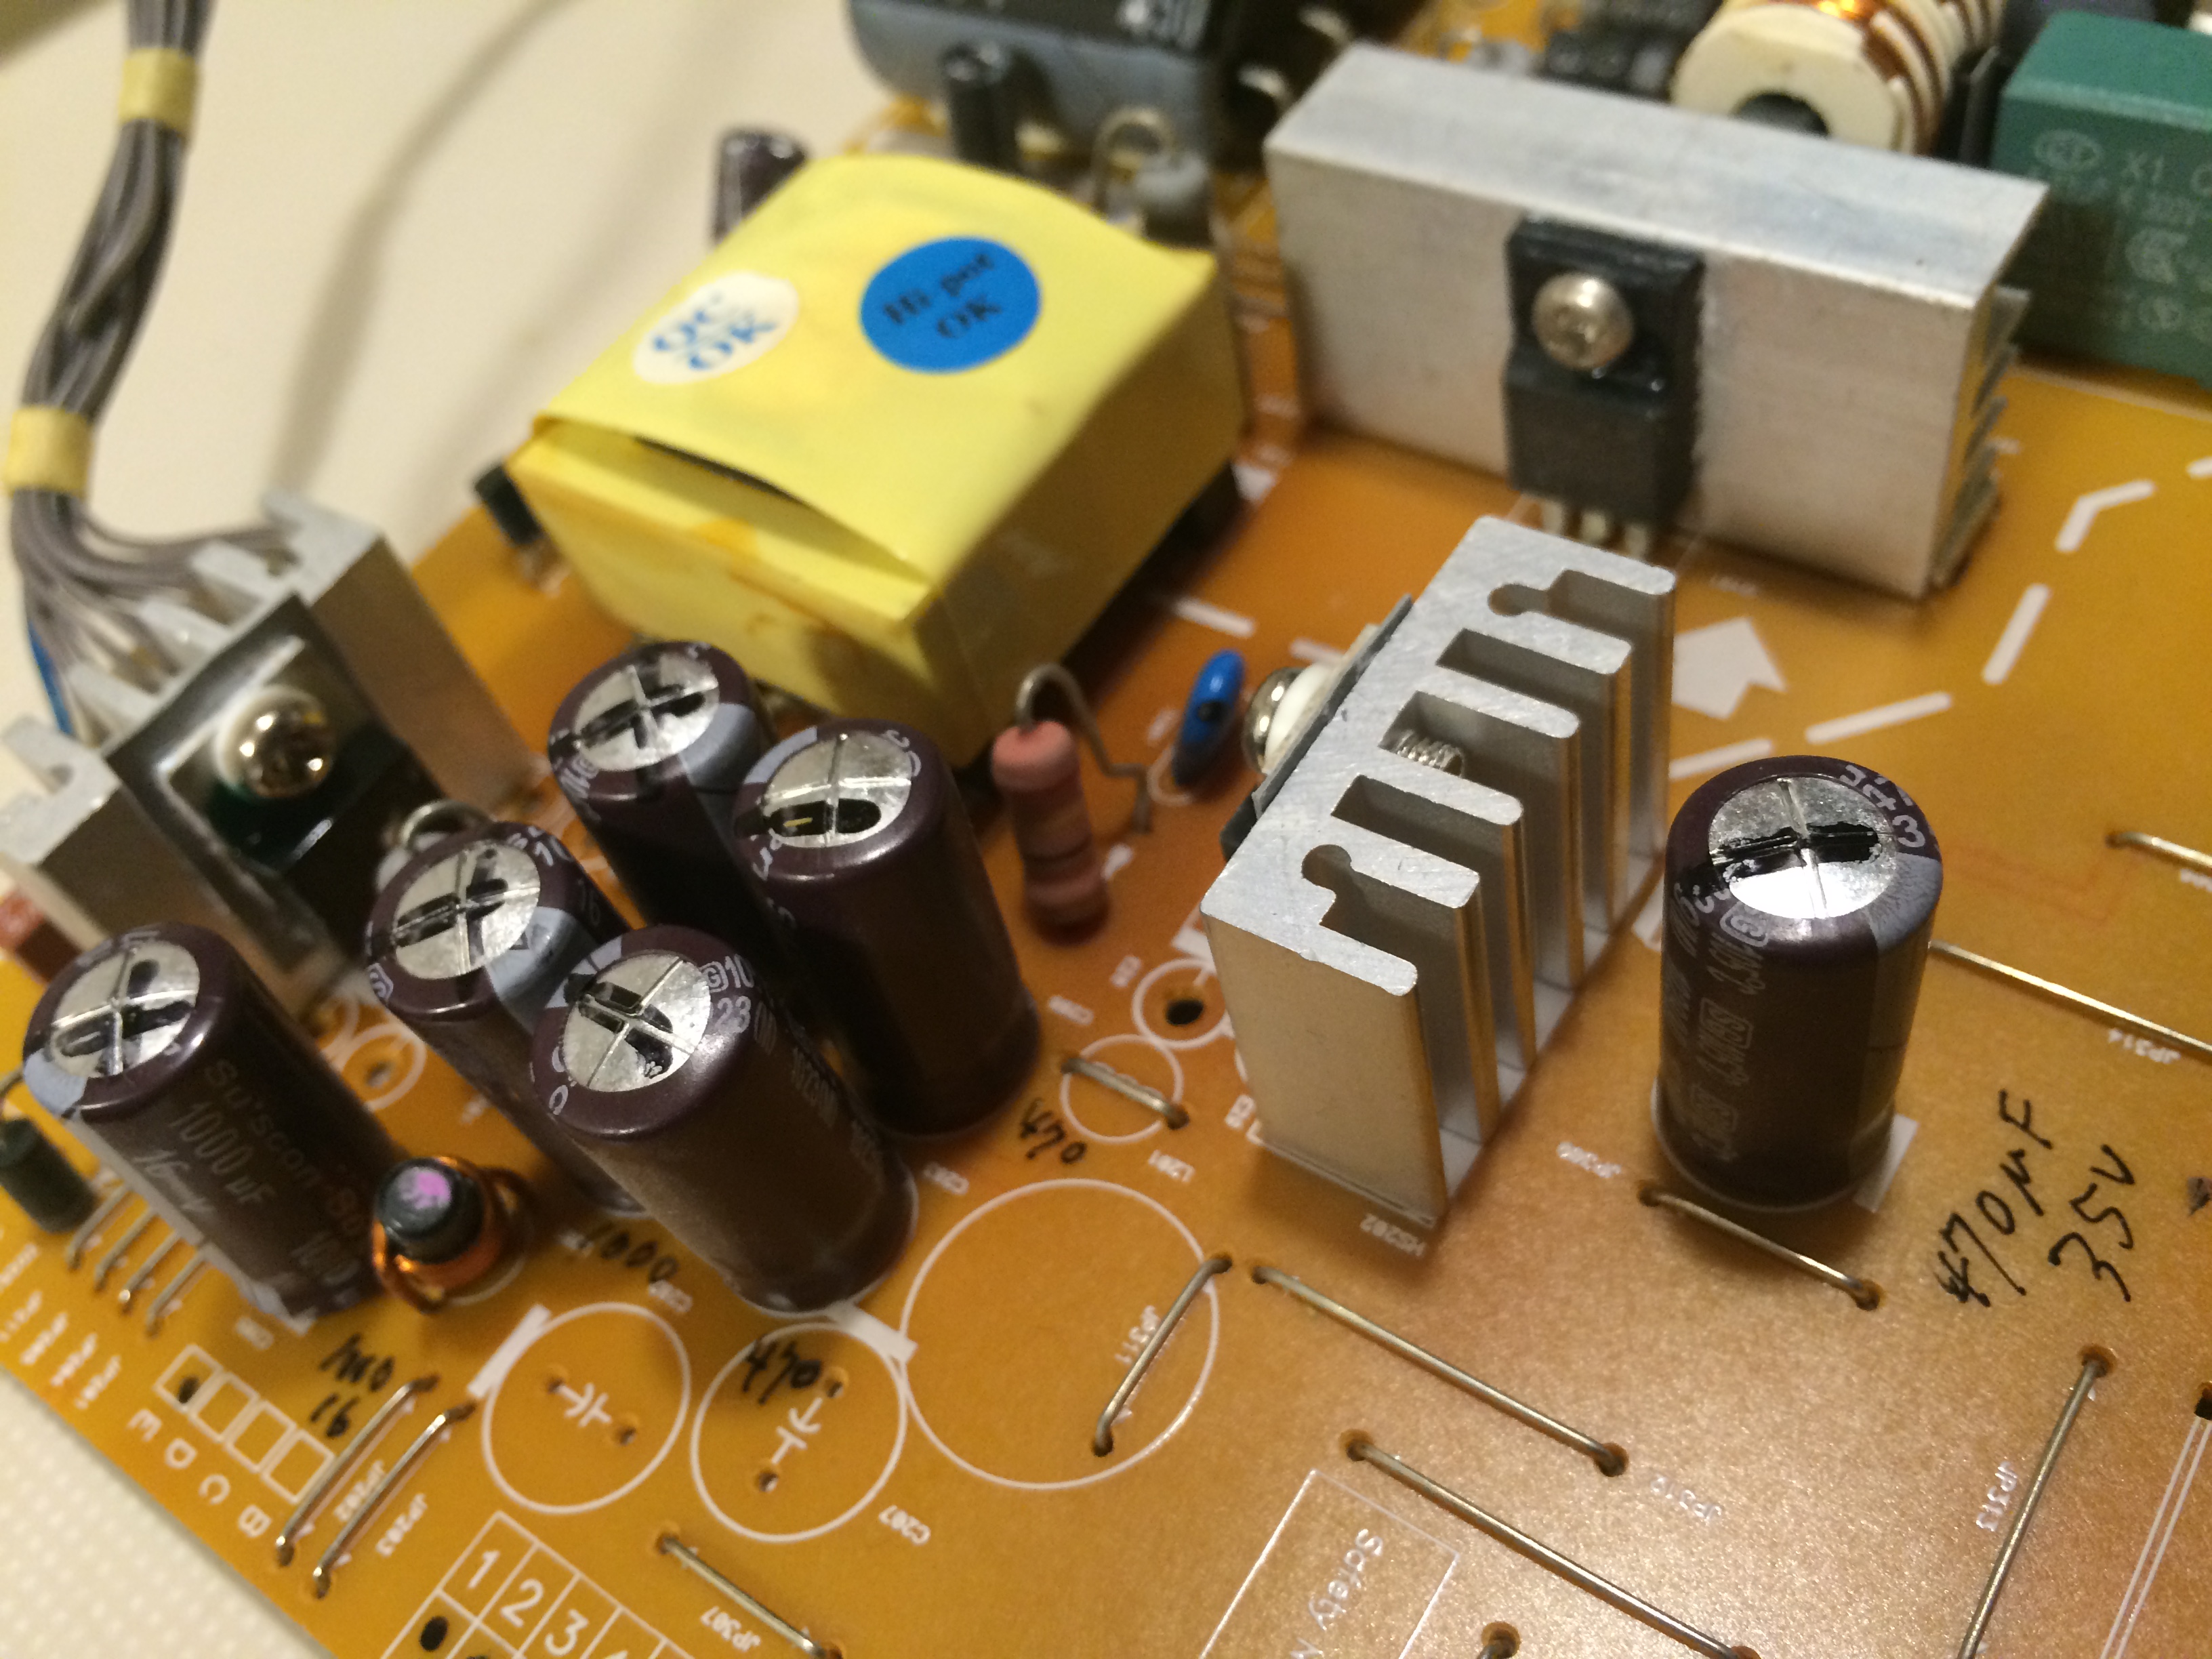
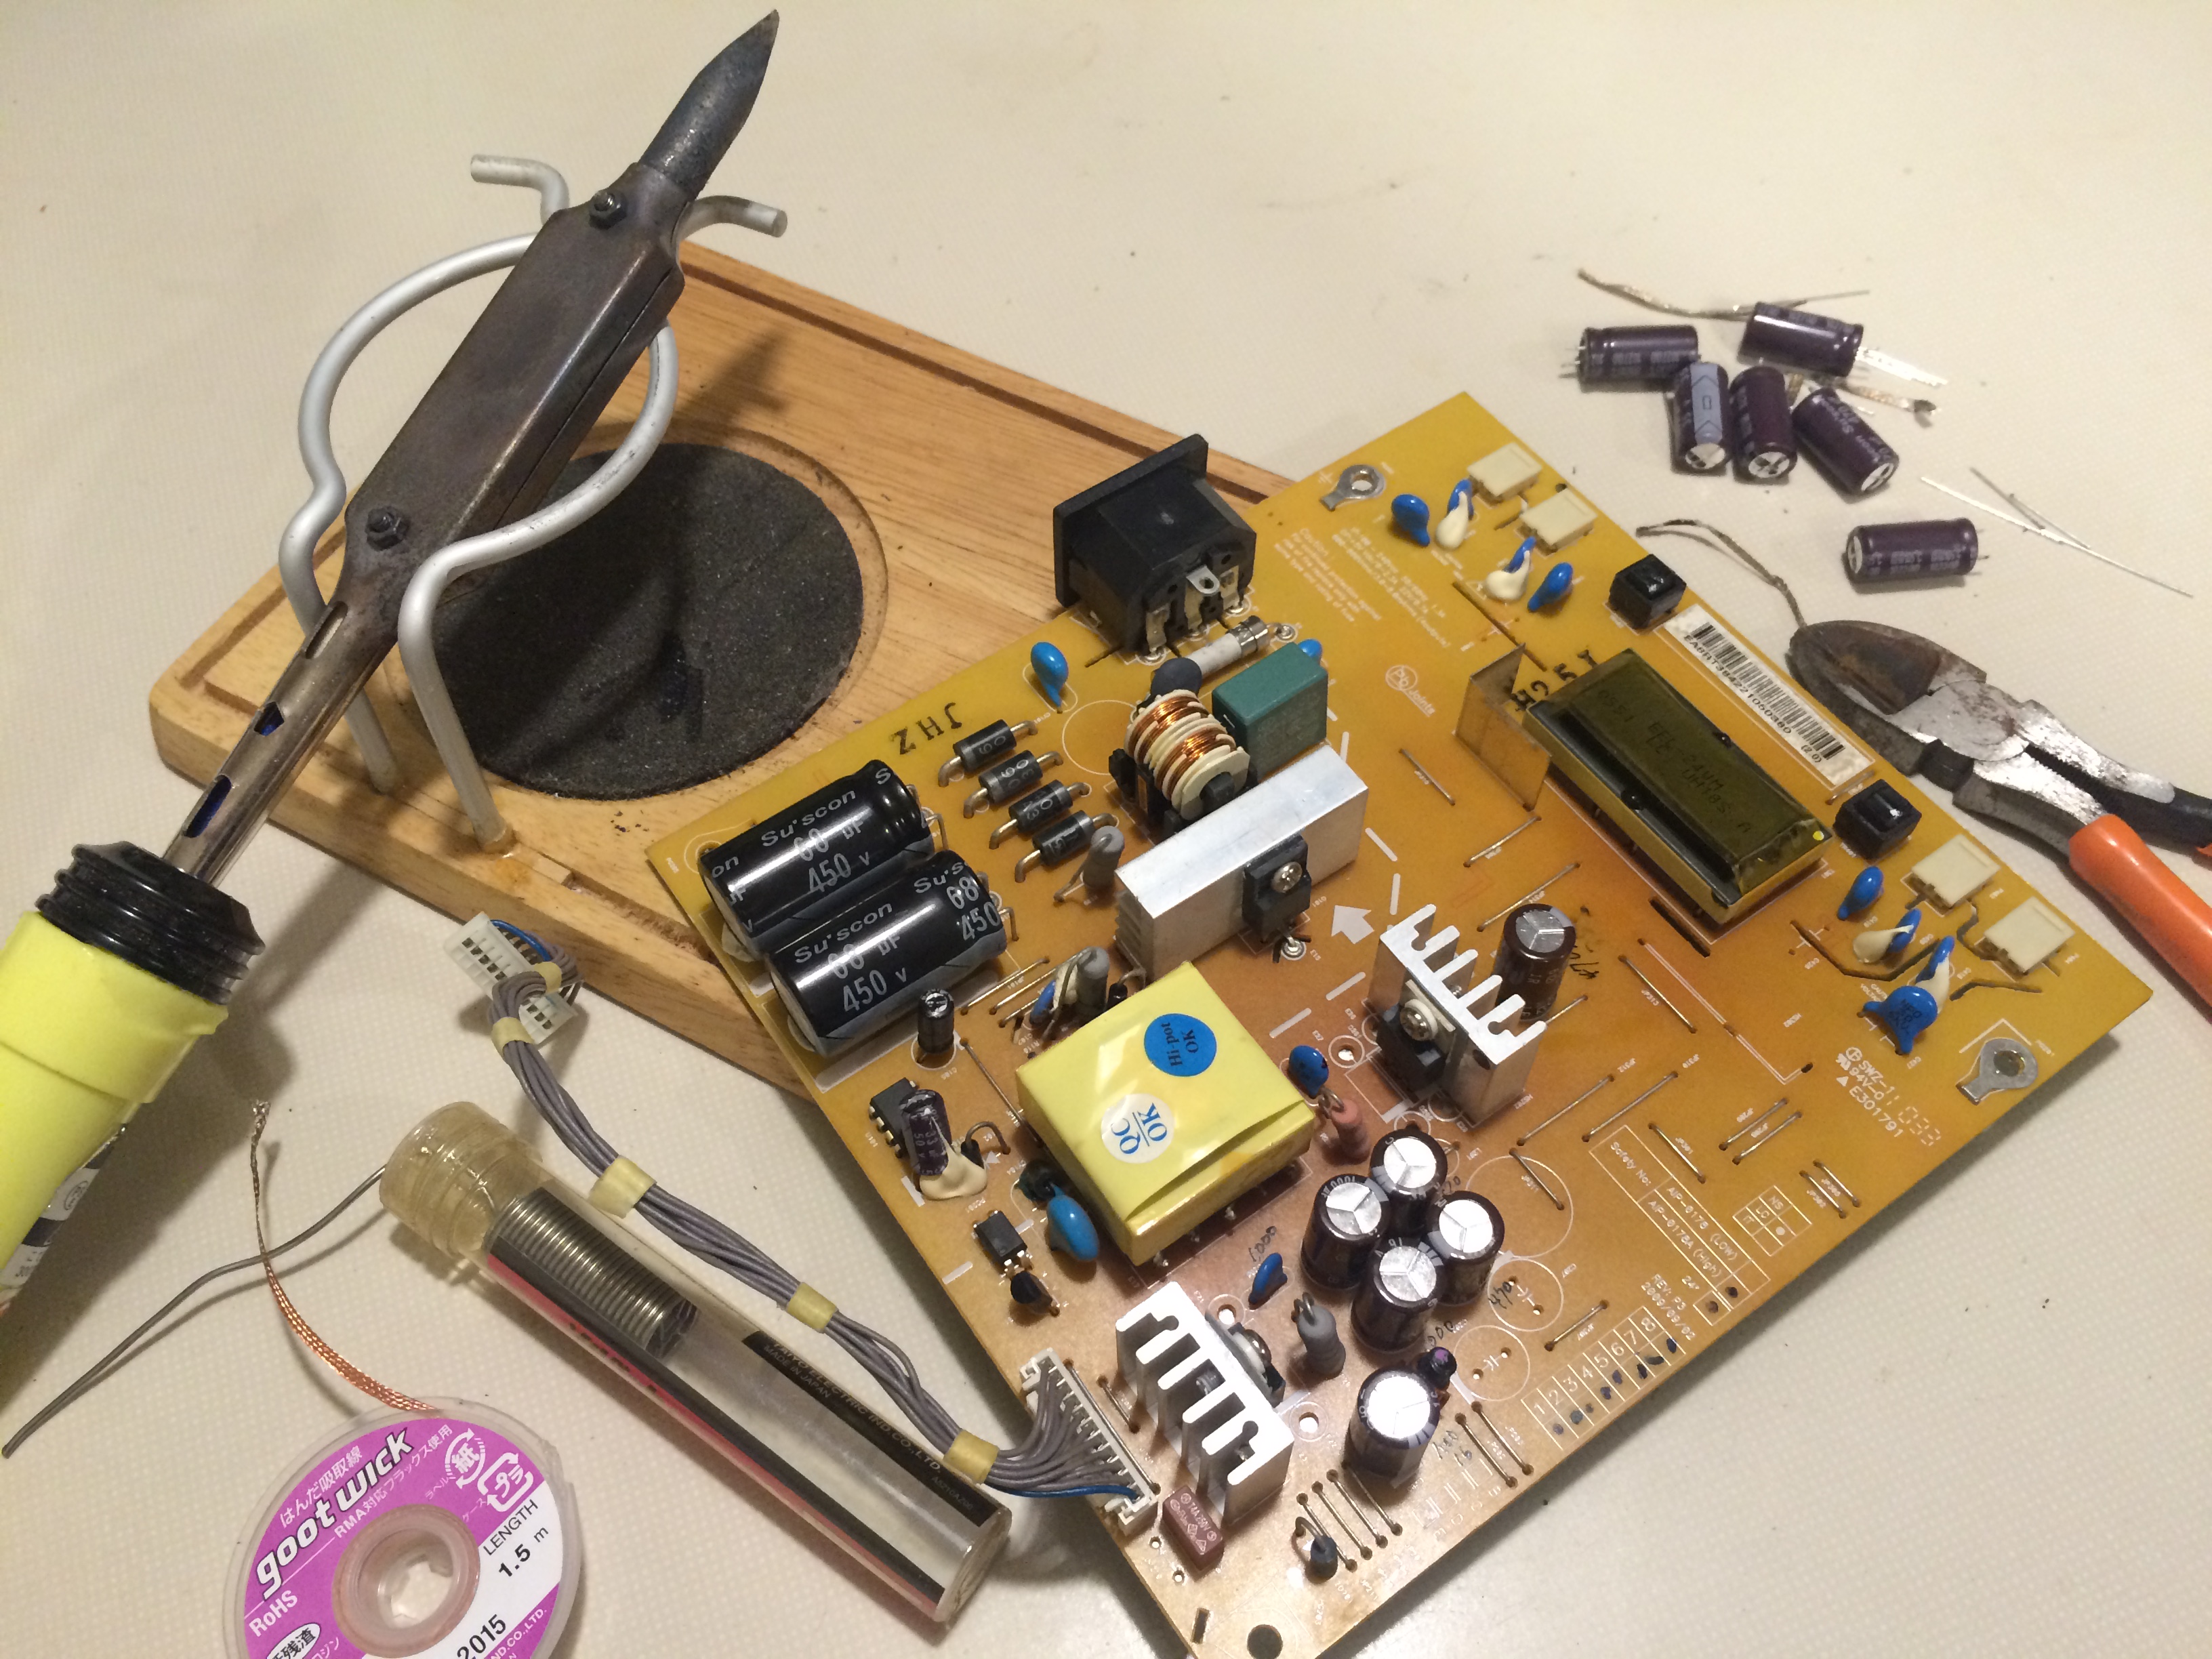
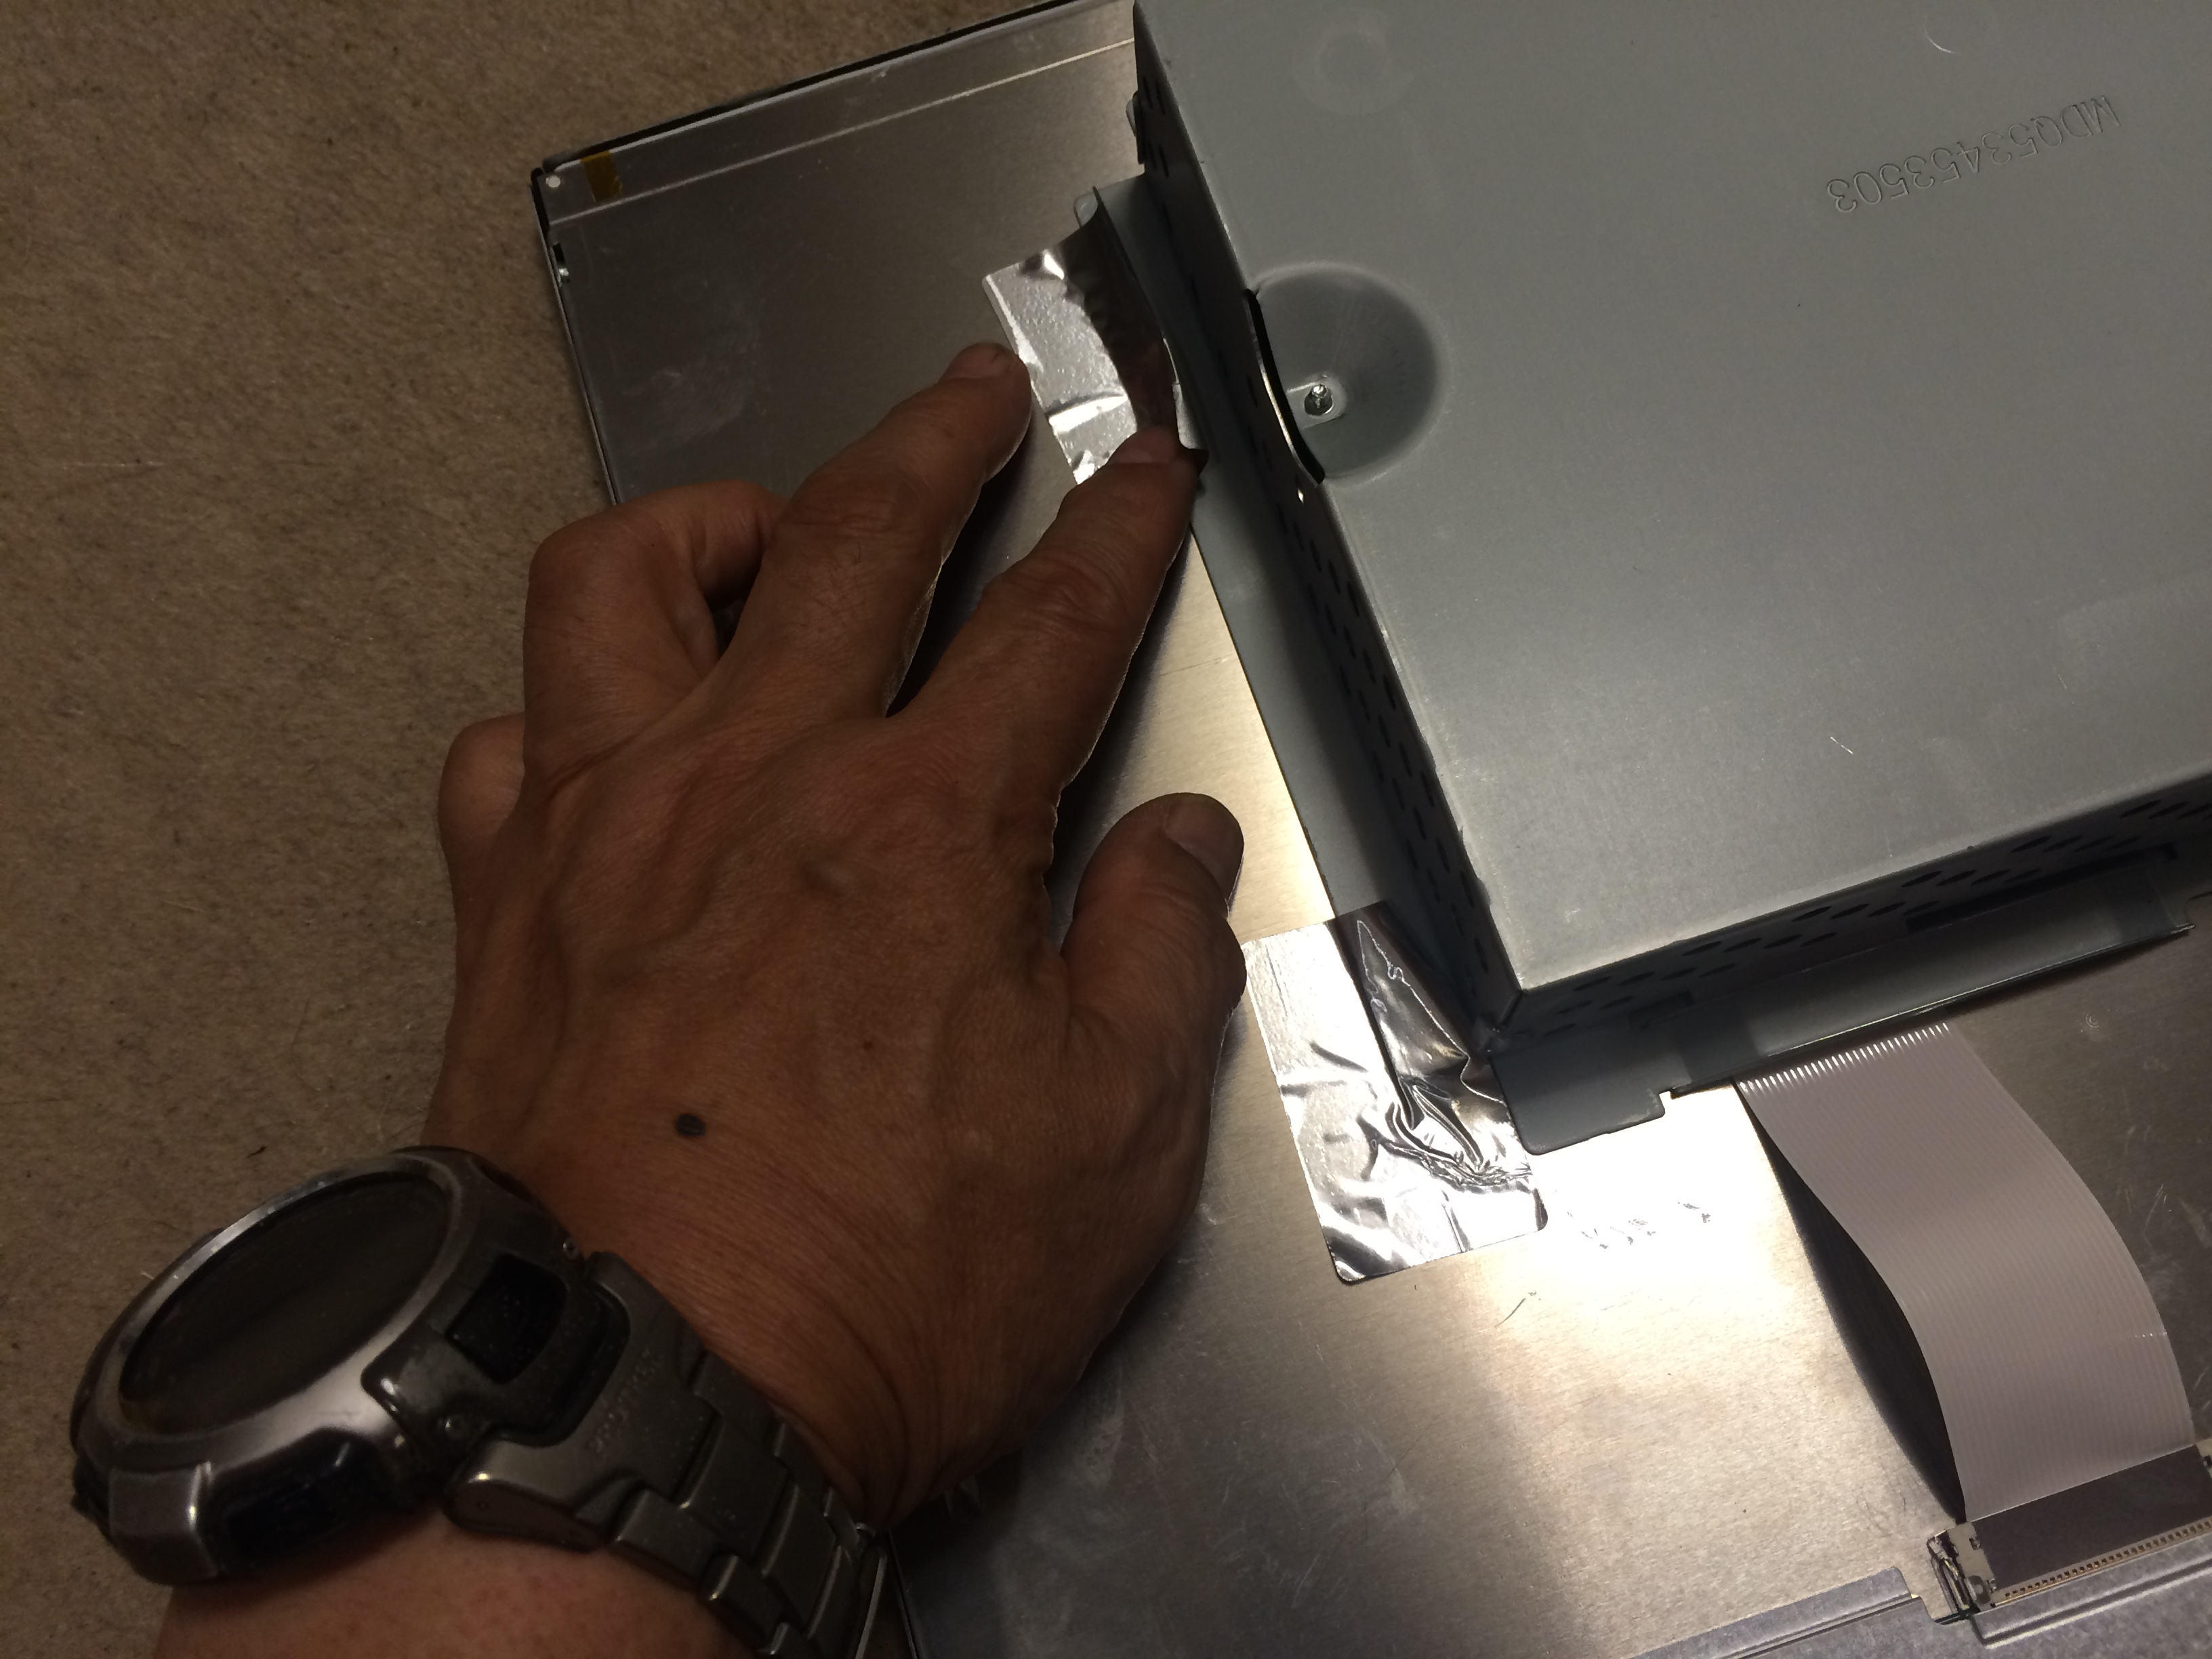
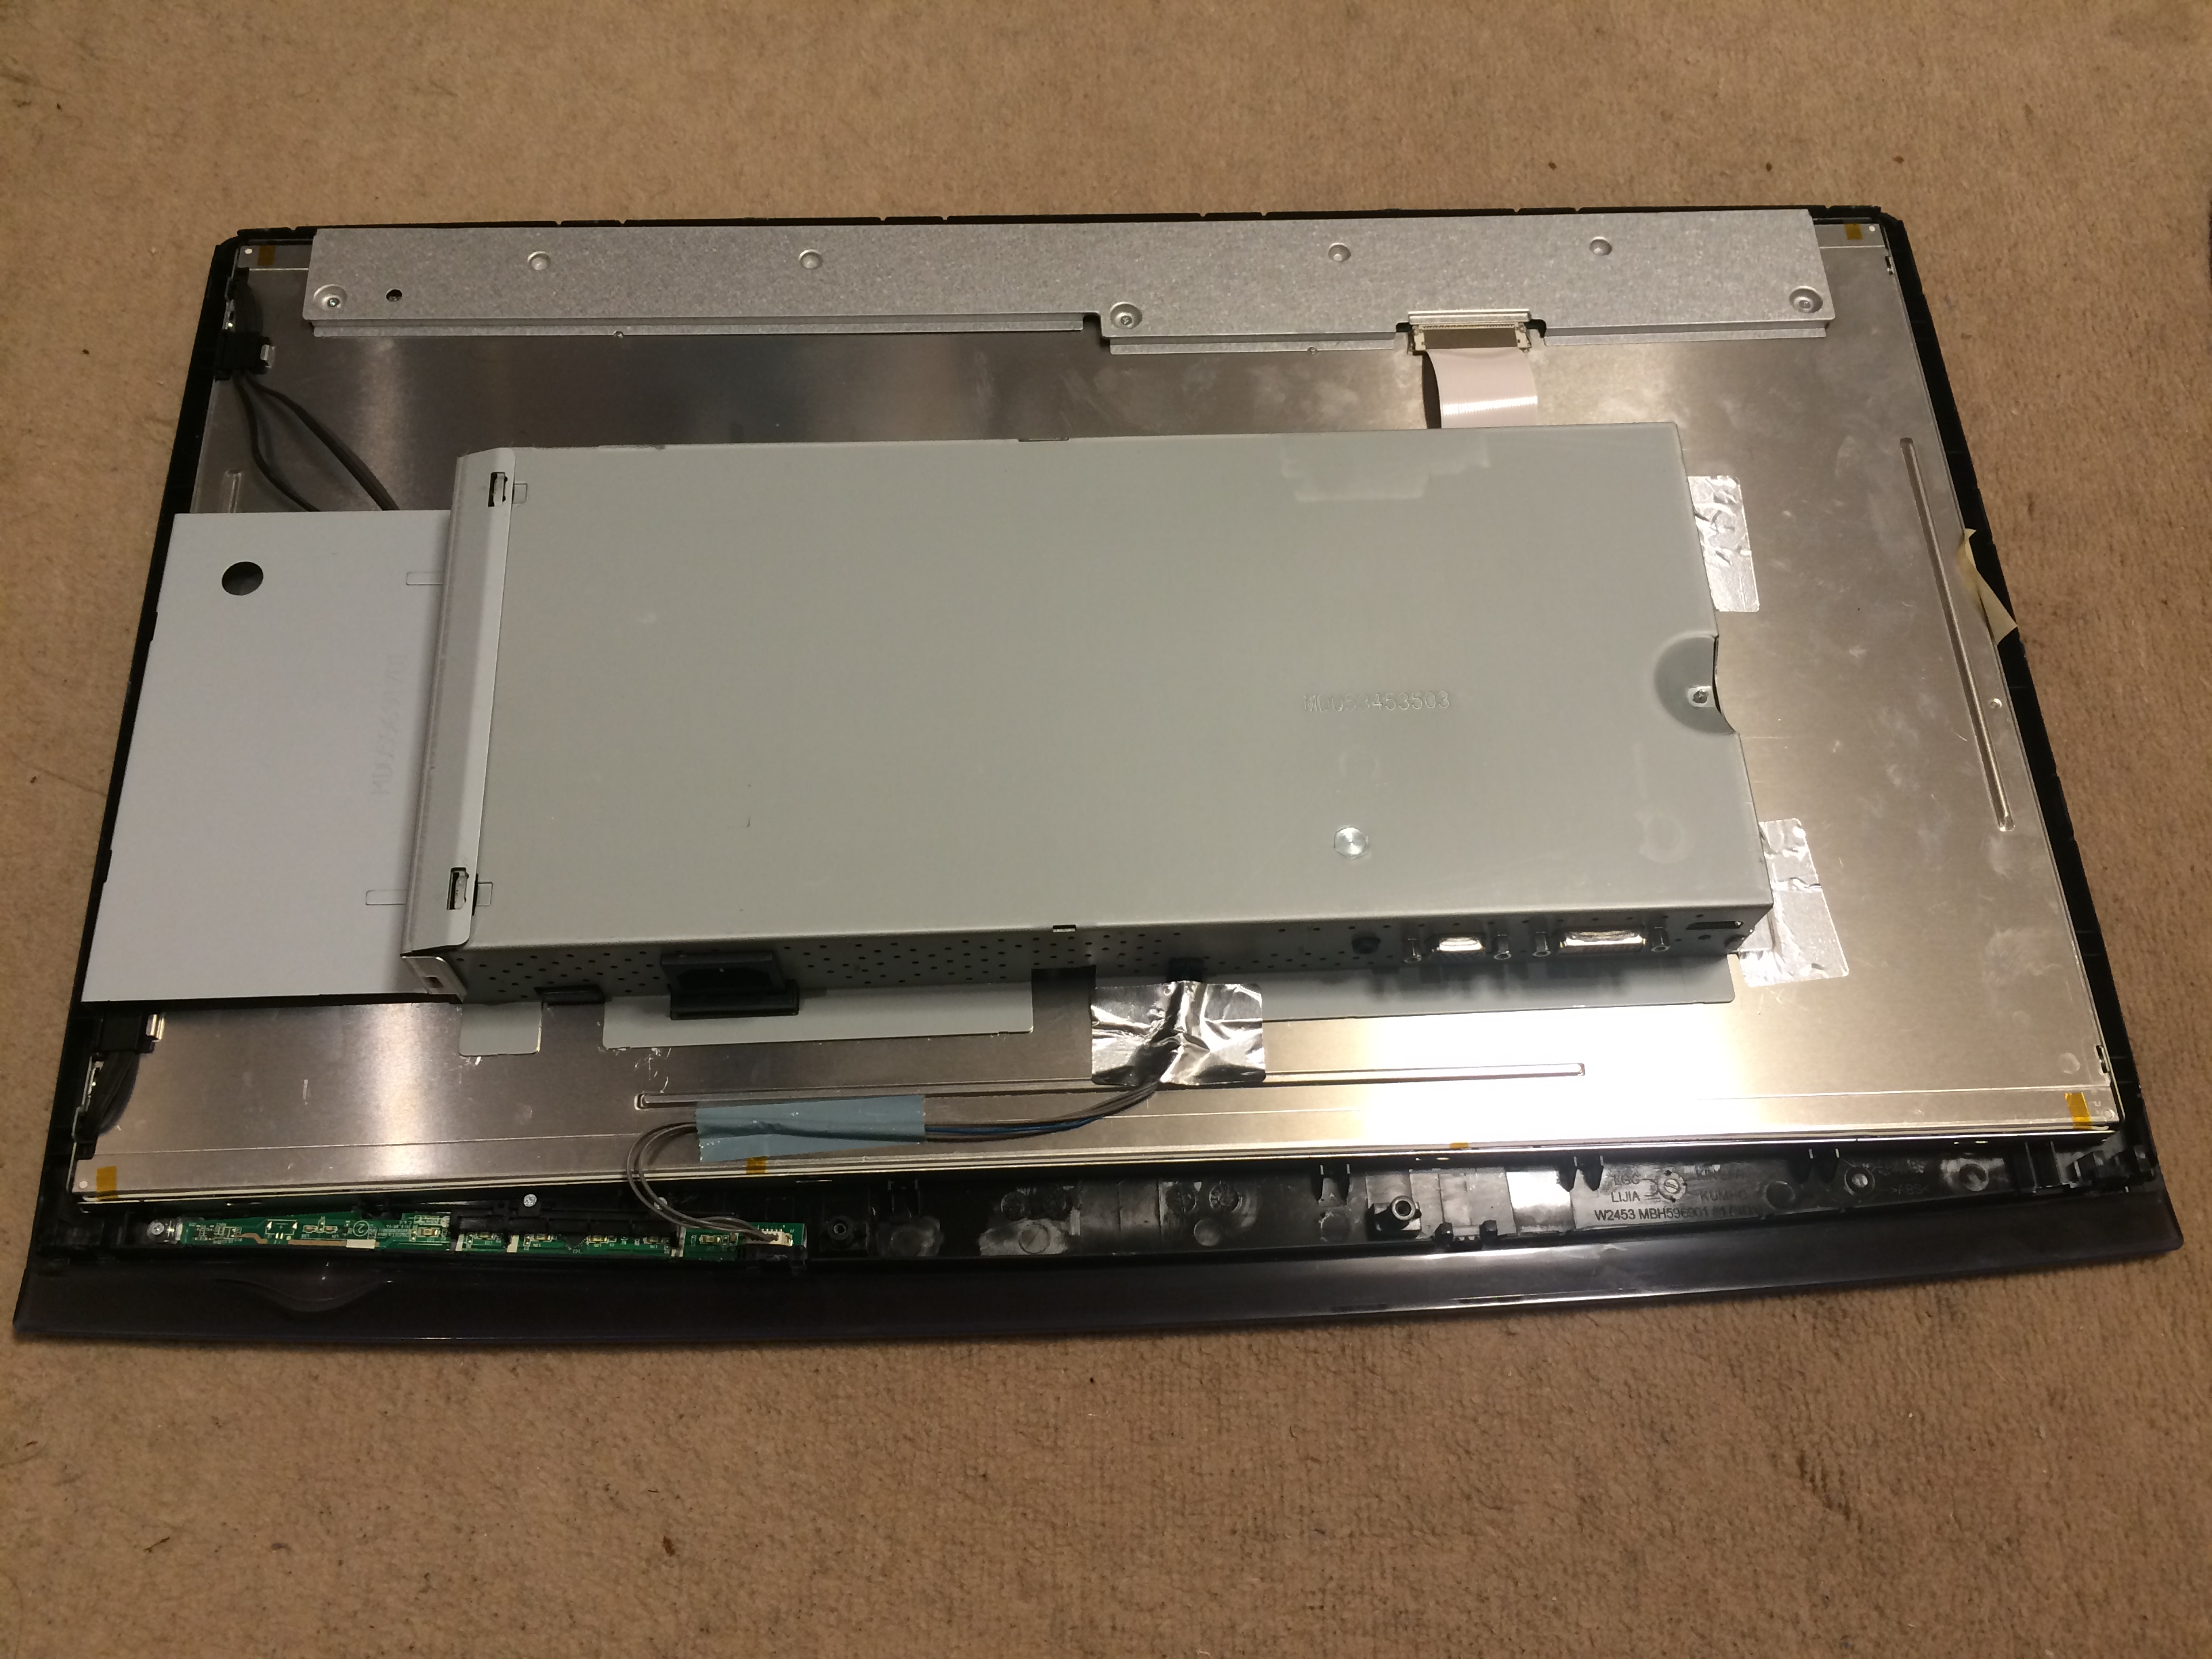
I open up the plastic casing and voila! Six of the capacitors had swollen. I took a memo of their capacities and voltages, and then ran to a electrical parts shop in Teramachi.
ケースを開けてみたら、やっぱ!コンデンサー6個が膨れ上がっていた。容量と電圧をメモって寺町の電子部品屋さんに走った。
The parts– six capacitors and solder absorption chord– cost me 900 yen all together (only 1/20 of the price for cheap LCD of the same size).
部品−−コンデンサー6個とはんだ吸い取り線−−は全部で900円(同サイズの安い液晶モニターのたった20分の1)
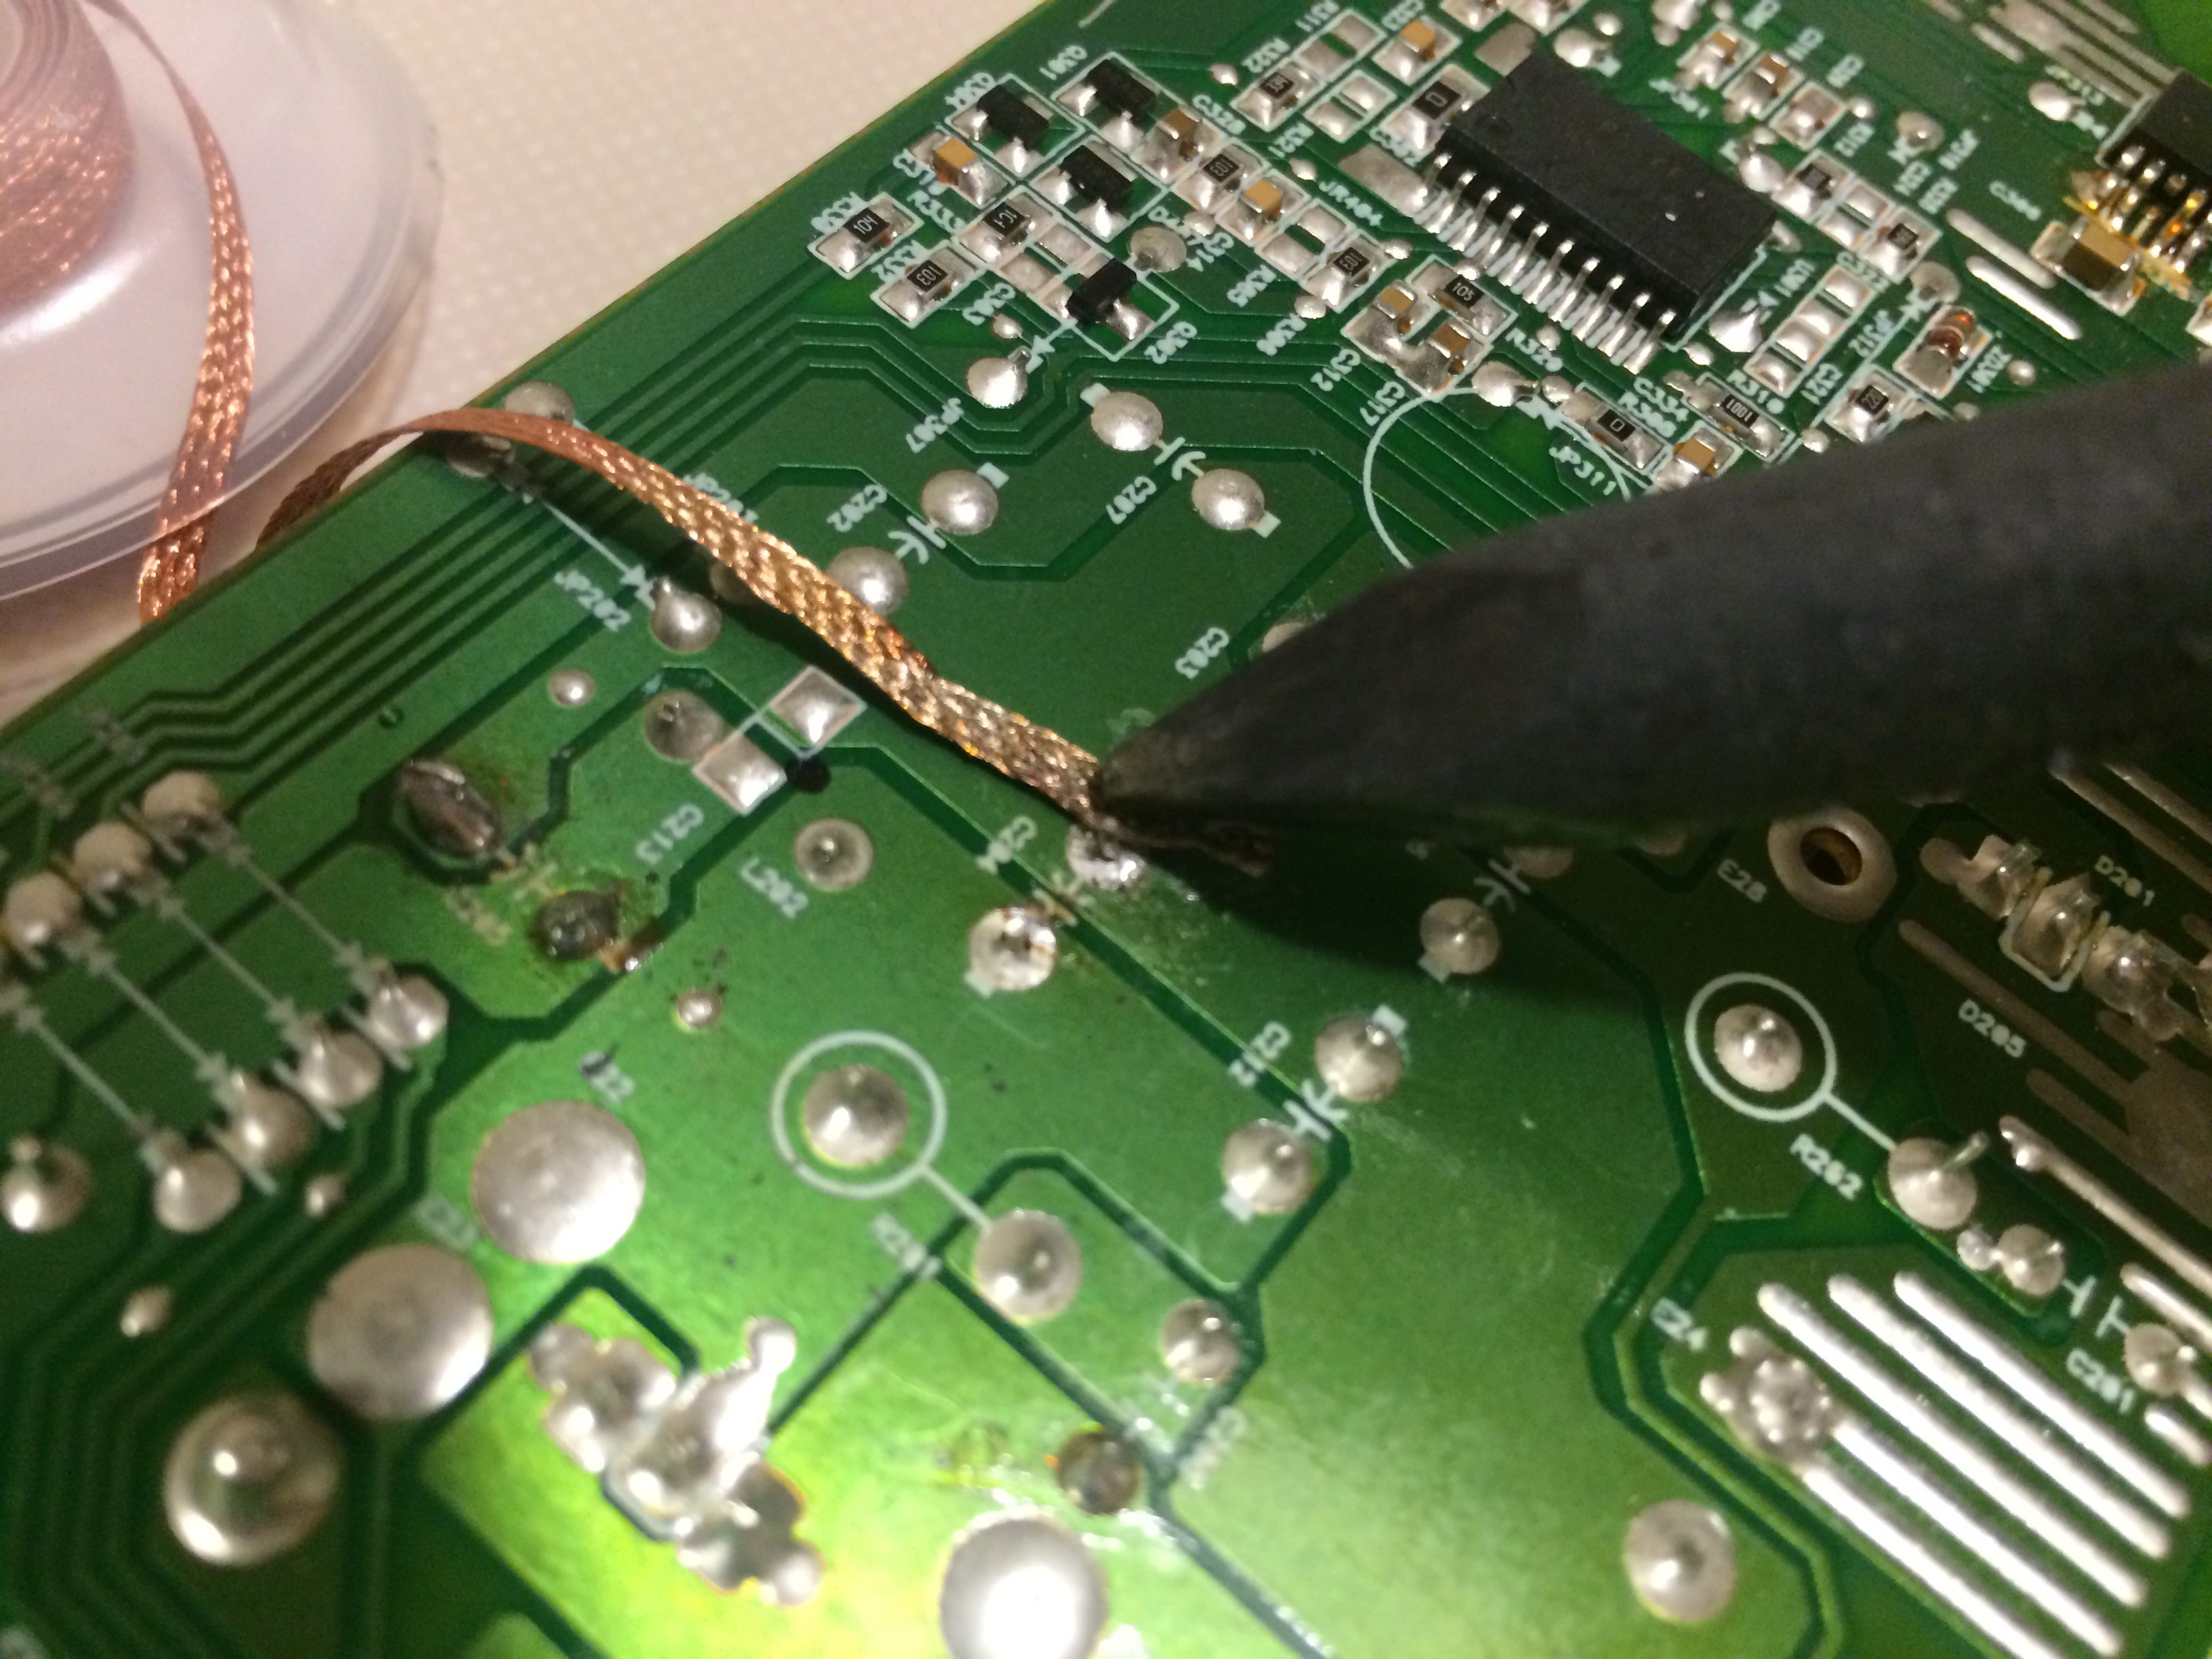
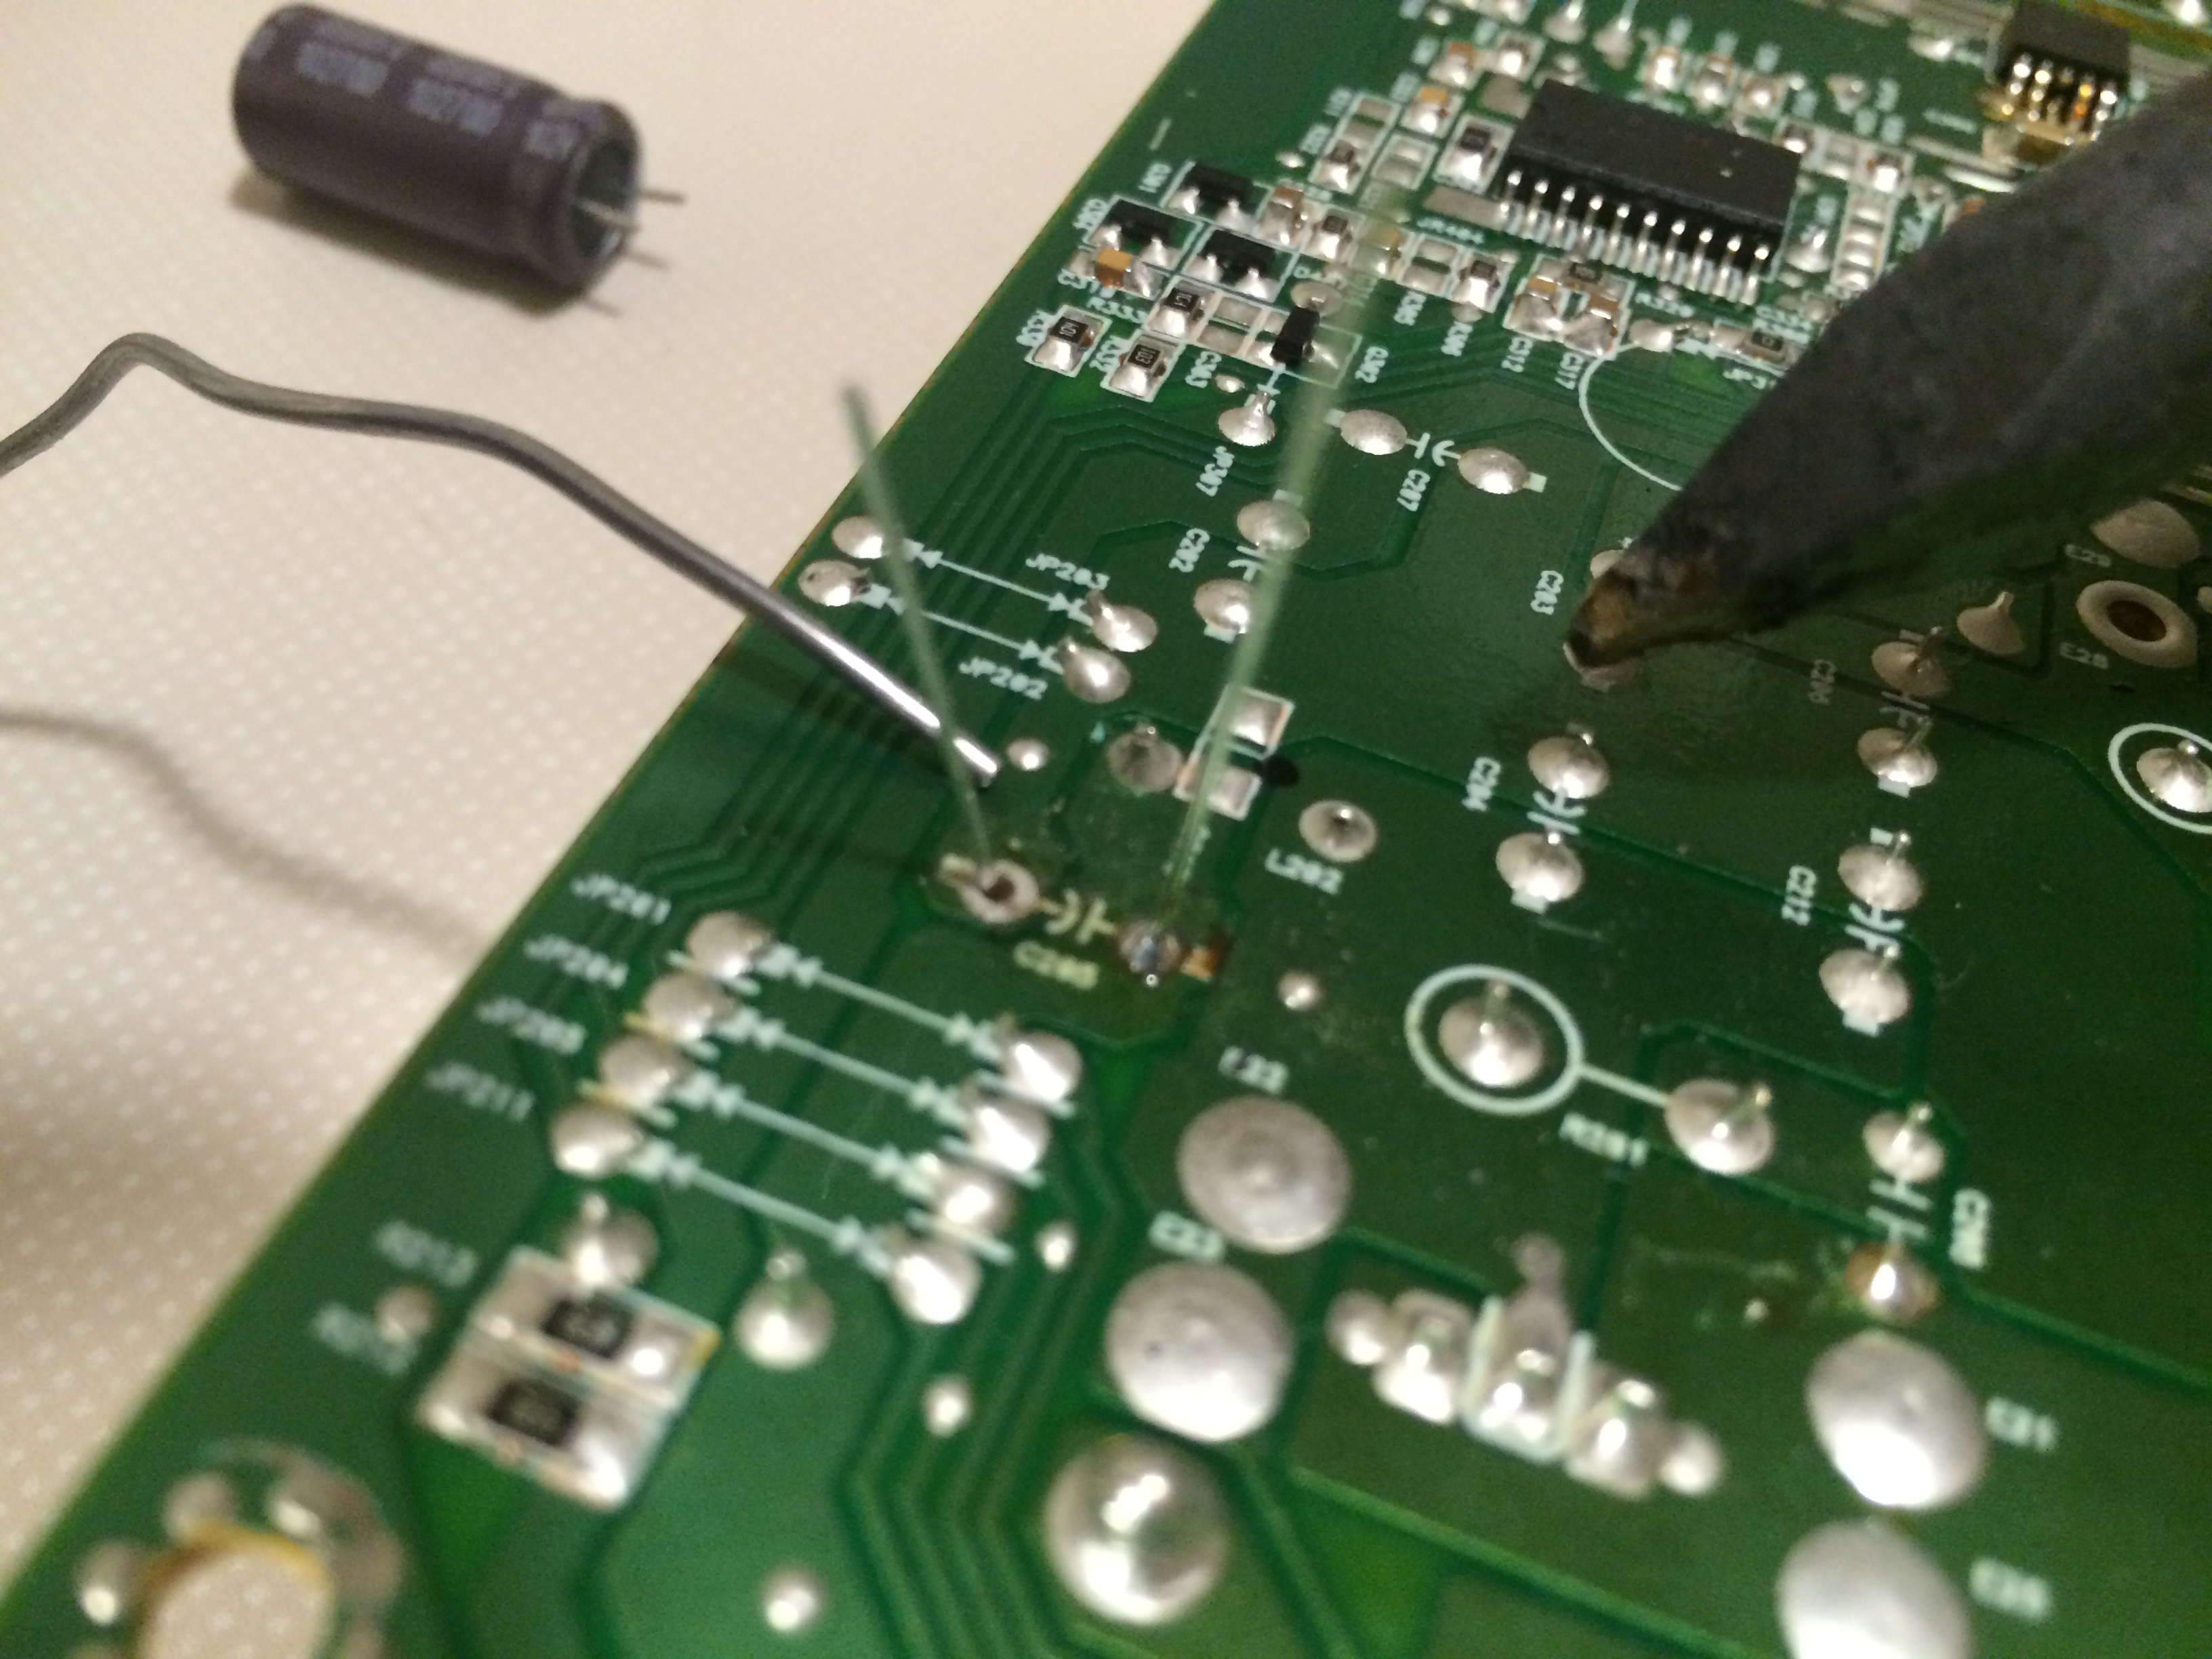
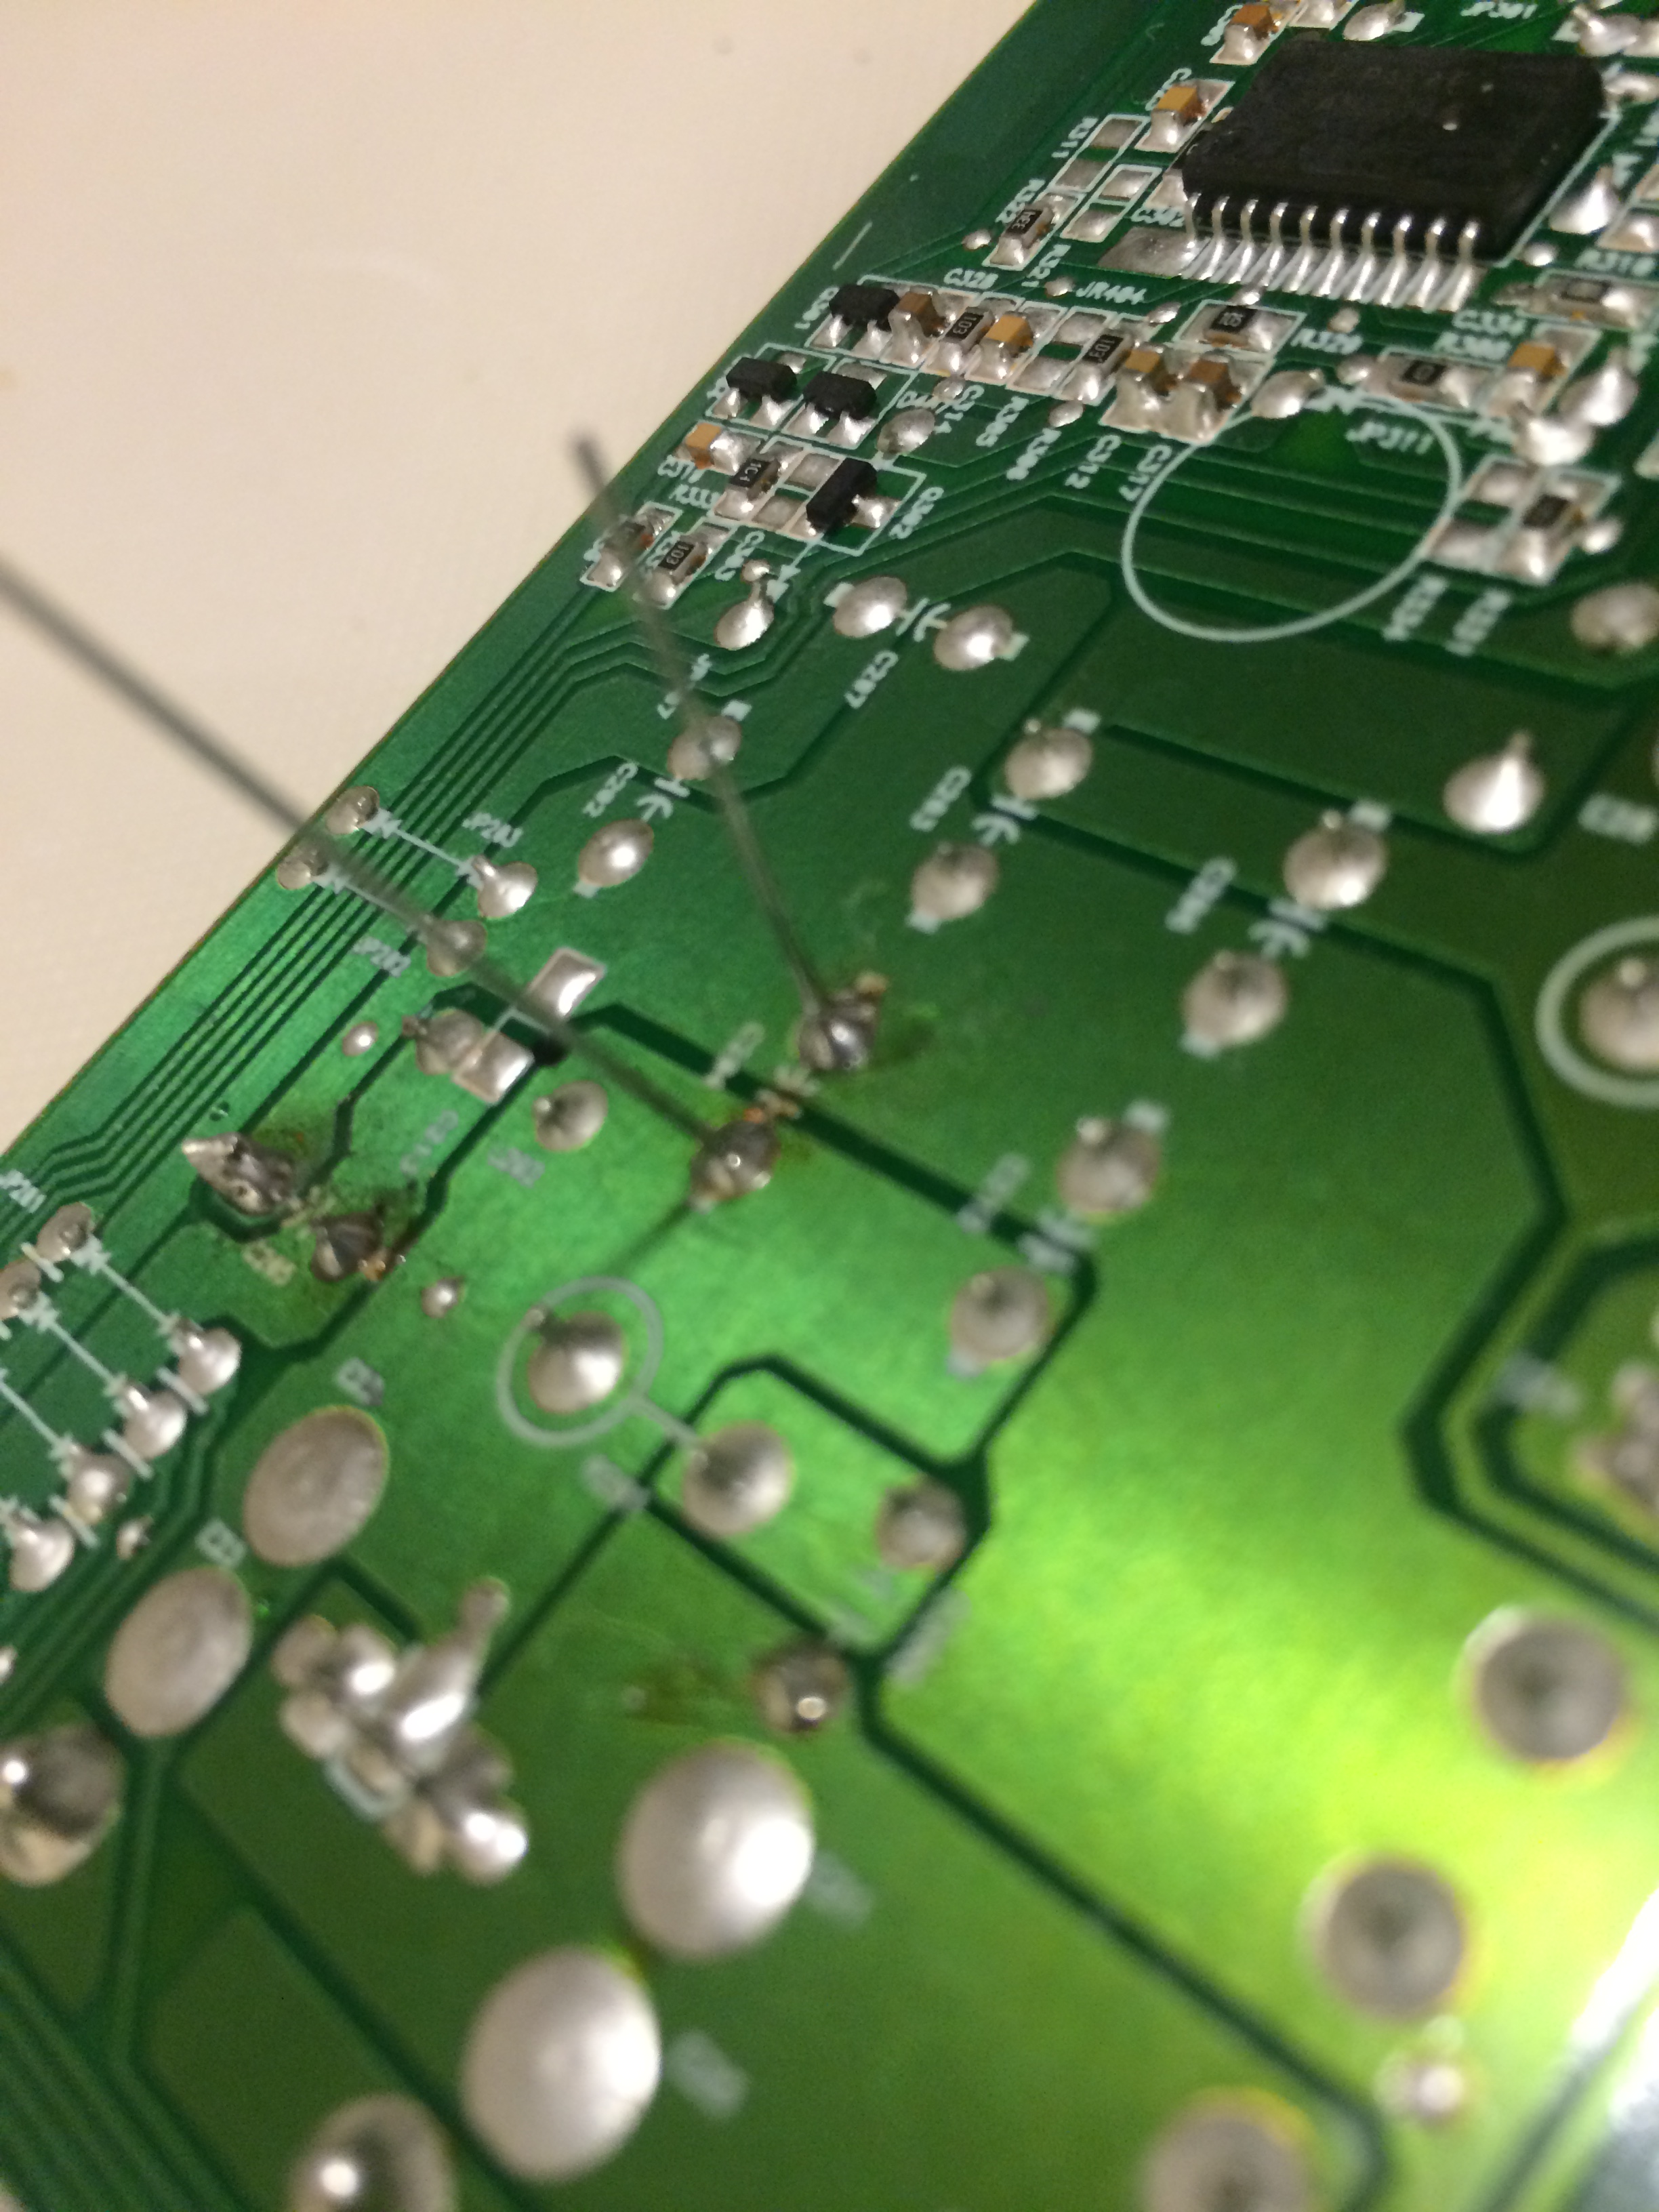
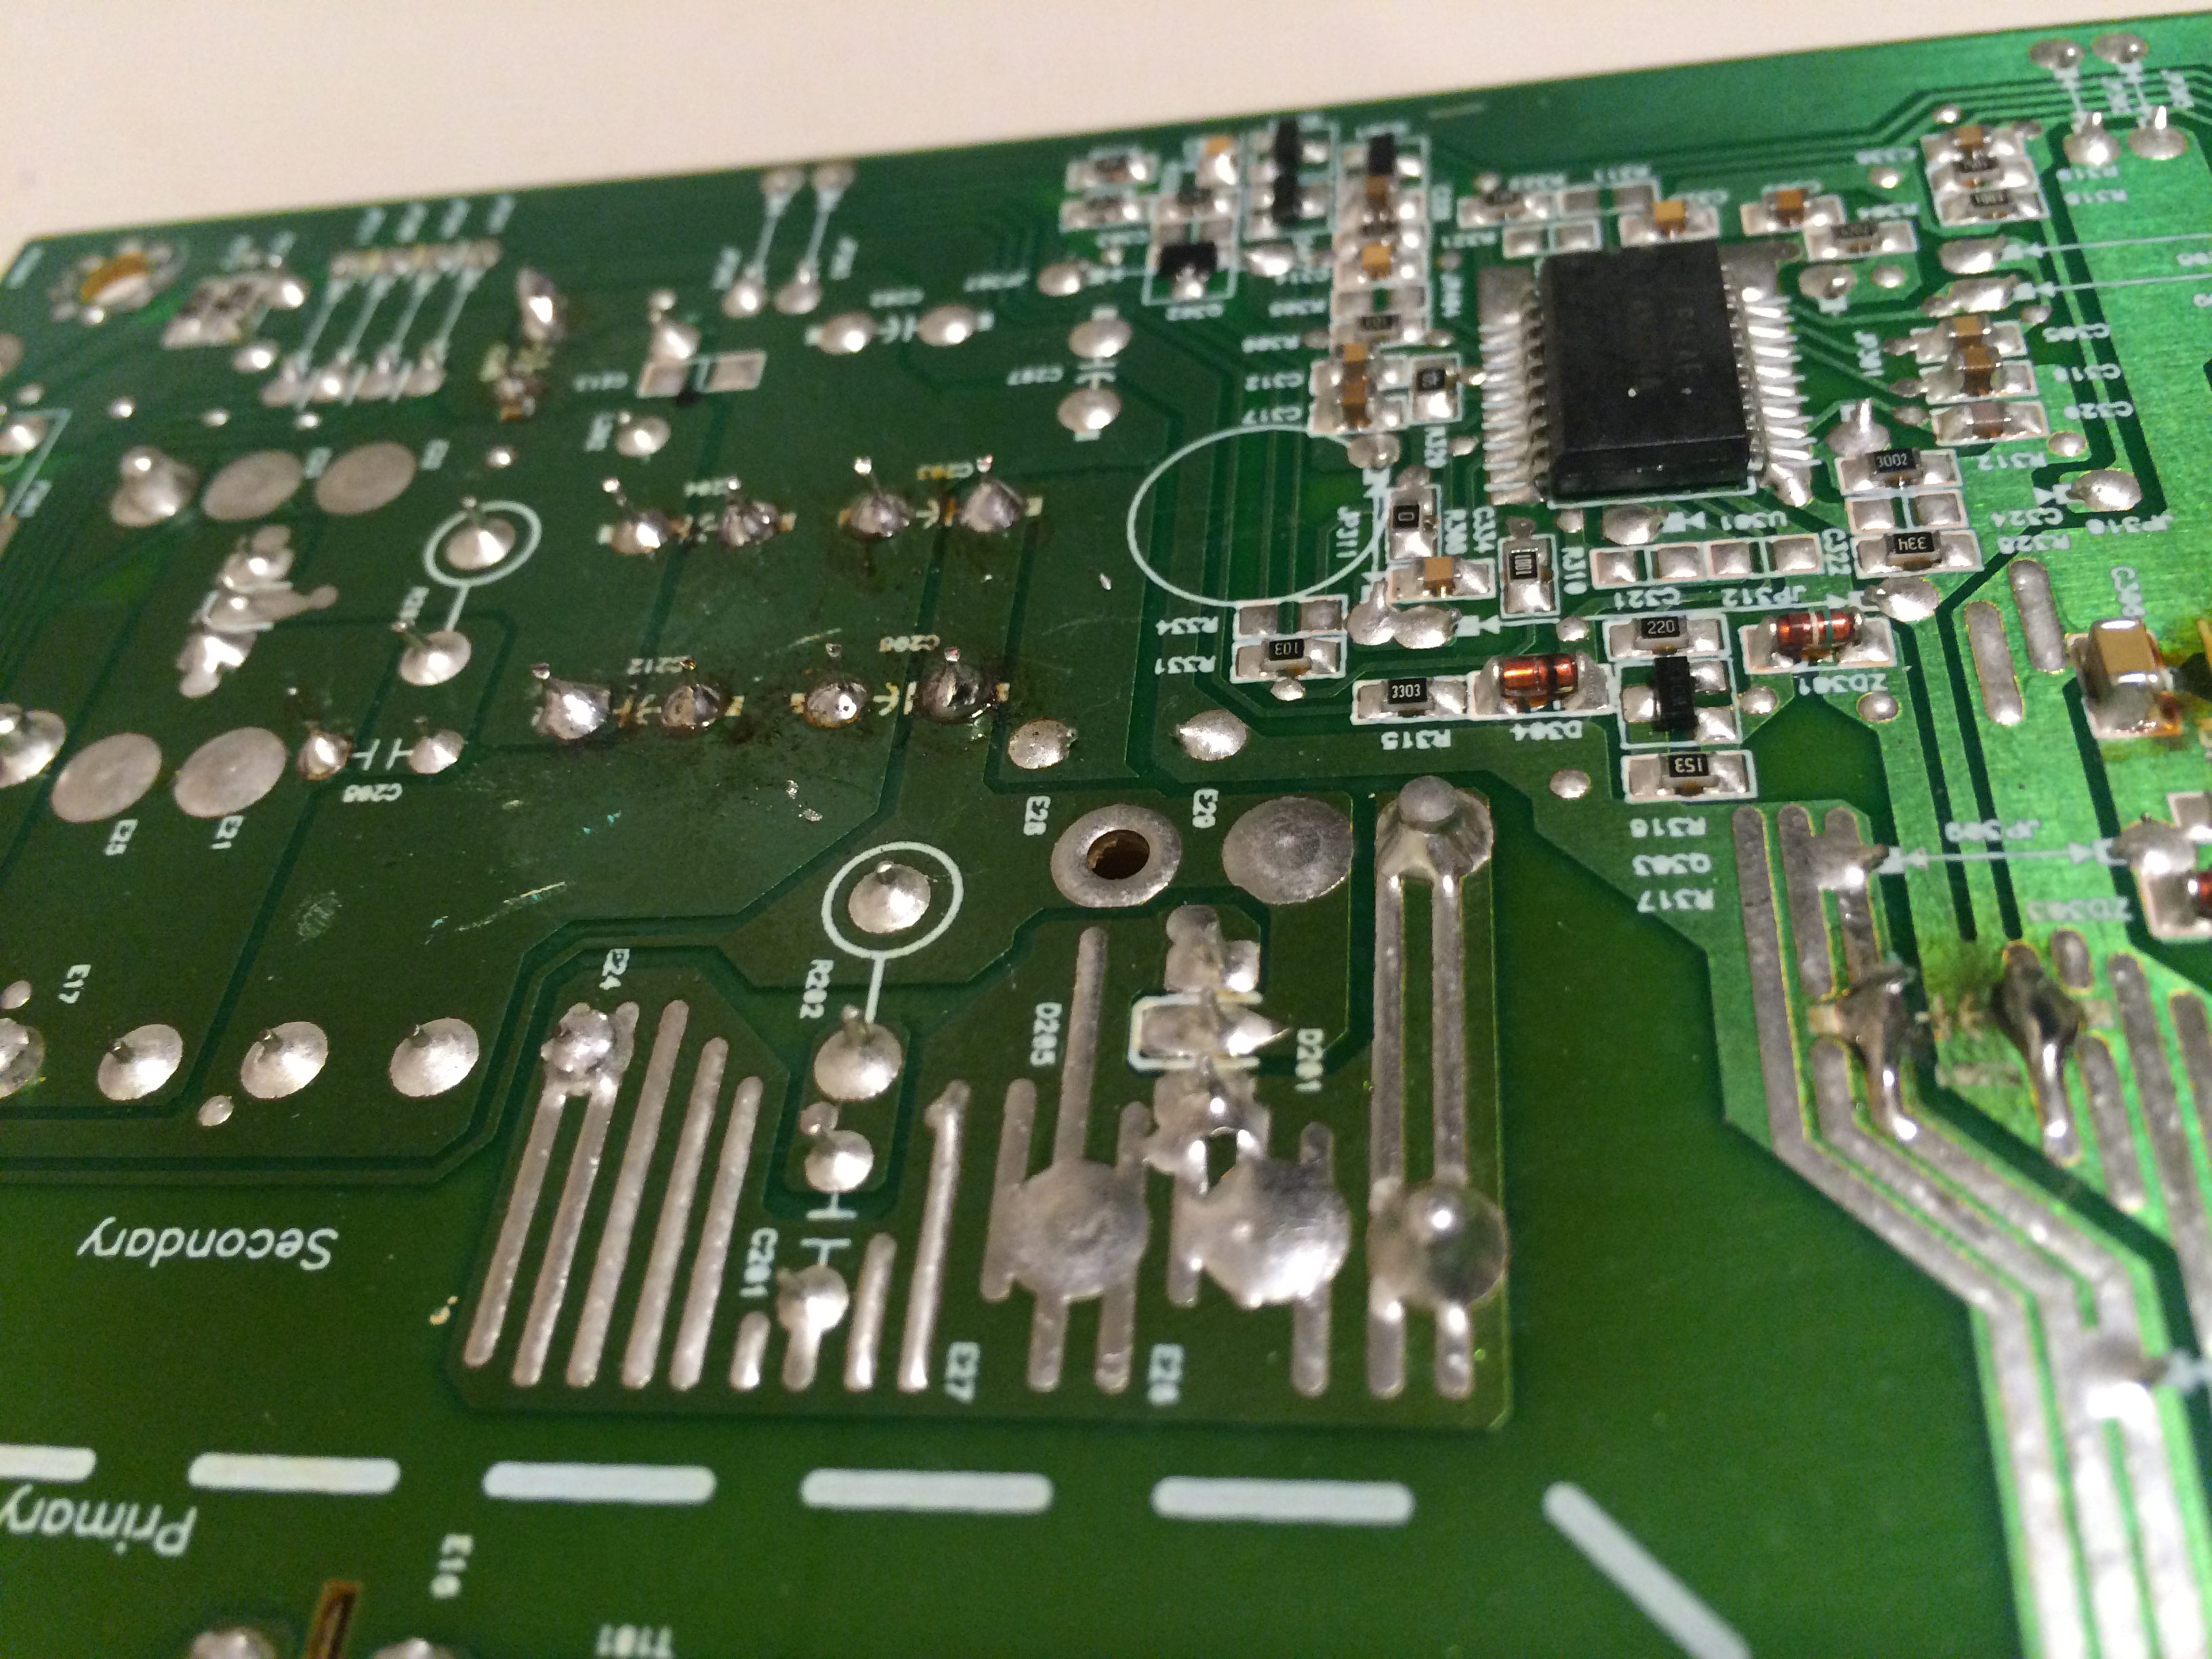
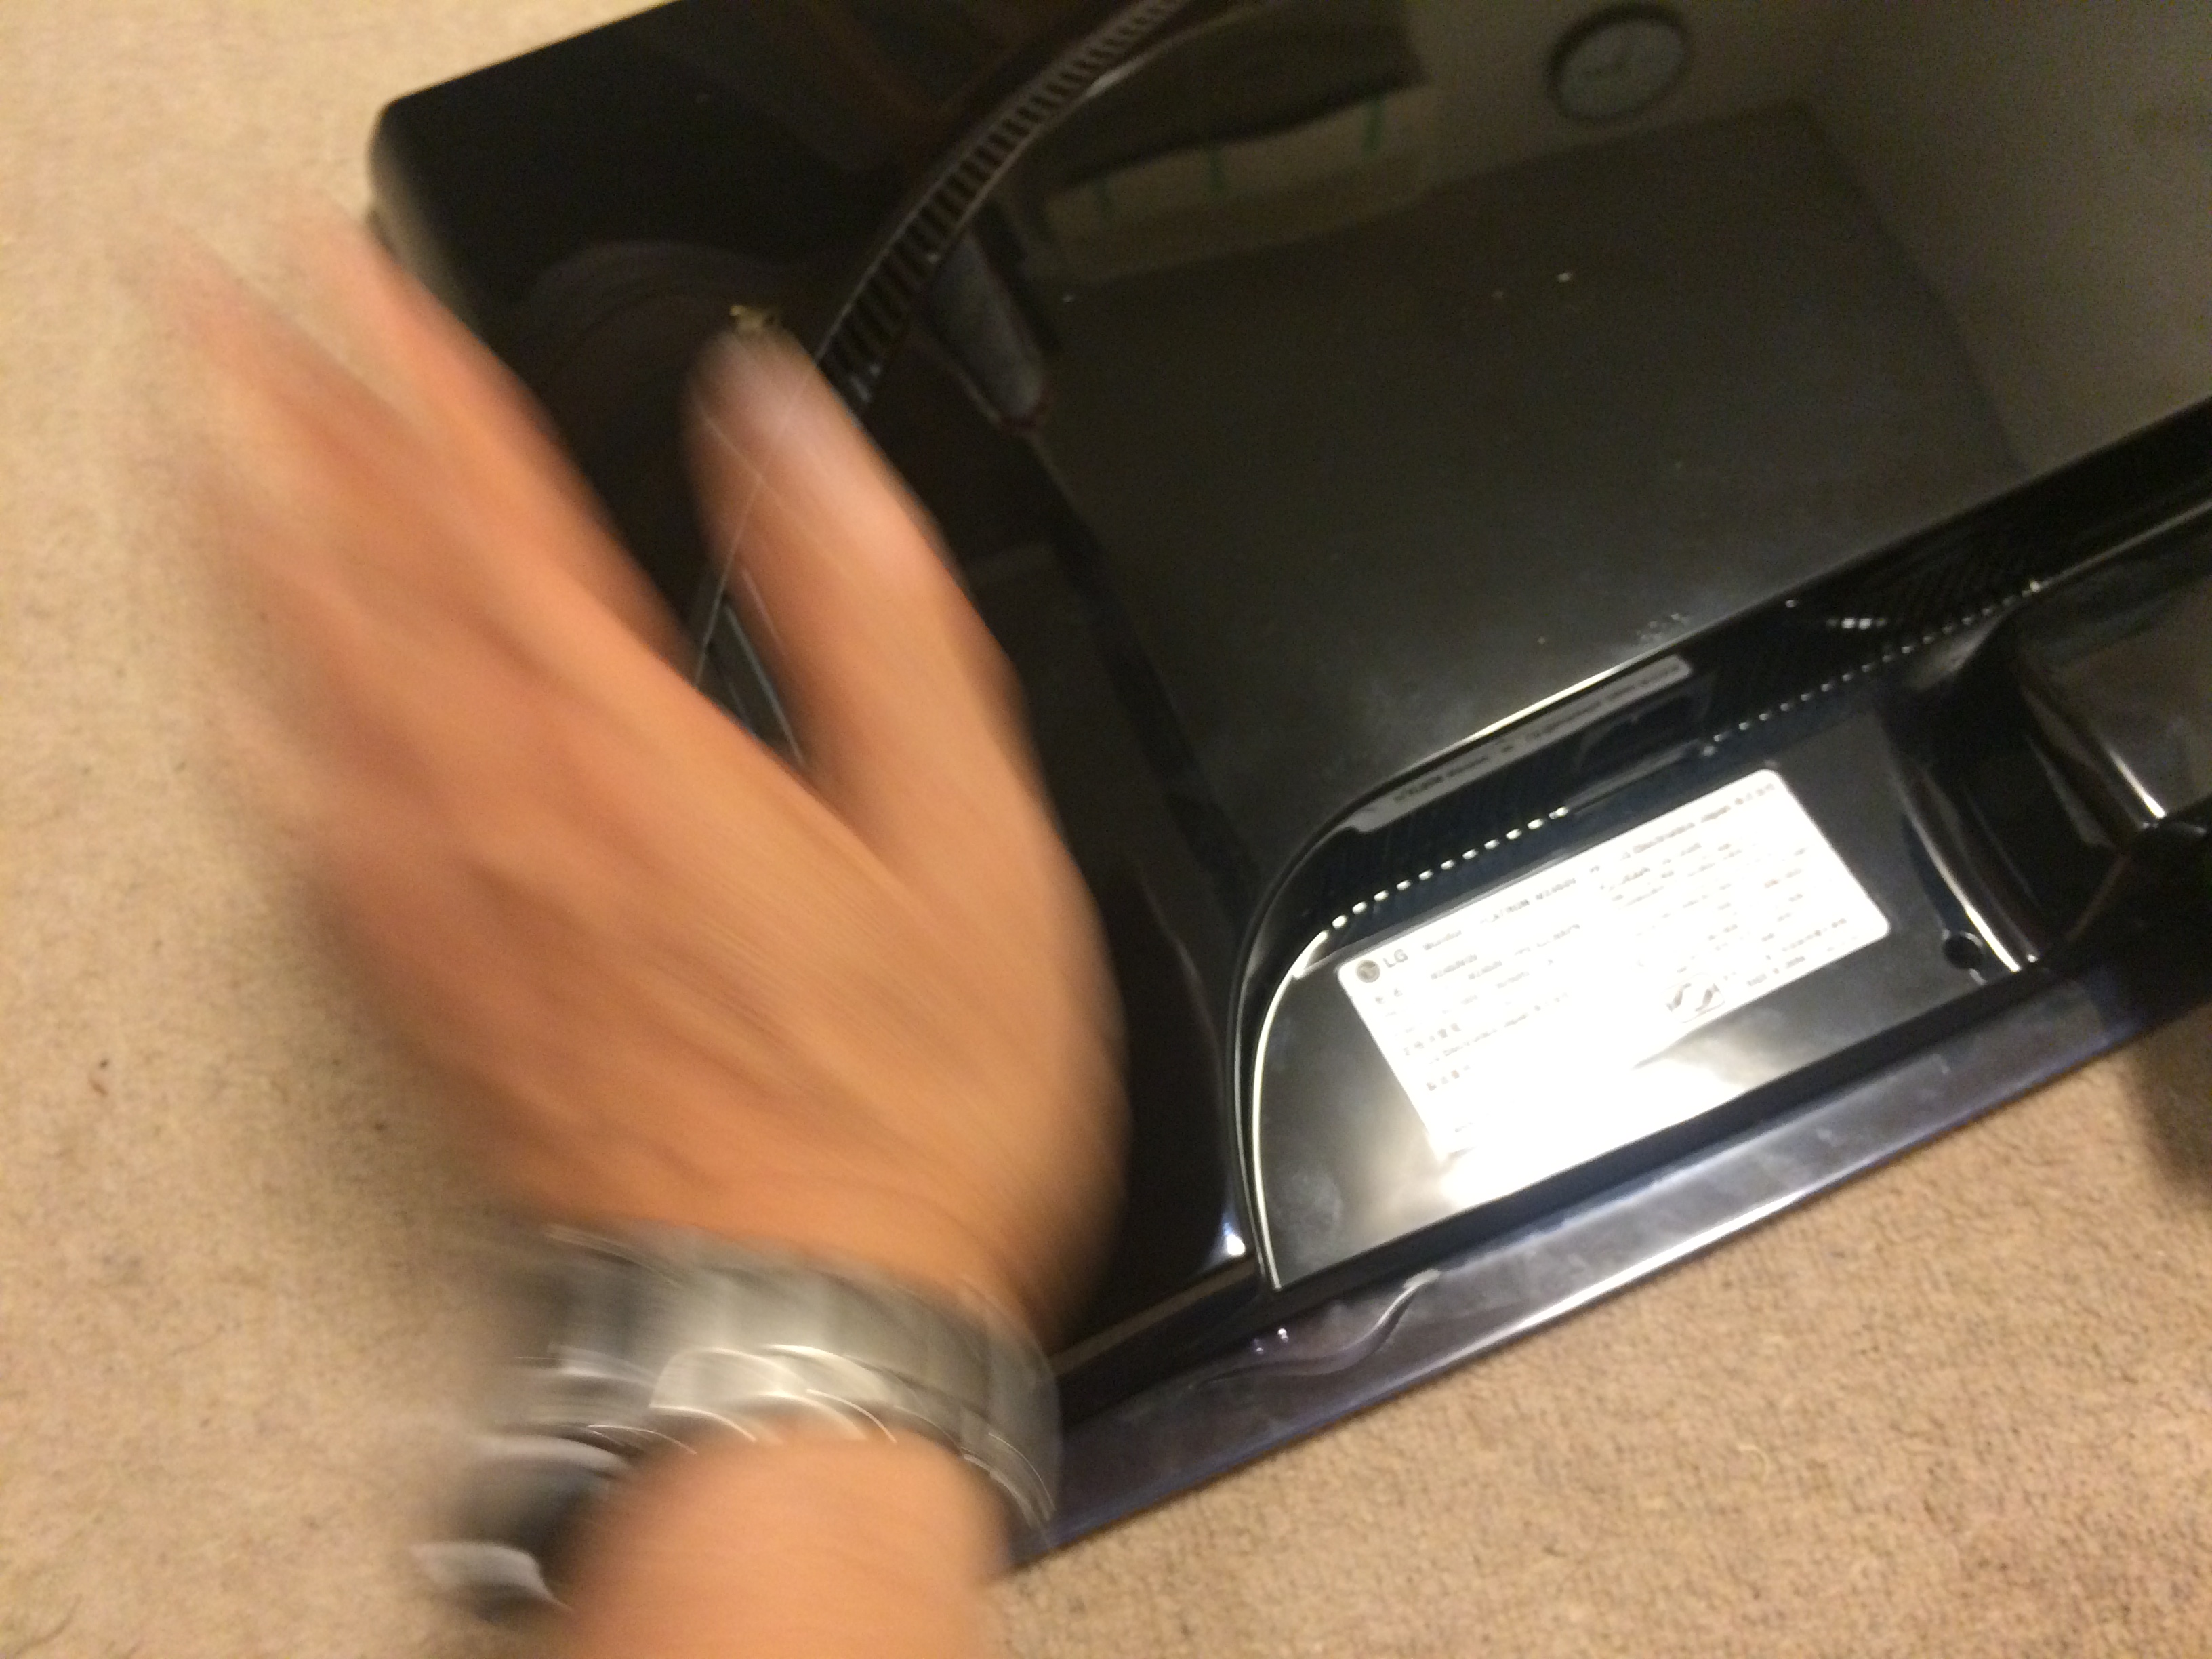
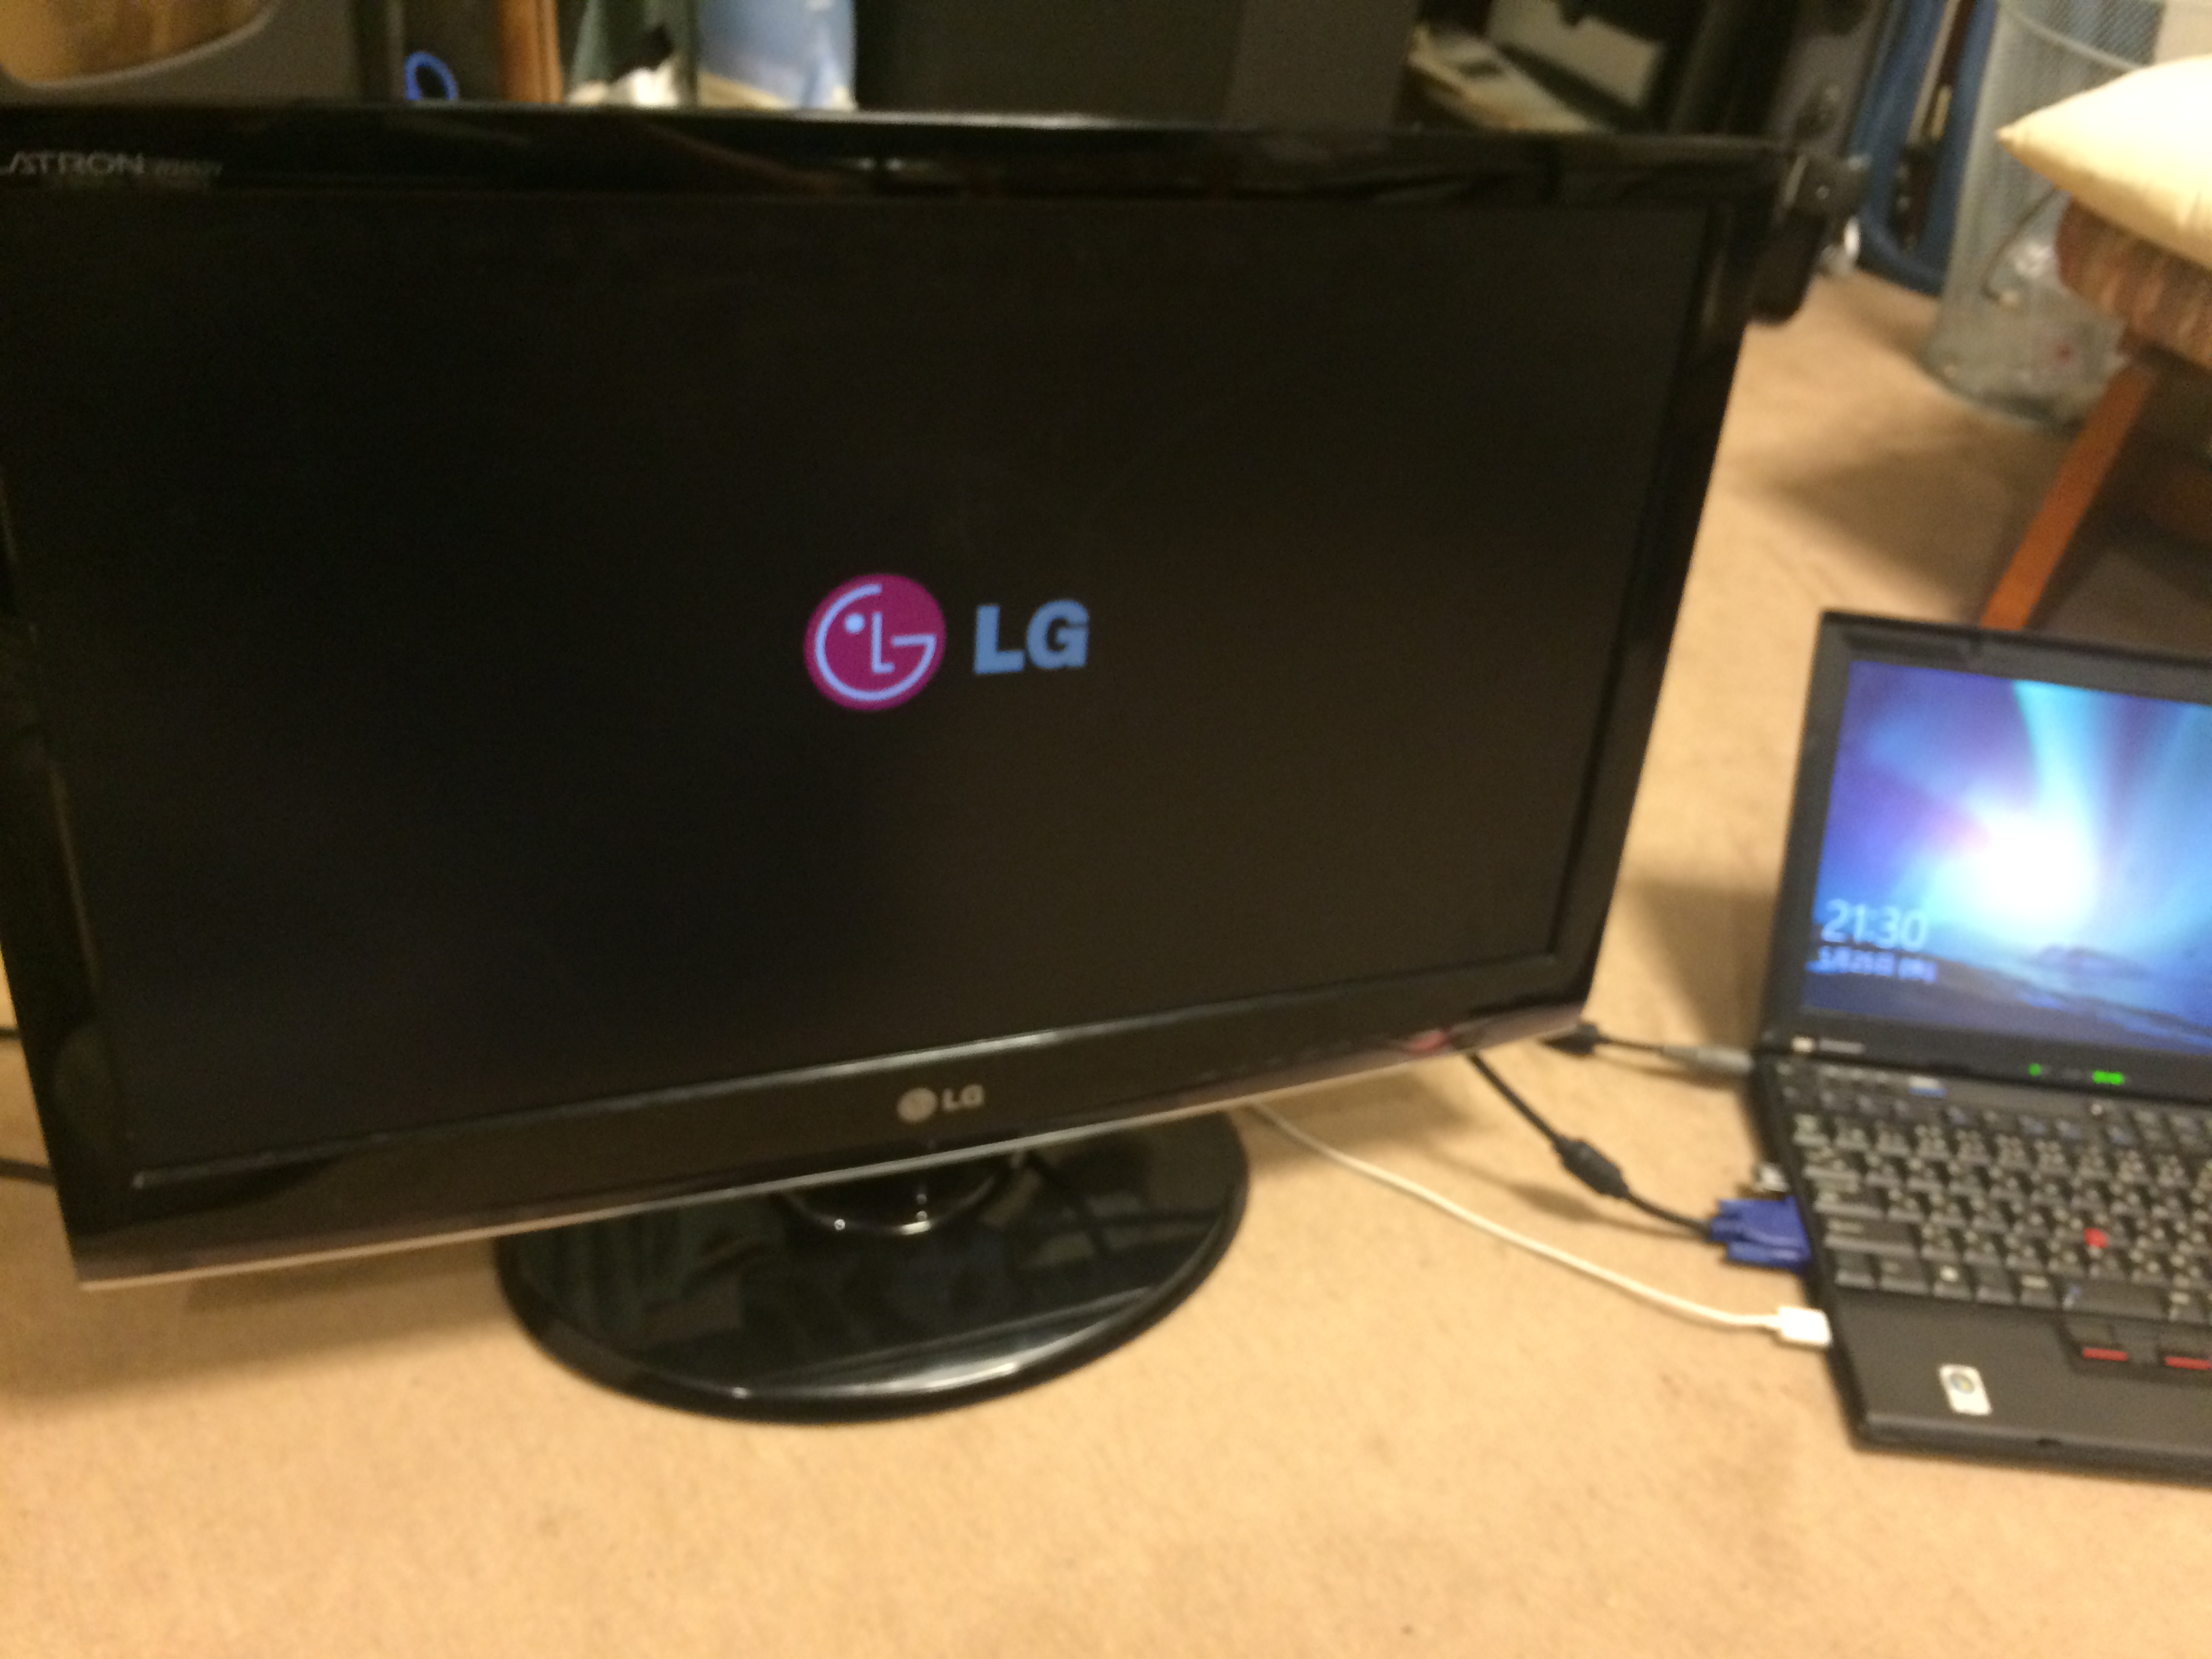
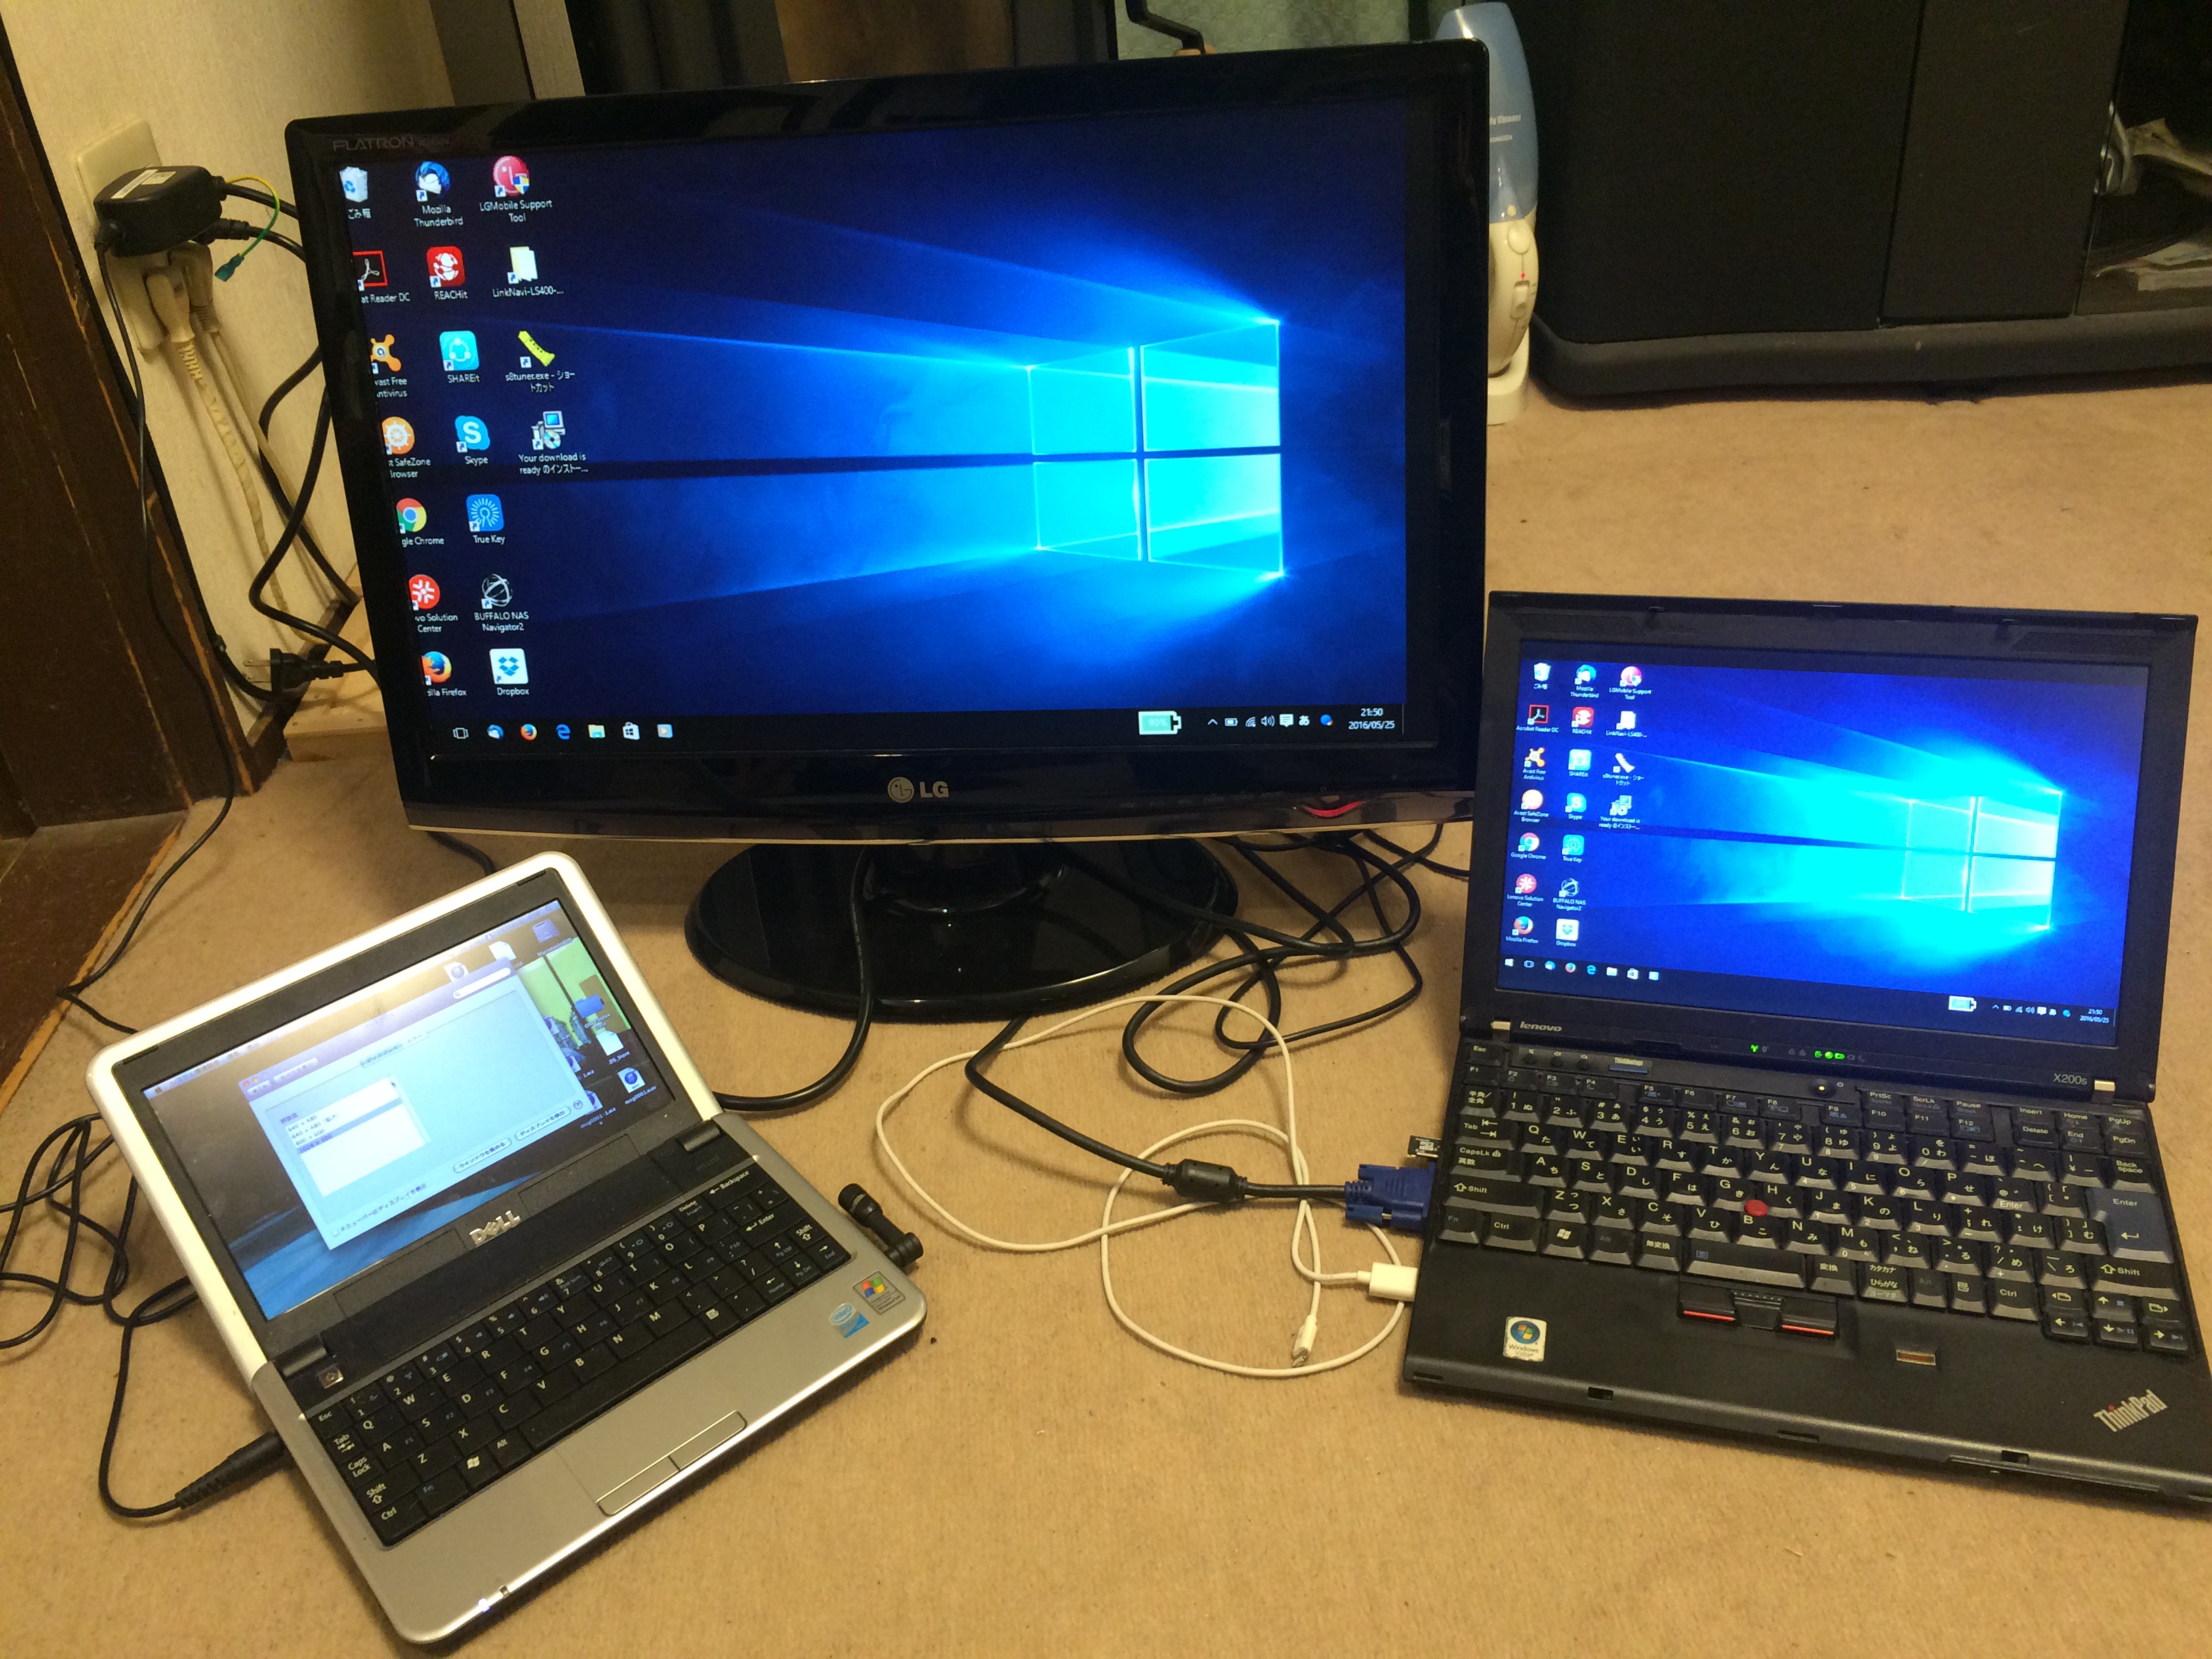
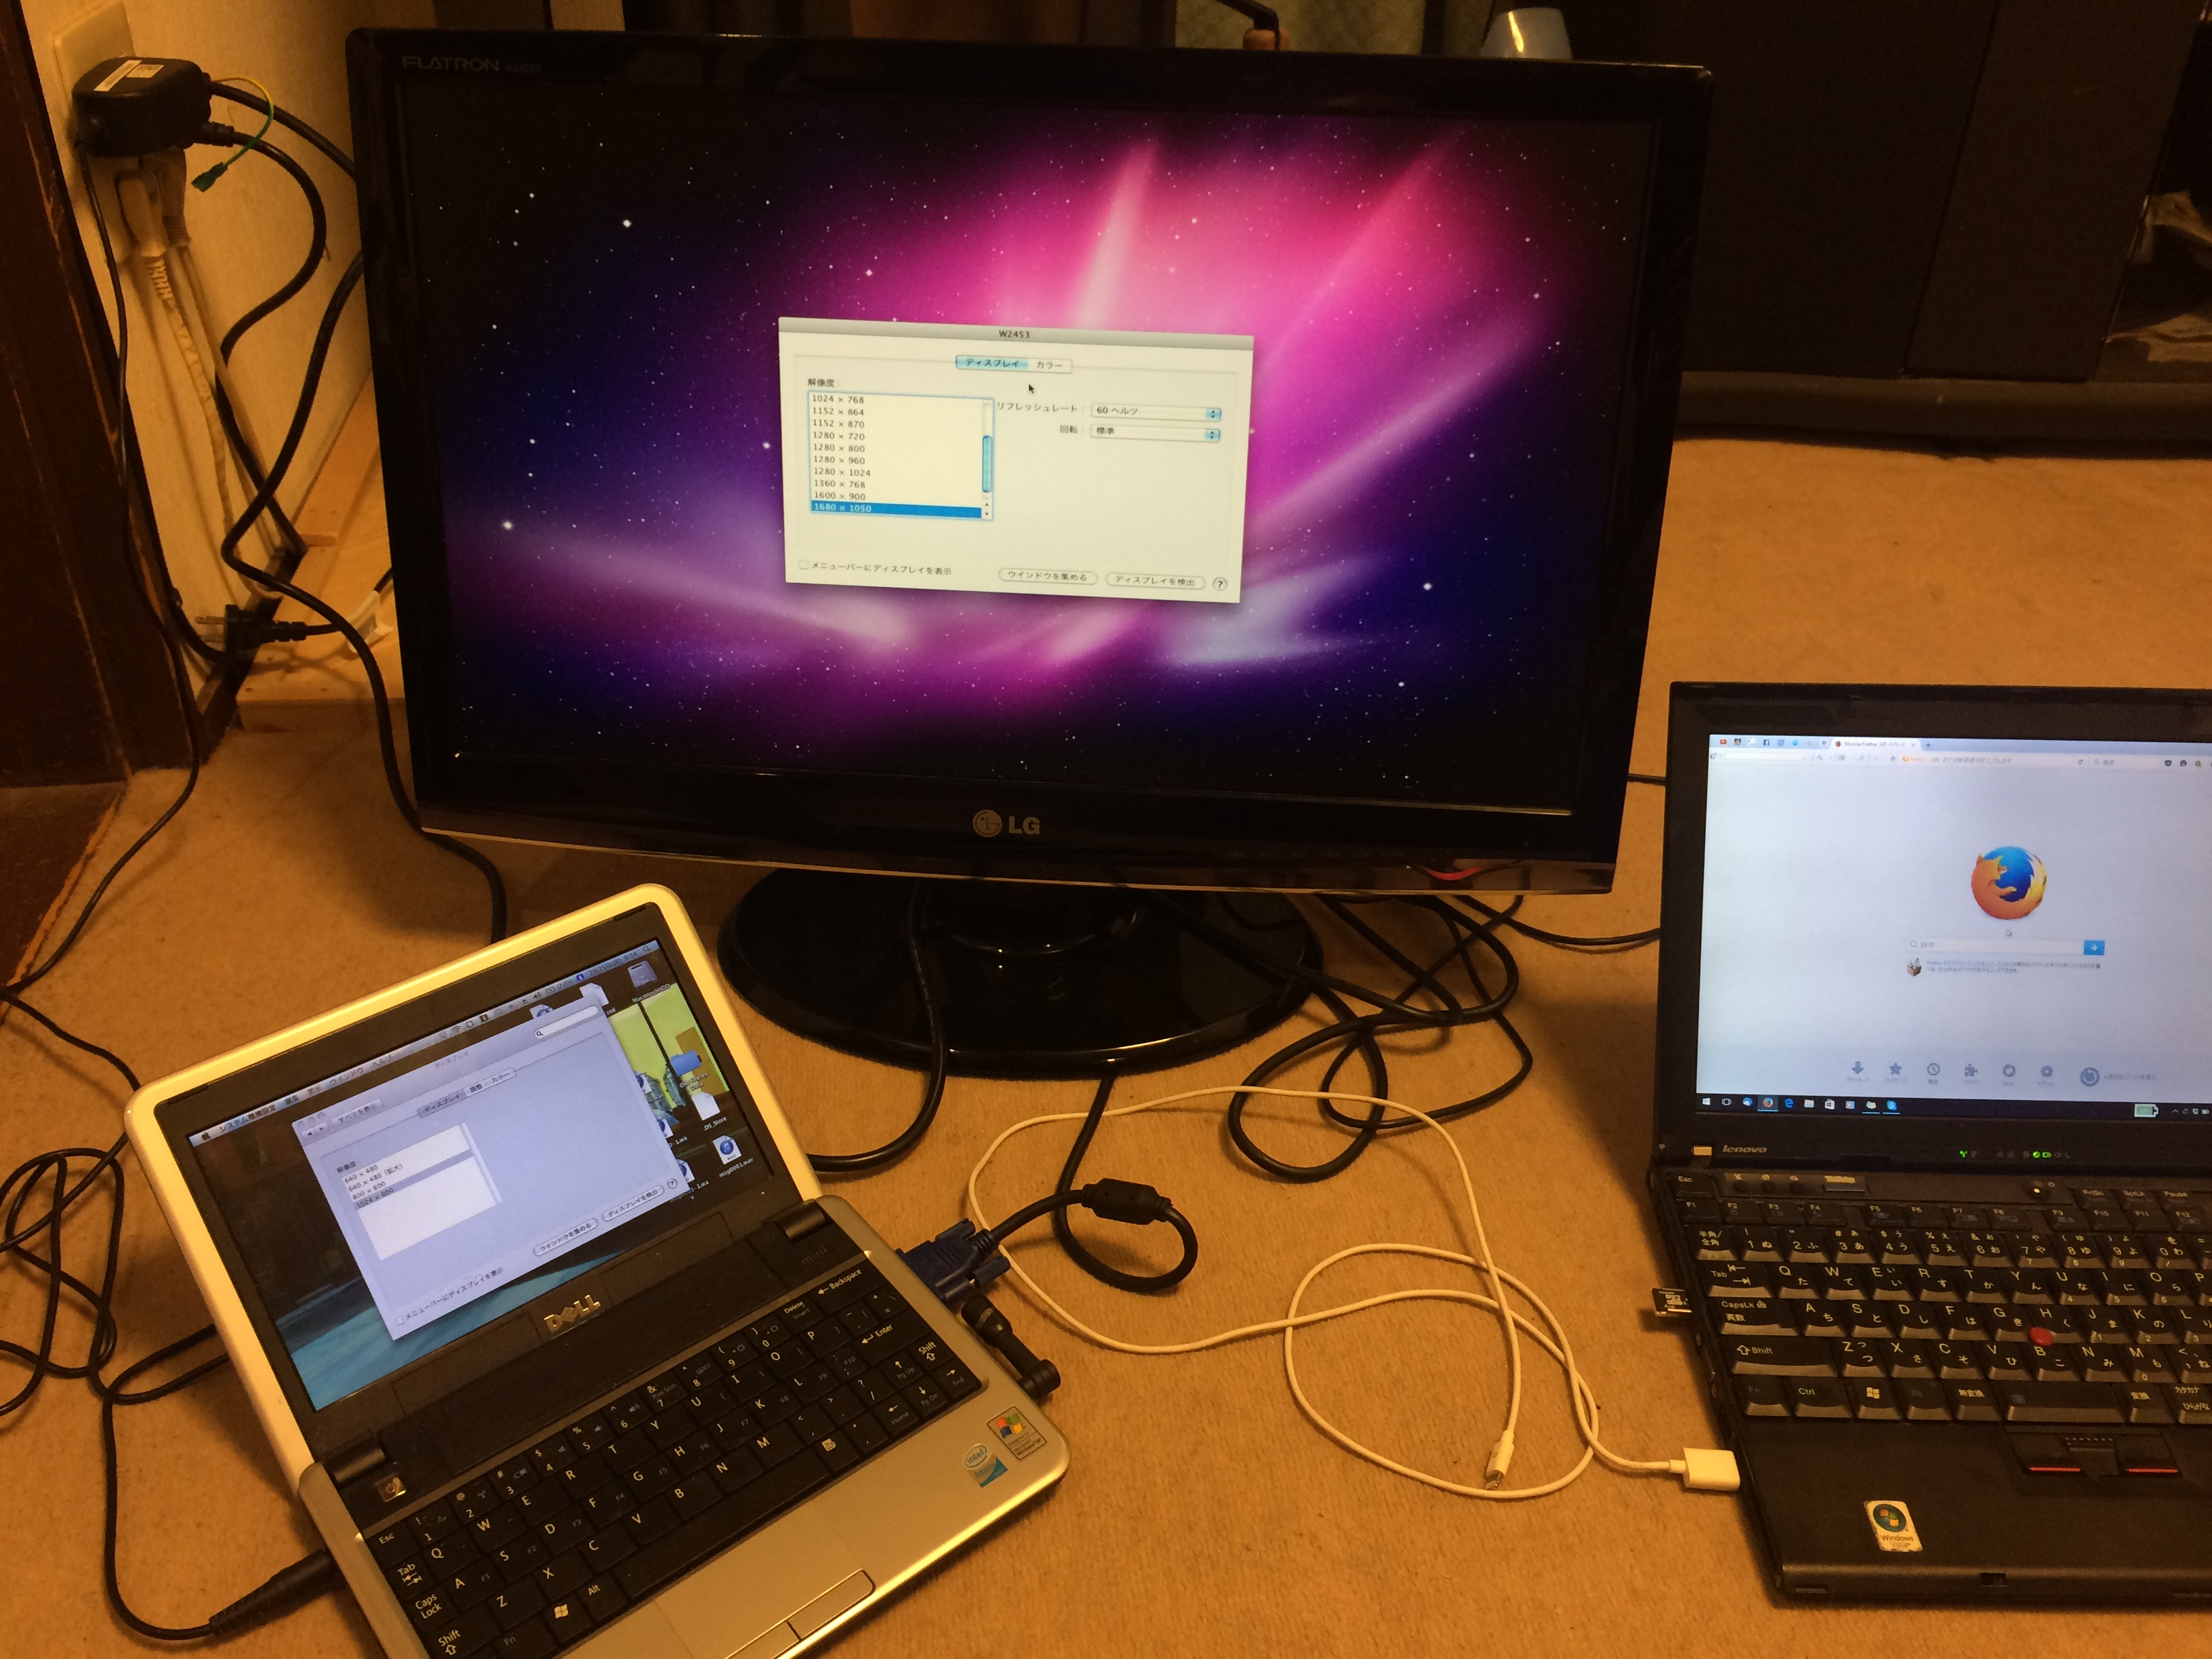
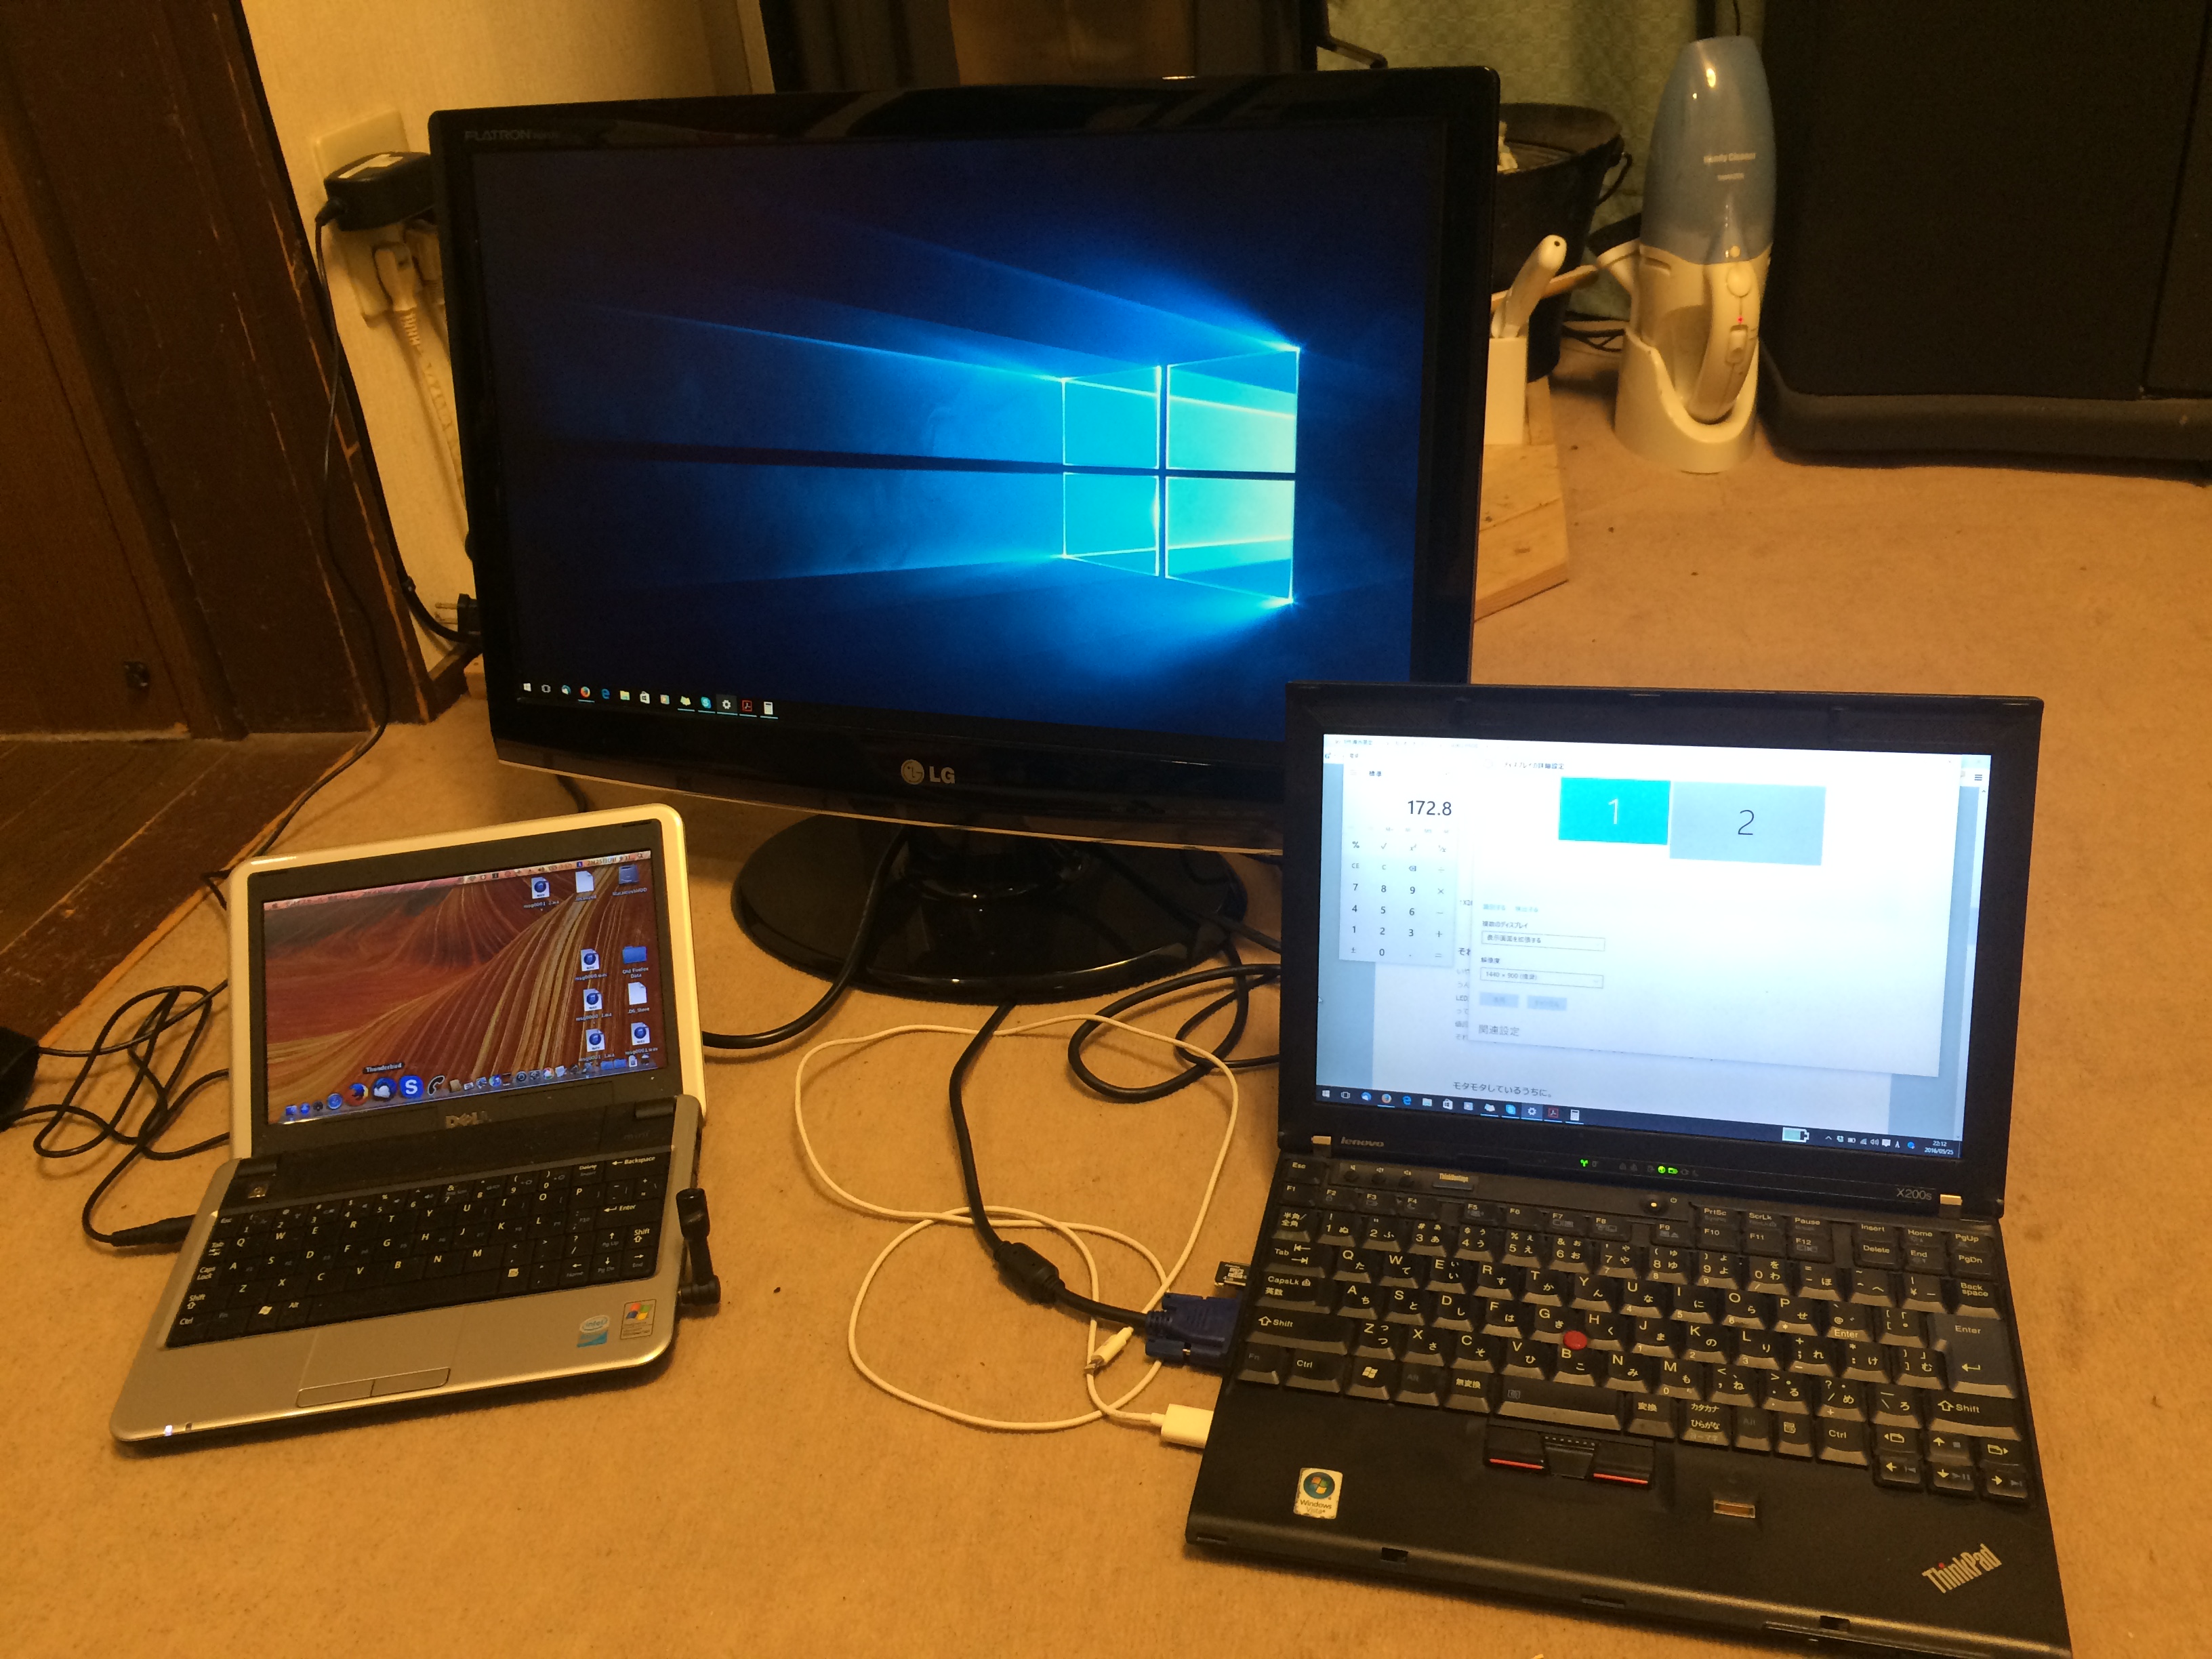
The rest was the same old soldering job… nothing special. Then I put everything together, plugged it in, and connected to my ThinkPad. It worked. I also hooked it to my fake Mac notebook just to double check. It worked, too. Uhhh… Too eazy, so the whole thing wasn’t so impressive…
残りの作業はいつものハンダ付け、、、なんということもない。それから復旧して、電源入れて、ThinkPadにつないだ。大成功。偽Macのノートにも、ダブルチェックでつないでみたら、これまた成功。うーん、、、簡単すぎて感動がないなあ。。。